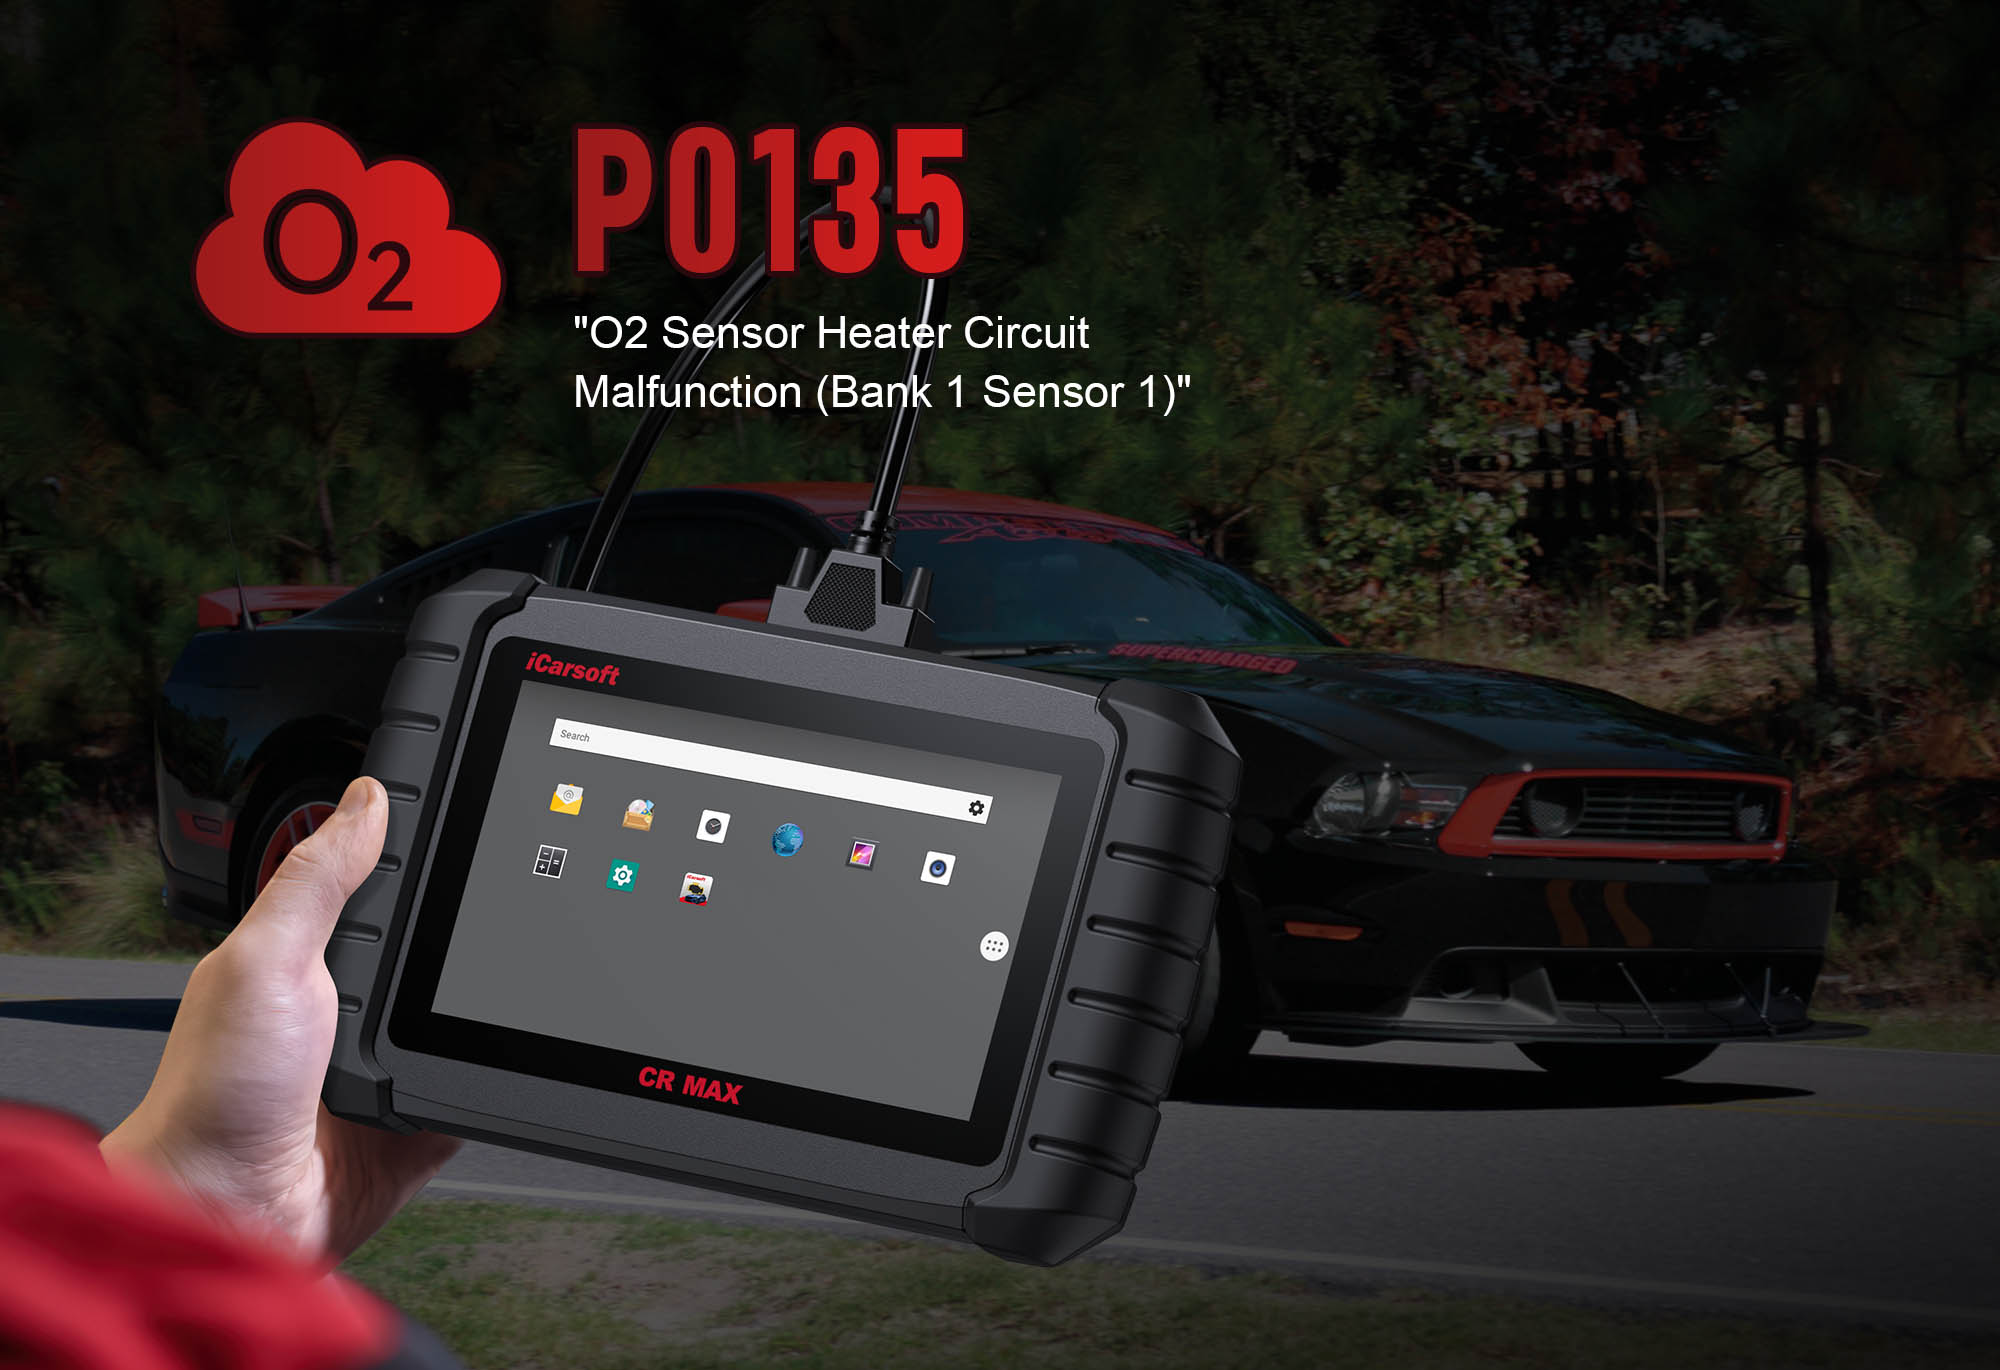
Demystifying the P0135 Error Code: Causes, Symptoms, and Solutions with iCarsoft CR MAX
If you're a car owner, there's nothing more frustrating than seeing the check engine light illuminate on your dashboard. One of the error codes that can trigger this warning is P0135, which indicates an issue with the oxygen sensor heater circuit for Bank 1 Sensor 1. In this guide, we'll break down what this error code means, its common causes, key symptoms to watch for, and how the iCarsoft CR MAX— a professional-grade diagnostic tool—can help you accurately diagnose and resolve the problem.
What is the P0135 Error Code?
The P0135 error code is an OBD-II (On-Board Diagnostics, Second Generation) trouble code that specifically targets the oxygen sensor heater circuit in Bank 1 Sensor 1. To understand this fully, let’s break down the key terms:
-
Bank 1: Refers to the side of the engine where Cylinder 1 is located. This varies by vehicle (e.g., left side for inline engines, driver’s side for V6/V8 models)—use the iCarsoft CR MAX’s Component Location feature to confirm your vehicle’s specific layout.
-
Sensor 1: The "upstream" oxygen sensor, positioned before the catalytic converter. Unlike the downstream sensor (Sensor 2), it directly feeds air-fuel mixture data to the Engine Control Unit (ECU).
-
Heater Circuit: A critical component of the oxygen sensor—its job is to quickly heat the sensor to its operating temperature (typically 600–800°F). Without proper heating, the sensor provides inaccurate readings, disrupting fuel control and emissions.
When the ECU detects a malfunction in this heater circuit (e.g., no power, open/short circuit), it triggers the P0135 code and illuminates the check engine light. Left unaddressed, this can lead to poor performance and increased emissions.
Common Causes of the P0135 Error Code
P0135 stems from issues that disrupt the oxygen sensor heater’s ability to function. Below are the most frequent culprits, ordered by likelihood:
Faulty Oxygen Sensor Heater Element
Over time, the heater element inside the sensor wears out or burns out. This causes an open circuit (no current flow) or high resistance, preventing the sensor from heating up.
Damaged Wiring/Corroded Connectors
Frayed wires, loose terminals, or corroded pins in the heater circuit disrupt electricity flow. Common in older vehicles or those exposed to moisture (e.g., after driving through puddles).
Blown Fuse or Faulty Relay
The heater circuit relies on a dedicated fuse (5–15A) and relay for power. A blown fuse or stuck relay cuts power to the sensor heater.
ECU Malfunction (Rare)
In rare cases, the ECU’s "heater driver circuit" fails, preventing it from sending power to the oxygen sensor heater.
Symptoms of a P0135 Error Code
P0135 may not always cause severe performance issues, but ignoring it can lead to bigger problems. Watch for these key signs:
Illuminated Check Engine Light
The most obvious symptom— the light stays on until the code is cleared (and the issue fixed).
Poor Fuel Economy
Without accurate oxygen sensor data, the ECU over-fuels (rich mixture), reducing MPG by 10–15%.
Engine Misfires or Rough Idle
Incorrect air-fuel ratios cause hesitation during acceleration, shaky idle (500–800 RPM fluctuations), or lack of power.
Increased Emissions
Failing to fix P0135 can cause your vehicle to fail emissions tests—unburned fuel leads to higher CO/HC levels.
Delayed Sensor Warm-Up (Hidden)
Even if no other symptoms appear, the sensor takes longer to reach operating temperature—use the CR MAX to spot this (see Step 2 below).
Using the iCarsoft CR MAX to Diagnose P0135
Basic scanners only "read" P0135—they can’t tell you if the issue is a faulty sensor, wiring, or fuse. The iCarsoft CR MAX solves this with O2 sensor-specific diagnostic tools:
Code Retrieval & Manufacturer-Specific Details
Retrieves P0135 and related codes (e.g., P0134 for "no O2 sensor activity")—plus vehicle-specific triggers (e.g., "Heater circuit current <0.5A for 5s" on Honda Civics).
Live Data Monitoring
Tracks real-time oxygen sensor heater parameters: voltage (should be 12V when active), temperature (target: 600°F+), and current draw—confirms if the heater is working.
Heater Circuit Component Test
Automatically tests the heater element, wiring, and relay—no manual multimeter needed. Provides a "Pass/Fail" result with issue details.
Built-In Multimeter
Checks fuse continuity, wire resistance, and connector voltage—ideal for verifying wiring/corrosion issues.
Component Location Guides
Shows exact positions of Bank 1 Sensor 1, fuses, and relays—eliminates guesswork (critical for vehicles with hidden sensors).
Follow these step-by-step instructions to diagnose P0135 with the CR MAX:
-
Retrieve & Confirm the Code
-
Plug the CR MAX into your vehicle’s OBD-II port (under the dashboard) and power it on.
-
Select your vehicle’s make/model/year via the menu or use AutoVIN (scans VIN for accuracy—avoids manual entry errors).
-
Navigate to Engine Control Module > Fault Codes > Read Codes to confirm P0135 is present.
-
Tap Code Details to view:
-
Manufacturer-specific trigger conditions (e.g., "Heater circuit open").
-
Related codes (e.g., P0137 for "O2 sensor low voltage")—these narrow down the issue.
-
Monitor Oxygen Sensor Heater Live Data
This step confirms if the heater is activating properly:
-
Go to Engine > Live Data > Oxygen Sensors and select:
-
Bank 1 Sensor 1 Heater Voltage (should be ~12V when the engine starts).
-
Bank 1 Sensor 1 Temperature (target: reaches 600°F in 3–5 minutes).
-
Engine Coolant Temperature (ECT)—heater activates when ECT is >120°F (varies by make).
-
Start the engine and monitor data for 5 minutes:
-
Normal: Heater voltage = 12V, temperature rises to 600°F+ → Heater is working (issue likely elsewhere).
-
Abnormal: Voltage = 0V (no power) or temperature stays <500°F → Heater circuit fault (proceed to Step 3).
-
Run the Heater Circuit Component Test
The CR MAX’s automated test identifies the root cause (sensor vs. wiring vs. fuse):
-
Navigate to Special Functions > Sensor Tests > O2 Sensor Heater Test.
-
Select Bank 1 Sensor 1 and follow on-screen prompts (engine off, ignition "On").
-
The CR MAX will:
-
Test heater element resistance (normal: 10–25 ohms—varies by vehicle).
-
Check for wiring continuity (no breaks).
-
Verify fuse/relay operation.
-
Review the test report:
-
"Heater Element Open" → Replace the oxygen sensor.
-
"Wiring Resistance High" → Inspect wires/connectors.
-
"Fuse Open" → Locate and replace the heater circuit fuse (CR MAX shows fuse box location).
-
Test Wiring & Connectors (If Needed)
If the component test points to wiring issues, use the CR MAX’s multimeter:
-
Turn off the engine and disconnect the Bank 1 Sensor 1 connector (use the CR MAX’s flashlight to inspect pins).
-
Check Fuse Continuity:
-
Set CR MAX to Multimeter > Continuity Test.
-
Touch probes to the heater circuit fuse terminals (CR MAX’s Fuse Location guide shows which one).
-
Beep = Fuse is good; No beep = Fuse is blown (replace with same amperage).
-
Check Wire Resistance:
-
Set to Multimeter > Resistance Test.
-
Connect probes to the sensor’s heater pin and the ECU’s corresponding pin (use CR MAX’s wiring diagram).
-
Normal resistance: <5 ohms. High resistance = Damaged wire (repair/replace).
-
Inspect Connectors: Clean corroded pins with electrical contact cleaner—replace connectors if pins are bent/broken.
How to Fix the P0135 Error Code
Once the CR MAX identifies the root cause, use these targeted fixes:
-
Replace the Oxygen Sensor (If Heater Element Is Faulty)
-
Locate Bank 1 Sensor 1 using the CR MAX’s Component Location guide (typically in the intake manifold or exhaust pipe before the catalytic converter).
-
Disconnect the connector, remove the sensor with an O2 sensor socket, and install a new OEM-compatible sensor (CR MAX’s Part Lookup feature recommends the correct part).
-
Torque the sensor to manufacturer specs (18–22 ft-lbs—over-tightening damages threads).
-
Repair Wiring/Clean Connectors
-
Replace frayed wires with heat-shrink tubing (for weatherproofing).
-
Clean corroded connectors with electrical contact cleaner—apply dielectric grease to prevent future corrosion.
-
Replace Blown Fuse/Faulty Relay
-
Replace the heater circuit fuse with the same amperage (e.g., 10A—never use a higher amperage fuse).
-
If the relay is faulty, swap it with a identical relay (e.g., A/C relay) to test—replace if needed.
-
Reset the ECU & Clear the Code
-
Reconnect all components (sensor, connectors, fuse box).
-
Use the CR MAX to:
-
Go to Fault Codes > Clear Codes and delete P0135.
-
Navigate to Special Functions > Engine > ECU Reset—this clears old sensor data and resets the heater circuit.
Verify Repairs with the CR MAX
After fixing the issue, confirm P0135 doesn’t return:
-
Start the engine and let it idle for 5 minutes—check for smooth operation (no rough idle).
-
Use the CR MAX to monitor Bank 1 Sensor 1 Heater Temperature—it should reach 600°F in 3–5 minutes.
-
Take a 20-mile test drive (include city and highway driving) with Data Logging enabled—record heater voltage and temperature.
-
Re-scan for codes after driving:
-
No P0135 + stable heater data → Fix is successful.
-
Code returns → Double-check for hidden issues (e.g., faulty relay, ECU problem—consult a mechanic if needed).
Conclusion
The P0135 error code may seem intimidating, but with the right tools and knowledge, it’s easily fixable. The iCarsoft CR MAX eliminates guesswork by pinpointing the root cause—whether it’s a faulty sensor, damaged wiring, or blown fuse—saving you time and money on unnecessary parts replacements.
Remember: If you’re unsure about any step (e.g., replacing the oxygen sensor), consult a professional mechanic. They can use the CR MAX’s diagnostic data to confirm the issue and ensure repairs are done correctly. With the CR MAX in hand, you’ll have the confidence to tackle P0135 and keep your vehicle running efficiently.