Diagnose & Clear P0521 with iCarsoft CR Pro+: Fix Engine Oil Pressure Sensor/Switch Range/Performance
If your check engine light illuminates and a scan returns P0521, your vehicle’s oil pressure monitoring system is signaling a critical issue with pressure detection. This generic OBD-II code stands for "Engine Oil Pressure Sensor/Switch Range/Performance"—indicating the Engine Control Module (ECM) has detected erratic or out-of-range readings from the oil pressure sensor, preventing accurate monitoring of vital oil pressure levels.
The oil pressure sensor (or switch) measures oil pressure in the engine and sends a voltage signal to the ECM: low voltage (e.g., 0.5V) for low pressure, and high voltage (e.g., 4.5V) for normal operating pressure. When P0521 occurs, the sensor’s signal fluctuates unpredictably or falls outside the expected range, even when actual oil pressure is normal. This compromises the ECM’s ability to trigger warnings for low pressure, risking engine damage from insufficient lubrication.
Basic scanners might only confirm "oil pressure sensor fault" but can’t verify actual pressure or test sensor responsiveness. The iCarsoft CR Pro+—with its real-time oil pressure data, sensor voltage testing, and pressure validation tools—solves this. Let’s walk through how to diagnose and resolve P0521.
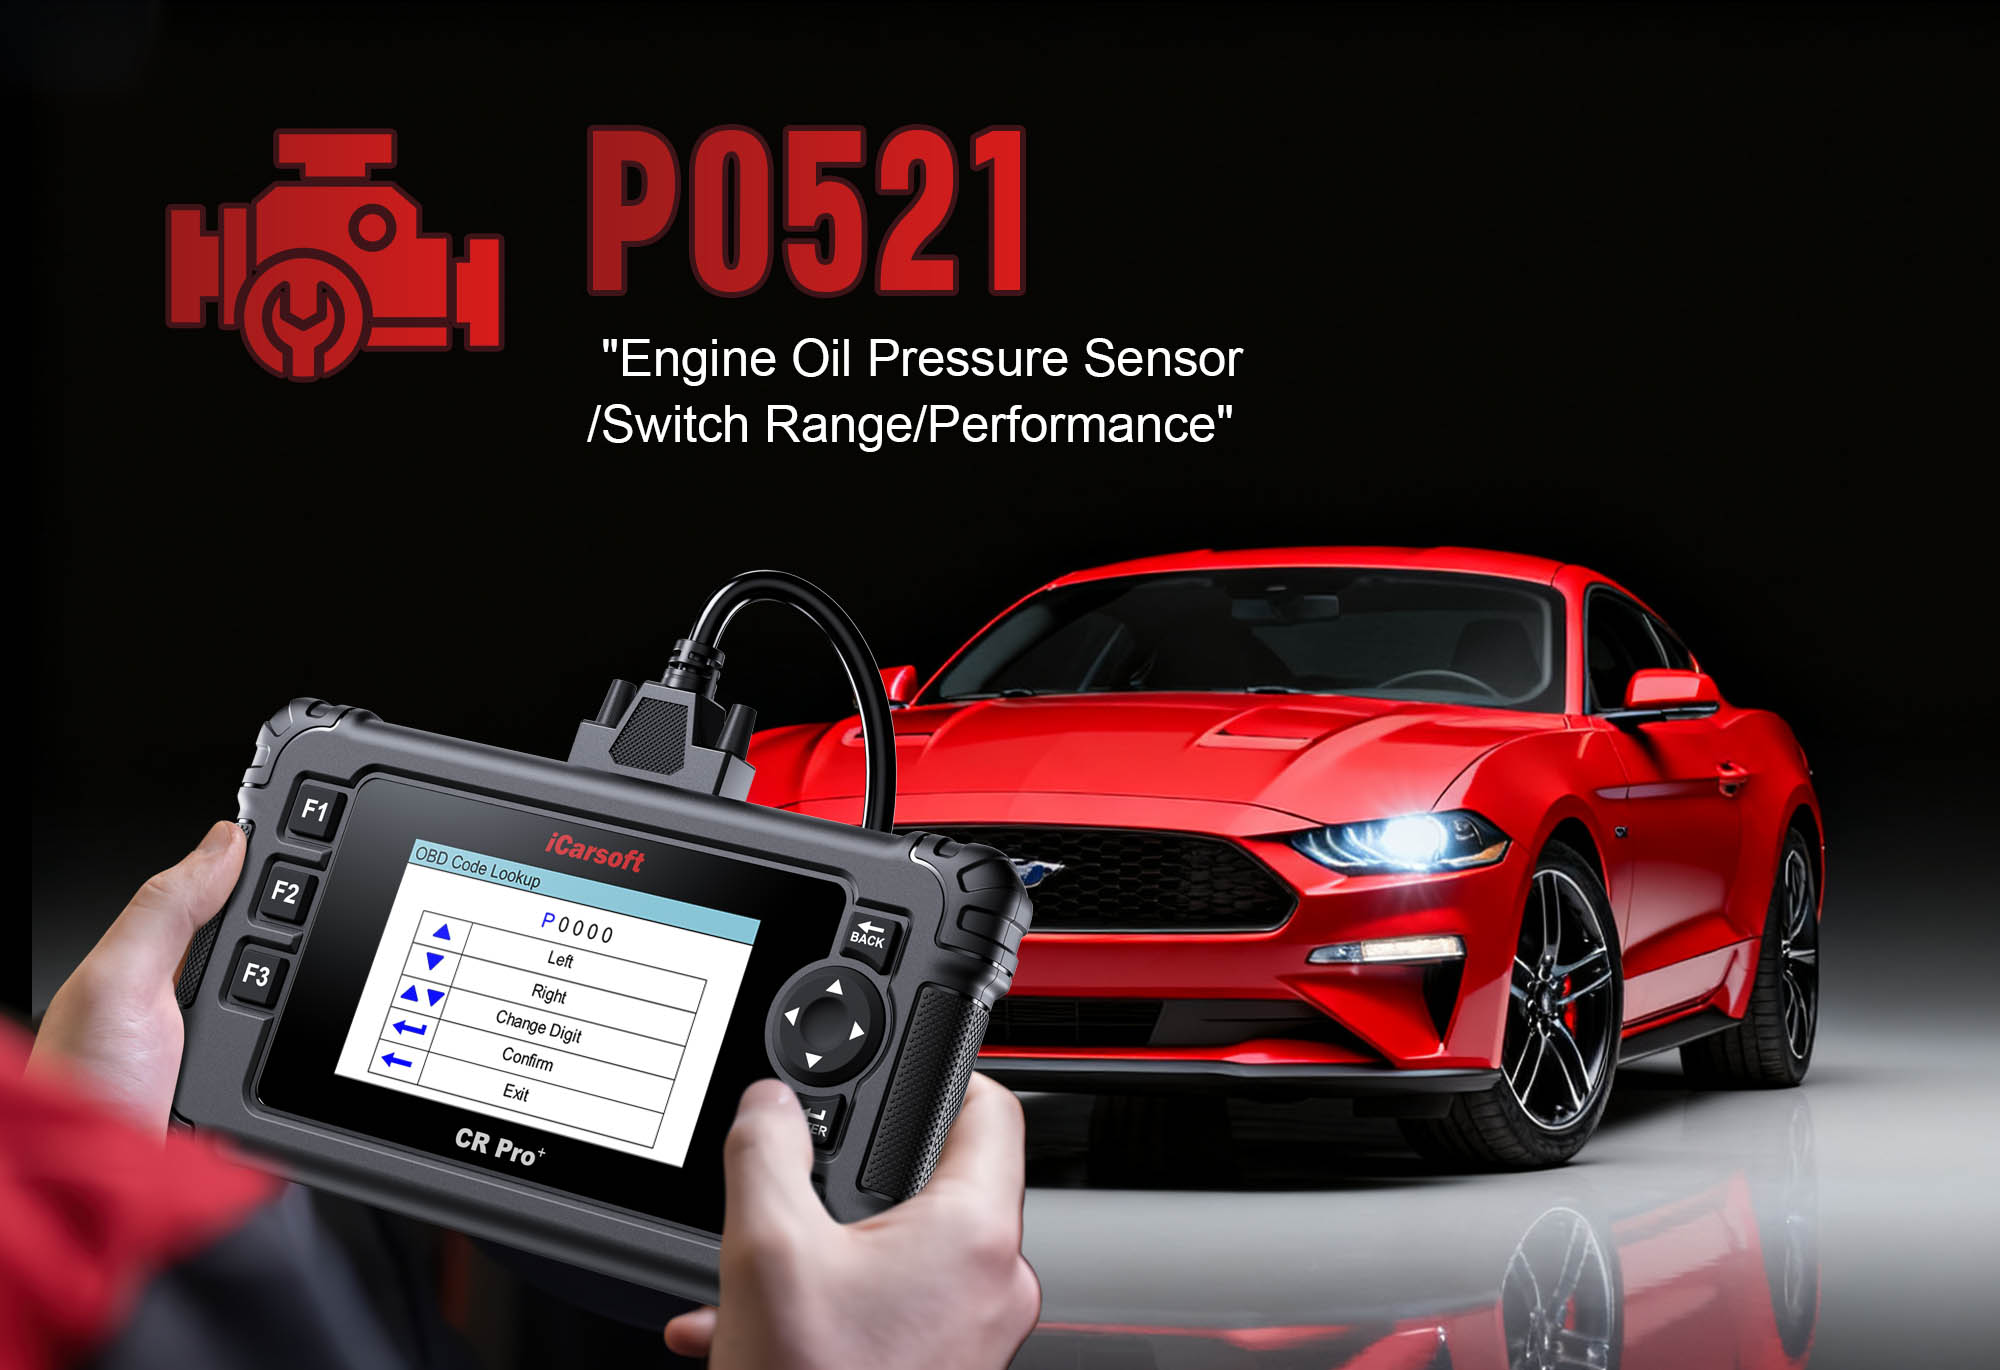 iCarsoft CR Pro+ monitoring oil pressure sensor voltage and estimated pressure for P0521
Understanding P0521: Causes & Key Symptoms
To tackle P0521 effectively, recognize how erratic sensor readings impact engine safety and performance:
Key Symptoms of P0521
-
Check Engine Light: Illuminates when the ECM detects sensor voltage outside the normal range (e.g., <0.3V or >4.8V) for 5+ minutes of operation.
-
Fluctuating Oil Pressure Warning Light: The dashboard warning light may flicker on/off, even with adequate oil levels.
-
Inconsistent Gauge Readings: If equipped with an oil pressure gauge, it may jump between "low" and "normal" randomly.
-
Engine Performance Issues: In severe cases, the ECM may enter "limp mode" to reduce stress on components, causing reduced power.
-
Hidden Risk of Damage: Without reliable pressure data, the system can’t alert you to actual low pressure, increasing the risk of bearing wear or engine seizure.
Common Causes of P0521
|
Cause
|
Description
|
|
Faulty Oil Pressure Sensor
|
Internal electrical failure (e.g., worn resistor or contact points) causes erratic voltage output (accounts for ~45% of P0521 cases).
|
|
Wiring Issues
|
Damaged, frayed, or corroded wires between the sensor and ECM create signal interference or voltage drops.
|
|
Loose or Contaminated Sensor Connector
|
Poor contact at the sensor’s plug (due to dirt, corrosion, or loose pins) disrupts signal transmission.
|
|
Low or Contaminated Engine Oil
|
Sludge, debris, or insufficient oil volume causes pressure fluctuations that confuse the sensor.
|
|
Clogged Oil Filter or Pressure Relief Valve
|
Restrictions in oil flow create pressure spikes or drops, overwhelming the sensor’s ability to send consistent signals.
|
|
Failing Oil Pump
|
A worn pump produces inconsistent pressure (e.g., low at idle, high at RPMs), leading to erratic sensor readings.
|
Why iCarsoft CR Pro+ Excels at Diagnosing P0521
The CR Pro+ outperforms basic tools with features tailored to oil pressure system diagnostics—critical for pinpointing P0521’s root cause:
Dual Oil Pressure Monitoring
Displays both the sensor’s voltage output and estimated pressure (in psi/kPa), highlighting discrepancies between the two (e.g., normal voltage but implausible pressure = sensor fault).
Sensor Voltage Validation
Tests the sensor’s responsiveness by comparing its voltage to manufacturer specs across RPM ranges—identifies stuck or erratic sensors.
Circuit Continuity Testing
Checks for breaks, shorts, or resistance in the sensor wiring, eliminating electrical interference as a cause.
Vehicle-Specific Oil System Diagrams
Preloaded with sensor locations, wiring paths, and pressure specifications for 65+ makes (e.g., Chevrolet Silverado, Mercedes-Benz E-Class, Subaru Outback).
Oil Quality Diagnostics
Guides users to check oil level/condition and recommends viscosity based on vehicle specs—rules out oil-related causes first.
Post-Repair Verification
Runs pressure cycle tests (idle to 3,000 RPM) to ensure the sensor and pump function consistently—confirms repairs resolve the issue.
Step-by-Step: Diagnose P0521 with iCarsoft CR Pro+
-
1. Connect & Confirm the Code
Plug the CR Pro+ into your vehicle’s OBD-II port (under the dashboard) and power it on.
Select your vehicle via Auto VIN Scan (reads your VIN in 2 seconds) or manual entry (make/model/year/engine).
Navigate to Engine > Fault Codes > Read Codes to confirm P0521. Tap Code Details for vehicle-specific info (e.g., "Chevrolet: Oil Pressure Sensor Voltage = 5.1V – Exceeds Max Range").
-
2. Verify Oil Level & Condition
Start with the simplest, lowest-cost checks—oil issues often trigger P0521:
Ensure the engine is cold and off (wait 10+ minutes for oil to drain to the pan).
Pull the dipstick and check the level—should be between "MIN" and "MAX" marks. Add oil if low (use CR Pro+’s Oil Type Lookup for viscosity, e.g., 5W-30 for most V8 engines).
Inspect oil condition: Healthy oil is amber/light brown and smooth. Black, gritty, or foamy oil = contamination (change oil and filter immediately).
-
3. Monitor Real-Time Oil Pressure & Sensor Data
The CR Pro+’s live data reveals inconsistencies in the sensor’s readings:
Start the engine and let it idle for 5 minutes to reach operating temperature.
Navigate to Engine > Live Data > Oil System and select:
"Oil Pressure Sensor Voltage" (normal = 0.5V–4.5V, varies by vehicle).
"Estimated Oil Pressure" (calculated from sensor data—normal idle = 20–40 psi).
"Engine RPM" (to observe pressure changes with speed).
Rev the engine to 3,000 RPM and monitor for:
- Voltage Spikes/Drops: Sudden jumps (e.g., from 2.5V to 5V) or drops (e.g., to 0V) = sensor or wiring fault.
- No Voltage Change: Sensor stuck at one value (e.g., 1.0V) regardless of RPM = faulty sensor.
-
4. Locate the Oil Pressure Sensor
Find the sensor using the CR Pro+ to avoid guesswork:
Navigate to Component Location > Engine > Oil System > Pressure Sensor.
The scanner displays a diagram: Sensors are typically mounted near the oil filter, oil pump, or cylinder head, with a 1–3 pin electrical connector. Mark the location to streamline testing.
-
5. Test the Sensor’s Electrical Function
A faulty sensor is the top cause of P0521—test it with the CR Pro+:
Resistance Test:
Turn off the engine and disconnect the sensor’s electrical connector.
Navigate to Special Functions > Sensors > Oil Pressure Sensor Test.
Connect the scanner’s test leads to the sensor’s terminals (follow on-screen pinout guidance).
Normal resistance = 500–1,500 ohms (varies by manufacturer—check CR Pro+’s "Vehicle Specs" tab). Infinite resistance (open circuit) or 0 ohms (short circuit) = replace the sensor.
Voltage Supply Check:
Keep the connector disconnected. Turn the ignition to "ON" (engine off).
Use the CR Pro+’s voltage probe on the connector’s power pin (labeled in the diagram)—should read 5V (ECM supply voltage). No voltage = wiring break or ECM issue (consult a professional).
-
6. Inspect Wiring & Connector for Issues
Damaged wiring disrupts sensor signals—diagnose with the CR Pro+:
Connector Inspection:
Check for corrosion (white/green powdery deposits), bent pins, or dirt in the sensor connector.
Clean corroded terminals with electrical contact cleaner; straighten bent pins carefully with a small screwdriver.
Circuit Continuity Test:
Navigate to Special Functions > Electrical Tests > Circuit Continuity.
Test continuity between the sensor connector and the ECM (use the CR Pro+’s wiring diagram to identify the correct ECM pin).
Resistance >1 ohm = wiring damage (look for frays, cuts, or rodent chews along the wire harness—repair with heat-shrink connectors).
Short Circuit Check:
Test for shorts between the sensor’s signal wire and vehicle ground (chassis). A short = damaged insulation (replace the affected wire).
-
7. Verify Actual Oil Pressure (If Needed)
To rule out mechanical issues (oil pump, filter), compare sensor data to a mechanical gauge:
Locate the engine’s oil pressure test port (use CR Pro+’s Component Location—often near the sensor, with a threaded plug).
Remove the plug and connect a mechanical oil pressure gauge (compatible with your engine’s thread size).
Start the engine and compare gauge readings to the CR Pro+’s "Estimated Oil Pressure":
- Match: Sensor is working—erratic readings were temporary (e.g., from dirty oil).
- Mismatch: Sensor is faulty (replace it) or mechanical issue (e.g., failing pump) = consult a mechanic for further diagnosis.
-
8. Check for Clogged Filters or Valves
Restrictions cause pressure fluctuations—inspect with the CR Pro+:
Oil Filter: Replace the filter with an OEM-spec part (use CR Pro+’s Part Lookup). Cut open the old filter and check for debris/sludge (sign of contamination requiring an oil change).
Pressure Relief Valve: Use the CR Pro+’s diagram to find the valve (usually on the oil pump or cylinder block). A stuck valve causes pressure spikes—clean it with solvent or replace if damaged.
-
9. Repair & Clear P0521
Fix the root cause based on diagnostics:
- Faulty Sensor: Replace the oil pressure sensor with an OEM part (check CR Pro+’s Part Lookup for compatibility, e.g., Bosch 0261230031).
- Wiring Issues: Repair damaged wires with heat-shrink butt connectors; replace severely corroded harnesses.
- Contaminated Connector: Clean or replace the connector; apply dielectric grease to terminals to prevent future corrosion.
- Oil/Filter Issues: Change engine oil (use correct viscosity) and replace the filter.
- Mechanical Issues: Consult a mechanic for oil pump or relief valve repairs.
Clear the Code: Navigate to Engine > Fault Codes > Clear Codes to delete P0521 and any related oil system faults.
-
10. Validate the Repair
Confirm the sensor and system work correctly to prevent P0521 recurrence:
Recheck live data at idle (20–40 psi) and 3,000 RPM (40–70 psi)—voltage and pressure should stabilize within normal ranges.
Take a 30-minute test drive (include highway speeds and stop-and-go traffic) to ensure no warning lights or reading fluctuations.
Re-scan with the CR Pro+: No P0521 recurrence + consistent pressure readings = successful repair.
Preventing P0521 Recurrence
The CR Pro+ helps maintain reliable oil pressure monitoring long-term:
-
Oil Maintenance: Use the CR Pro+’s Service Reminder to change oil every 5,000–7,500 miles (or per manufacturer guidelines) with the correct viscosity (e.g., 0W-20 for modern turbocharged engines).
-
Sensor Checks: Run the Oil Pressure Sensor Test every 15,000 miles to catch early sensor degradation before it triggers P0521.
-
Connector Care: Inspect the sensor connector during oil changes—clean terminals with contact cleaner and apply dielectric grease annually to repel moisture.
-
Filter Replacement: Always use OEM-spec oil filters to avoid flow restrictions; replace the filter with every oil change.
-
Cold Weather Prep: In freezing climates, let the engine warm up for 30 seconds to 1 minute before driving—thick cold oil strains the sensor and pump, increasing signal erraticness.
Conclusion
P0521’s erratic oil pressure readings compromise engine safety by masking actual low-pressure risks, but the iCarsoft CR Pro+ turns uncertainty into precision. With its sensor testing, wiring diagnostics, and pressure validation tools, it clearly identifies whether the issue is electrical (sensor/wiring) or mechanical (pump/filter)—avoiding costly guesswork and unnecessary part replacements.
Whether you’re replacing a faulty sensor, repairing wiring, or changing contaminated oil, the CR Pro+ ensures you restore reliable pressure monitoring. With this guide, you’ll turn an "oil pressure sensor range fault" into a confident repair—protecting your engine from lubrication-related damage and keeping your dashboard warnings accurate when you need them most.
FAQs About P0521 Code
Q: Can I drive my vehicle with P0521?
A: Drive cautiously and only short distances. P0521 doesn’t always mean actual low pressure, but it disables reliable pressure warnings—you won’t know if real low pressure occurs (which can destroy the engine in minutes). Fix it within 1–2 days, and avoid high-speed or heavy-load driving in the meantime.
Q: How much does it cost to fix P0521?
A: Costs vary by cause: Oil pressure sensor = $40–$150 (DIY); wiring repair = $10–$50 (DIY); oil change/filter = $30–$80 (DIY); oil pump replacement = $300–$800 (professional). The CR Pro+ saves money by targeting the root cause—no need to replace the pump if the sensor is faulty.
Q: Why does P0521 come back after replacing the sensor?
A: Common reasons: 1) Unrepaired wiring issues (short/break still disrupts signal); 2) Contaminated oil (sludge causes pressure fluctuations); 3) Wrong sensor (aftermarket sensor doesn’t match OEM voltage specs). Re-run the CR Pro+’s wiring and oil checks to find leftover issues.
Q: Do I need a mechanical gauge to diagnose P0521?
A: Not always. The CR Pro+’s dual monitoring (voltage + estimated pressure) can identify sensor faults in most cases. Use a mechanical gauge only if live data shows normal voltage but implausible pressure (e.g., 10 psi at 3,000 RPM)—to rule out mechanical issues like a failing pump.