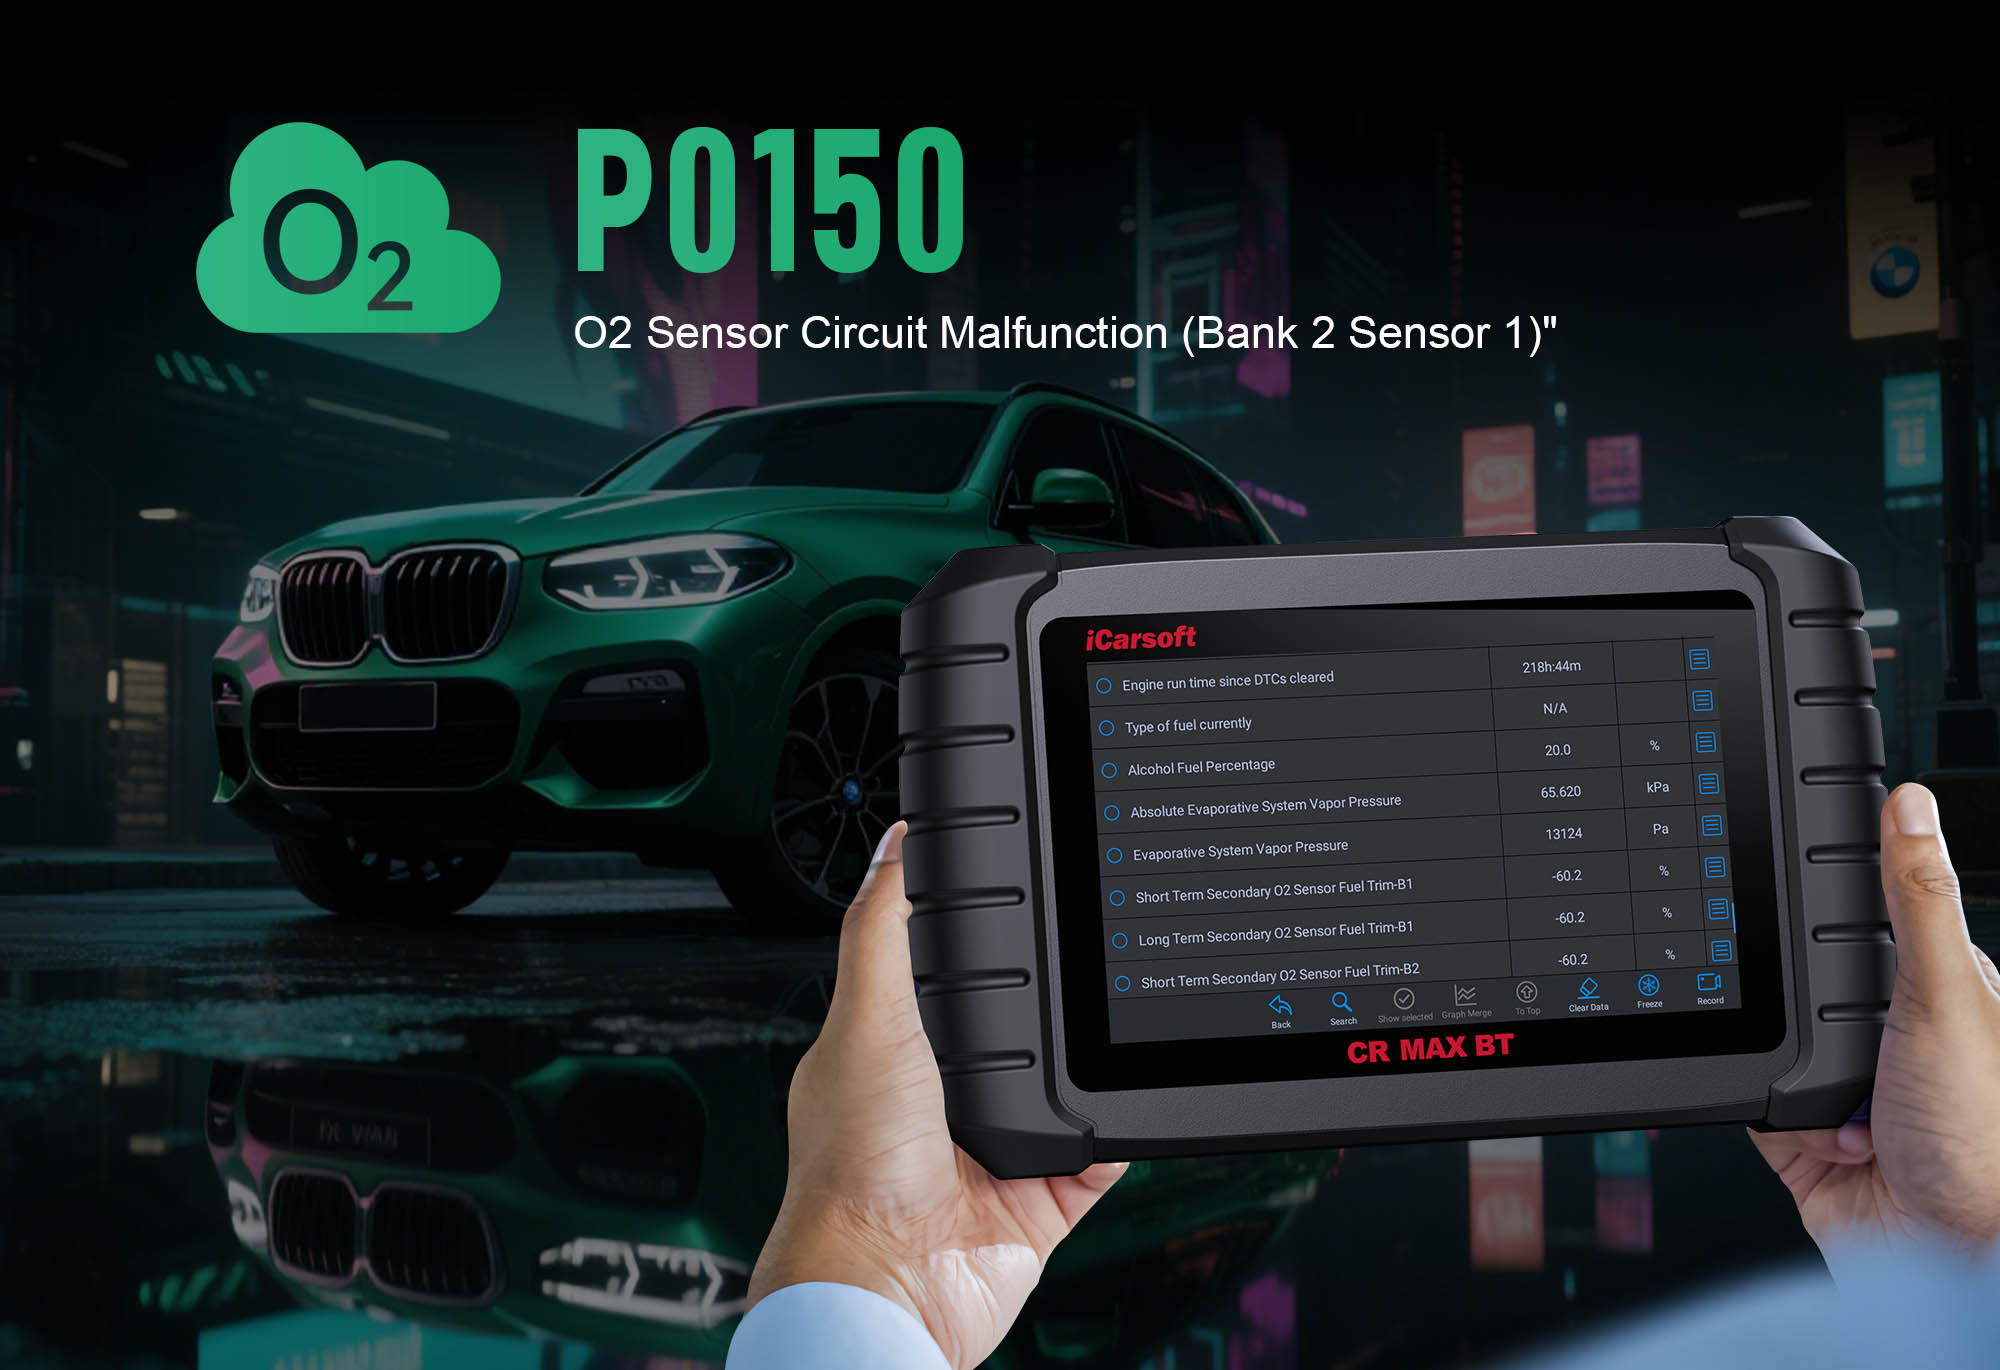
P0150 Code: Diagnose & Fix Oxygen Sensor Circuit Malfunctions (Bank 1, Sensor 1) with iCarsoft CR MAX BT
When your check engine light illuminates and a scan returns P0150, your vehicle is signaling a targeted issue with its oxygen sensor circuit. This generic OBD-II code stands for “Oxygen Sensor Circuit Range/Performance (Bank 1, Sensor 1)”—meaning the Engine Control Module (ECM) detects irregularities in the signal from the upstream oxygen sensor (located before the catalytic converter on Bank 1). This sensor is critical for regulating fuel efficiency and emissions; a faulty signal disrupts air-fuel mixture adjustments, leading to poor performance. In this guide, we’ll break down P0150’s causes, symptoms, and how the iCarsoft CR MAX BT simplifies accurate diagnosis and repair.
What Is the P0150 Code?
To understand P0150, it’s key to clarify the sensor’s role and the code’s trigger conditions:
-
Bank 1, Sensor 1 Definition: “Bank 1” refers to the cylinder bank containing cylinder #1 (check your owner’s manual for numbering). “Sensor 1” is the upstream sensor—mounted on the exhaust manifold or downpipe before the catalytic converter. It’s responsible for fine-tuning the air-fuel mixture in real time.
-
Normal Sensor Operation: A healthy upstream oxygen sensor sends voltage signals that fluctuate rapidly between 0.1V (lean, high oxygen) and 0.9V (rich, low oxygen) when the engine is warm. The ECM uses these signals to adjust fuel delivery—lean readings trigger more fuel, rich readings reduce fuel.
-
Code Trigger: P0150 activates when the sensor’s signal is:
-
Static (stuck at a single voltage, e.g., 0.5V).
-
Slow to change (fewer than 5 voltage switches per second).
-
Outside the normal 0.1V–0.9V range (e.g., constant 0.0V or 1.0V).
Key Symptoms of P0150
-
Decreased Fuel Economy: The ECM defaults to a “safe” rich fuel mixture when it can’t trust the sensor’s signal—leading to more frequent trips to the gas station.
-
Rough Idle or Hesitation: Erratic air-fuel adjustments cause the engine to shake at idle or feel unresponsive when accelerating.
-
Failed Emissions Tests: Unregulated exhaust gases (due to poor mixture control) often exceed legal limits, resulting in emissions test failure.
-
Illuminated Check Engine Light: The primary indicator of P0150, often paired with related codes like P0130 (Bank 1 Sensor 1 circuit) or P0175 (Bank 2 rich condition) in severe cases.
-
Engine Misfires: In extreme cases, incorrect fuel mixture can cause cylinders to misfire—heard as a popping or sputtering sound from the engine.
Common Causes of P0150
|
Cause
|
Description
|
|
Faulty Oxygen Sensor
|
Most common cause: Age (80,000+ miles) or contamination (oil/fuel residue) wears out the sensor’s ceramic element, preventing it from generating normal voltage fluctuations.
|
|
Damaged Wiring/Connectors
|
Frayed wires, corroded terminals, or loose pins in the sensor circuit create resistance or interrupt voltage—disrupting the signal to the ECM.
|
|
Exhaust Leaks
|
Leaks in the exhaust (before the upstream sensor) draw in fresh air, diluting exhaust gases and tricking the sensor into false lean readings.
|
|
Fuel System Issues
|
Clogged fuel injectors (lean condition) or a failing fuel pressure regulator (rich condition) overload the sensor—causing it to send erratic signals.
|
|
ECM Malfunction (Rare)
|
A faulty ECM fails to process the sensor’s signal correctly, even if the sensor and wiring are intact. This requires professional diagnosis.
|
Why iCarsoft CR MAX BT Excels at Diagnosing P0150
Basic scanners only flag “oxygen sensor fault” but can’t analyze signal quality or test circuit health. The CR MAX BT solves this with oxygen-sensor-specific tools:
Wireless Bluetooth Connectivity
No cords tie you to the OBD port—move freely to inspect the exhaust or wiring under the vehicle while monitoring real-time sensor voltage on your phone/tablet.
Real-Time Voltage & Signal Tracking
Displays “O2 Sensor Voltage (Bank 1, Sensor 1),” “Signal Change Rate,” and “Air-Fuel Ratio” side-by-side—spot static signals or slow response times instantly.
Vehicle-Specific Sensor Specs
Preloaded with manufacturer data (e.g., Hyundai’s O2 sensor response time: <100ms; Toyota’s voltage range: 0.1V–0.9V) for accurate comparisons.
Circuit Diagnostic Tools
Built-in multimeter and vehicle-specific wiring diagrams simplify testing for shorts, opens, or resistance in the sensor circuit—no extra tools needed.
Oxygen Sensor Test Modes
Runs “Sensor Response Test” to measure how quickly the sensor switches between lean/rich—automatically flags slow or unresponsive sensors.
Auto VIN & CAN-FD Support
Automatically detects your vehicle’s make/model/year (e.g., 2023 Hyundai Sonata, 2020 Dodge Charger) and captures fast-changing voltage data—critical for intermittent P0150 cases.
Step-by-Step: Diagnose P0150 with iCarsoft CR MAX BT
-
Connect the CR MAX BT & Confirm P0150
1. Plug the CR MAX BT’s OBD-II adapter into your vehicle’s port (under the dashboard), power on the tool, and pair via Bluetooth (follows on-screen prompts—takes 10–15 seconds).
2. Select your vehicle’s make/model/year using Auto VIN for accurate oxygen sensor specs.
3. Navigate to Engine > Fault Codes > Read Codes to confirm P0150. Tap Code Details for vehicle-specific triggers (e.g., “Hyundai: O2 Sensor Voltage Static for >30 Seconds”).
-
Analyze Real-Time Oxygen Sensor Data
1. Go to Engine > Live Data > Oxygen Sensors and select three key parameters:
- “O2 Sensor Voltage (Bank 1, Sensor 1)” (target: 0.1V–0.9V fluctuations).
- “Signal Change Rate” (normal: 5–10 switches per second).
- “Short Term Fuel Trim (STFT)” (normal: ±10%—indicates ECM adjustment health).
2. Start the engine, let it warm to operating temperature (10–15 minutes), and monitor at idle and 2000 RPM:
- P0150 Confirmation: Voltage stays static, changes slowly, or is outside 0.1V–0.9V.
- Normal Fluctuations: Sensor is working—check for exhaust leaks or fuel system issues (Step 3).
-
Inspect for Exhaust Leaks & Fuel System Issues
1. Exhaust Leak Check: - Use the CR MAX BT’s Component Location tool to find Bank 1, Sensor 1 (usually on the exhaust manifold/downpipe).
- Visually inspect for rust holes, loose flange bolts, or damaged gaskets near the sensor. Spray soapy water on suspect areas—bubbles confirm leaks.
2. Fuel System Check: - Navigate to Live Data > Fuel System and monitor “STFT” and “Long Term Fuel Trim (LTFT)”:
- STFT/LTFT >10% = lean condition (clogged injectors, vacuum leak).
- STFT/LTFT < -10% = rich condition (failing fuel pressure regulator).
-
Test the Oxygen Sensor Circuit
1. Check the Connector: - Disconnect the sensor’s electrical connector (use the CR MAX BT’s flashlight to inspect pins). Look for corrosion, bent pins, or oil residue (sign of valve cover gasket leaks).
- Clean corroded terminals with electrical contact cleaner, then reconnect securely.
2. Circuit Continuity Test: - Set the CR MAX BT to “Resistance” mode. Disconnect the sensor and ECM connectors (refer to the tool’s wiring diagram).
- Probe the sensor’s signal wire between connectors—reading <5Ω = good; infinite resistance = broken wire.
3. Heater Circuit Voltage Test: - With ignition on (engine off), set the tool to “DC Voltage” mode. Probe the sensor’s heater circuit pins (if equipped)—should read 12V (confirms power reaches the sensor).
-
Replace the Oxygen Sensor (If Needed)
1. Use the CR MAX BT’s Part Lookup to find the OEM replacement (e.g., Denso 234-4001 for many models). Ensure it matches your vehicle’s specs (e.g., 4-wire heated sensor).
2. Replacement Steps: - Let the exhaust cool completely (prevents burns).
- Disconnect the sensor’s electrical connector.
- Remove the old sensor with an oxygen sensor socket (use penetrating oil if stuck).
- Apply anti-seize compound to the new sensor’s threads (avoid the sensor element) and install by hand—torque to specs (18–25 ft-lbs).
- Reconnect the electrical connector.
-
Clear P0150 & Verify Repairs
1. Clear the code: Go to Engine > Fault Codes > Clear Codes and delete P0150.
2. Test Sensor Function: - Warm the engine to operating temperature, then monitor “O2 Sensor Voltage” on the CR MAX BT—look for rapid 0.1V–0.9V fluctuations.
3. Confirm Fix: - Take a 30-minute test drive (include highway and city driving). Use the tool’s Data Logging to record sensor voltage and fuel trims.
- Re-scan: No P0150 + normal voltage fluctuations = successful repair.
How to Prevent P0150 from Recurring
-
Replace Sensors Every 80k–100k Miles: Use the CR MAX BT’s Maintenance Reminder to schedule proactive replacement—avoids age-related failures.
-
Check Wiring Quarterly: Run the tool’s Circuit Health Scan to test for early voltage drops in the sensor circuit.
-
Use Top-Tier Fuel: Reduces carbon buildup that contaminates sensor elements—follow your vehicle’s recommended fuel octane.
-
Fix Oil Leaks Promptly: Oil entering the exhaust (e.g., from valve cover gaskets) poisons oxygen sensors—use the CR MAX BT’s Leak Detection Tips to find sources.
-
Update ECM Software: Use the CR MAX BT’s One-Key Upgrade to install manufacturer patches—some P0150 cases stem from outdated sensor calibration.
Conclusion
P0150’s “oxygen sensor circuit” label often hides simple fixes—like a corroded connector or worn sensor. The iCarsoft CR MAX BT eliminates guesswork with its wireless tools, real-time voltage monitoring, and vehicle-specific data, helping you avoid costly dealer visits or unnecessary part replacements (e.g., replacing a sensor when a wiring repair suffices).
Whether you’re a DIYer with a Hyundai Sonata or a technician servicing a Dodge Charger, the CR MAX BT ensures you resolve P0150 quickly. By restoring accurate oxygen sensor data, you’ll boost fuel efficiency, pass emissions tests, and keep your engine running smoothly—saving time and money in the long run.
FAQs About P0150 Code
Q: Can I drive with P0150 temporarily?
A: Short trips (e.g., 10–15 miles) are safe, but prolonged driving reduces fuel economy and may damage the catalytic converter (from rich fuel mixtures). Address P0150 within 1–2 weeks.
Q: How much does it cost to fix P0150?
A: $50–$150 for a DIY sensor replacement; $150–$300 for professional installation. Wiring repairs cost $30–$100. The CR MAX BT ($150–$250) saves money by avoiding misdiagnosis.
Q: Do I need a heated oxygen sensor for Bank 1, Sensor 1?
A: Most modern vehicles (2000+) use heated sensors (4-wire) to reach operating temperature faster. Check the CR MAX BT’s Part Lookup to confirm your vehicle’s required sensor type.
Q: Will cleaning the oxygen sensor fix P0150?
A: Only if the issue is mild contamination (e.g., carbon buildup). Use a specialized O2 sensor cleaner—avoid abrasives. If cleaning doesn’t restore signal fluctuations, replace the sensor.