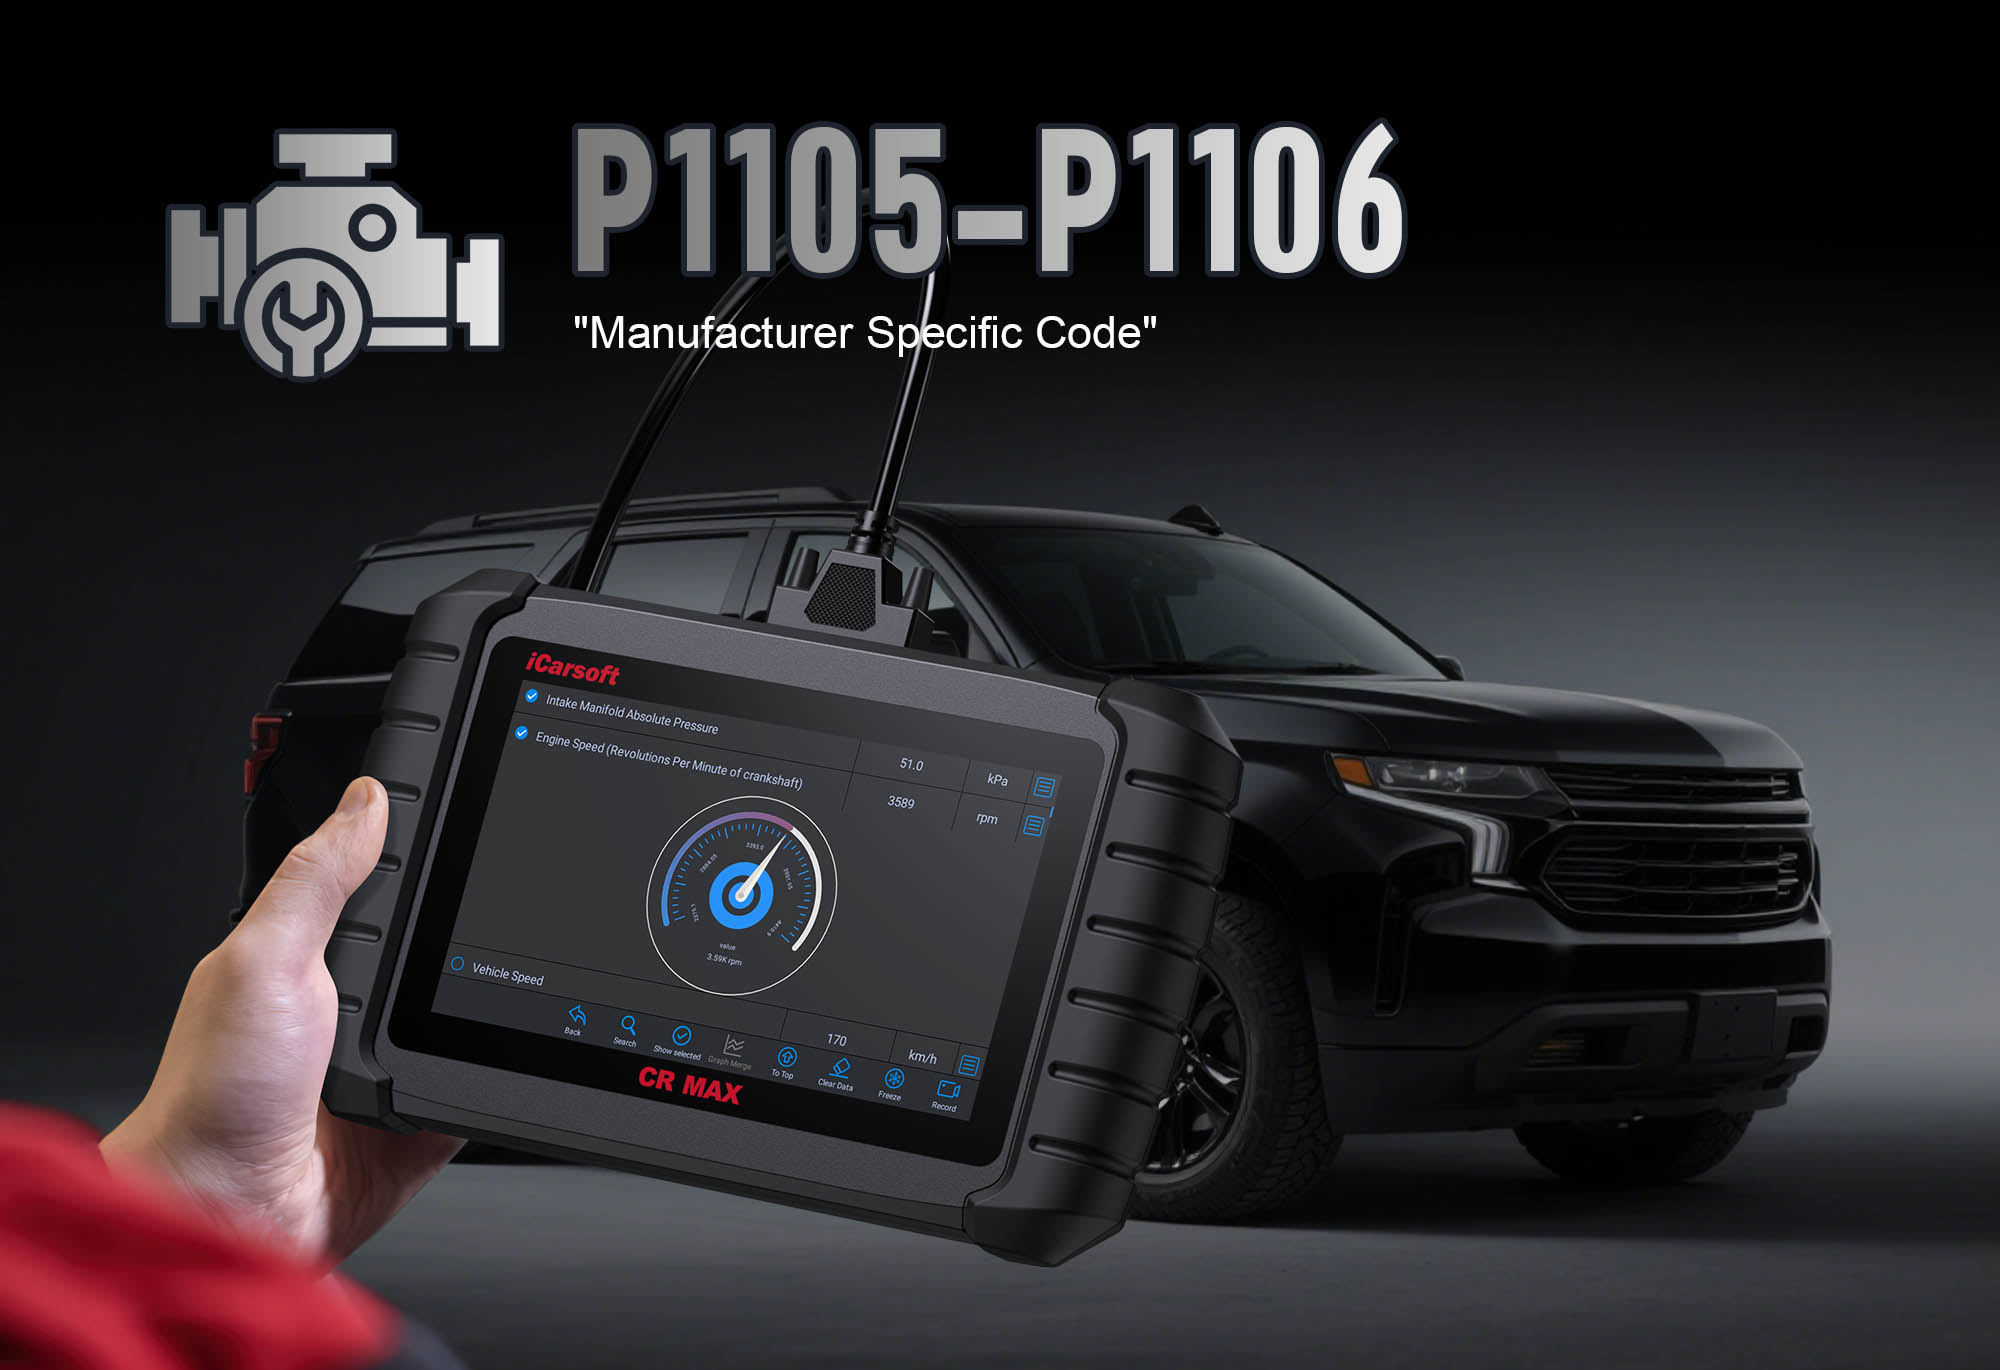
Diagnose & Clear P1105-P1106 with iCarsoft CR MAX: Fix Manifold Absolute Pressure Sensor Issues
If your check engine light illuminates and a scan returns P1105 or P1106, your vehicle is signaling problems with its Manifold Absolute Pressure (MAP) sensor circuit. These manufacturer-specific codes—common in Ford, Hyundai, Kia, and GM vehicles—indicate electrical irregularities in the sensor that monitors intake manifold pressure, a critical component for calculating air-fuel mixture and engine timing.
P1105 specifically refers to "MAP Sensor Circuit Low Voltage," while P1106 indicates "MAP Sensor Circuit High Voltage." Both codes mean the Engine Control Module (ECM) is receiving abnormal voltage from the MAP sensor (typically outside the 0.5V–4.5V normal range). This disrupts the ECM’s ability to adjust fuel delivery, leading to poor performance, increased emissions, and reduced fuel efficiency.
The MAP sensor measures pressure in the intake manifold (vacuum at idle, positive pressure in turbocharged engines) and converts it to an electrical signal. When this signal is compromised, the ECM defaults to a "limp home" fuel map, prioritizing engine protection over performance.
Basic scanners might only label these as "MAP sensor errors" but can’t pinpoint whether the issue is a faulty sensor, damaged wiring, or a failing ECM. The iCarsoft CR MAX solves this with vehicle-specific circuit diagrams, real-time voltage monitoring, and advanced sensor tests. Let’s walk through how to use it to diagnose and resolve P1105-P1106.
Why It Matters
Ignoring P1105 or P1106 risks more than just reduced performance—it threatens long-term engine health and increases operating costs. The MAP sensor is the ECM’s "window" into the intake manifold: without accurate pressure data, the ECM can’t optimize the air-fuel mixture. For naturally aspirated engines, this leads to a rich mixture (excess fuel) that increases consumption by 10–15% and coats spark plugs with carbon deposits. For turbocharged models (like Ford EcoBoost or Hyundai Sonata N Line), incorrect MAP data can cause underboost (sluggish acceleration) or overboost (risk of detonation and piston damage). Additionally, unregulated fuel delivery raises emissions, causing failed smog tests and potential fines in areas with strict environmental laws. Over time, the "limp home" mode strains other components (e.g., catalytic converter, oxygen sensors), leading to costly replacements. Addressing P1105-P1106 with the CR MAX early prevents these issues and restores your vehicle’s intended efficiency.
Understanding P1105-P1106: Causes & Key Symptoms
To diagnose these codes effectively, start by recognizing their warning signs and underlying triggers:
Key Symptoms of P1105-P1106
-
Rough Idle: The engine shakes, sputters, or stalls at low speeds—caused by an incorrect air-fuel mixture from bad MAP data.
-
Reduced Power & Hesitation: Acceleration feels sluggish, especially under load (e.g., climbing hills or merging)—ECM’s "limp home" mode limits fuel delivery.
-
Increased Fuel Consumption: Excess fuel is injected to avoid lean conditions, leading to fewer miles per gallon and higher refueling costs.
-
Illuminated Check Engine Light: Triggers when MAP voltage stays below 0.5V (P1105) or above 4.5V (P1106) for 5+ consecutive seconds.
-
Emission Issues: Failed smog tests due to unburned fuel (rich mixture) or incomplete combustion—harmful pollutants exceed legal limits.
-
Hard Starting: Rare in warm weather, but common in cold conditions—ECM can’t adjust fuel mixture for low-temperature startup.
Common Causes of P1105-P1106
|
Cause
|
Description
|
|
Faulty MAP Sensor
|
Internal component failure (e.g., damaged pressure diaphragm or circuit board) causes erratic voltage output—common in vehicles with 80,000+ miles.
|
|
Wiring Issues
|
Frayed wires (from engine heat or debris), corrosion in connectors, or short circuits in the sensor circuit—common in Ford F-150s and GM trucks with exposed harnesses.
|
|
Vacuum Leaks
|
Cracked hoses, loose intake manifold gaskets, or leaking PCV valves disrupt pressure readings—mimics sensor failure by sending false low-pressure signals.
|
|
ECM Problems
|
Failed 5V reference voltage supply or signal processing circuit—rare, but confirmed via CR MAX’s module communication tests (fixed with software updates or replacement).
|
|
Contaminated Sensor
|
Oil or debris on the sensor element (from turbocharger seal failure or dirty air filters)—common in Hyundai/Kia turbo models (e.g., Sonata N, Sportage GT).
|
Why iCarsoft CR MAX Excels at Diagnosing P1105-P1106
Basic OBD-II scanners can’t match the CR MAX’s ability to diagnose MAP sensor issues with precision—here’s why it’s the ideal tool for P1105-P1106:
Vehicle-Specific Circuit Data
Preloaded with wiring diagrams, voltage specs (0.5V–4.5V normal range), and sensor locations for Ford F-150s, Hyundai Sonatas, Kia Sportages, and GM Silverados—no generic data.
Real-Time Voltage Monitoring
Displays live MAP sensor voltage, intake manifold pressure (kPa), and 5V reference supply—spot abnormalities (e.g., P1105’s <0.5V or P1106’s >4.5V) instantly.
Automated Circuit Testing
Runs checks for 5V reference stability, ground integrity (<0.5Ω resistance), and signal continuity—rules out wiring issues in minutes without a multimeter.
MAP Sensor Simulation
Simulates a healthy sensor signal to the ECM—if the module responds correctly, the issue is the sensor (not the ECM), avoiding costly module replacements.
Vacuum Leak Detection Guidance
Provides step-by-step smoke test or pressure check procedures to find leaks—includes vehicle-specific leak-prone areas (e.g., intake gaskets on GM 5.3L engines).
Auto VIN Detection
Automatically identifies your vehicle’s specs (e.g., turbo vs. naturally aspirated, 2023 Ford F-150 3.5L EcoBoost), ensuring accurate test parameters.
Step-by-Step: Diagnose P1105-P1106 with iCarsoft CR MAX
-
1. Connect & Confirm the Codes
Plug the CR MAX into your vehicle’s OBD-II port (under the dashboard) and power it on. Select your vehicle via Auto VIN (fast and accurate for Ford/Hyundai/Kia/GM) or manual entry (year/make/model). Navigate to Engine > Fault Codes > Read Codes to confirm P1105, P1106, or both. Tap Code Details for vehicle-specific insights (e.g., "Ford: MAP Sensor Voltage Below 0.4V for 10 Seconds" or "Hyundai: Voltage Spikes Above 4.7V During Acceleration").
-
2. Check for Related Codes
These codes often pair with issues that disrupt air-fuel mixture. Use the CR MAX to scan for:
- P0171/P0174 (Lean Fuel Mixture—caused by vacuum leaks or bad MAP data)
- P0121/P0122 (Throttle Position Sensor Faults—shares 5V reference with MAP sensor)
- P0234/P0299 (Turbo Boost Issues—common in turbo models with MAP sensor contamination)
Address these first—resolving a vacuum leak (P0171) may eliminate P1105-P1106 without replacing the sensor.
-
3. Monitor Live MAP Sensor Data
Go to Engine > Live Data > Air Intake and select three key parameters:
- "MAP Sensor Voltage" (target: 0.5V–1.0V at idle, 4.0V–4.5V at wide-open throttle/WOT)
- "Intake Manifold Pressure" (in kPa—should correlate with voltage: ~20kPa at idle, ~150kPa at WOT for turbo models)
- "5V Reference Voltage" (should stay steady at 4.8V–5.2V—fluctuations indicate ECM issues).
Start the engine and observe at idle, 2000 RPM, and during acceleration:
- P1105 Cause: Voltage stays <0.5V (check ground connection or 5V supply).
- P1106 Cause: Voltage spikes >4.5V (check for short circuits or sensor contamination).
-
4. Locate & Inspect the MAP Sensor
Use the CR MAX’s Component Location tool to find the sensor (typically mounted on the intake manifold, throttle body, or air intake tube). Perform a visual inspection:
- Sensor Body: Check for oil stains (sign of turbo seal failure) or physical damage (cracks from debris). For contaminated sensors, gently wipe the element with a clean, dry cloth (avoid touching with fingers).
- Vacuum Hose (if equipped): Inspect for cracks, dry rot, or disconnections—replace damaged hoses with OEM-spec vacuum lines.
- Electrical Connector: Look for green corrosion, bent pins, or loose terminals—clean with electrical contact cleaner and apply dielectric grease to prevent future corrosion.
-
5. Test the MAP Sensor Circuit
Wiring issues often mimic a faulty sensor—use the CR MAX to verify the circuit. Navigate to Special Functions > Engine > Sensor Tests > MAP Sensor Circuit Test and follow prompts:
- 5V Reference Check: Ensures the ECM supplies steady 5V to the sensor—failed = ECM or broken wire (locate via CR MAX’s wiring diagram).
- Ground Test: Measures resistance between the sensor’s ground pin and chassis—should be <0.5Ω; high resistance = corroded ground strap (clean or replace).
- Signal Continuity Test: Checks for broken wires between the sensor and ECM—use the tool’s pinout guide to identify signal wires (typically a blue or green wire).
-
6. Perform Sensor Swap Test (If Applicable)
If your vehicle has a compatible MAP/barometric pressure (BARO) sensor (e.g., GM 5.3L engines, Ford EcoBoost models), use this test to confirm a faulty sensor:
1. Use the CR MAX’s Component Diagram to confirm sensors are identical (same part number).
2. Disconnect both sensors and swap their positions (e.g., MAP sensor to BARO location and vice versa).
3. Reconnect the battery (if disconnected) and start the engine.
4. Rescan for codes with the CR MAX.
- Result 1: P1105/P1106 moves to the swapped sensor’s code (e.g., P0108 for BARO fault) = faulty MAP sensor (needs replacement).
- Result 2: P1105/P1106 remains = wiring or ECM issue (not the sensor).
-
7. Check for Vacuum Leaks
Leaks are the #1 hidden cause of P1105 (low voltage). With the engine off:
1. Disconnect the vacuum hose from the MAP sensor (if equipped).
2. Attach a hand pump to the hose and apply 5–10 inHg of vacuum.
3. Monitor "MAP Sensor Voltage" on the CR MAX—voltage should increase steadily with vacuum (e.g., 0.5V at 0 inHg → 1.5V at 10 inHg).
- Leak Detected: Voltage drops rapidly or doesn’t respond—inspect intake manifold gaskets, PCV valves, and vacuum lines for cracks (use soapy water to find small leaks: bubbles indicate seepage).
- No Leak: Voltage stays steady—move on to sensor replacement if other tests confirm a fault.
-
8. Repair & Clear P1105-P1106
Fix the root cause based on diagnostics:
- Faulty Sensor: Replace with an OEM part (use the CR MAX’s Part Lookup—e.g., Ford BL3Z-9F479-A, Hyundai 39300-2G700).
- Wiring Issues: Splice frayed wires with heat-shrink connectors; replace severely damaged harness sections (use OEM harnesses for compatibility).
- Vacuum Leaks: Replace cracked hoses or intake manifold gaskets; use high-temp silicone sealant for small leaks.
- Contaminated Sensor: Clean with mass airflow sensor (MAF) cleaner (avoid harsh chemicals); let dry completely before reinstalling.
- ECM Issues: Use Special Functions > ECM > Software Update to install manufacturer patches (for 5V reference faults); consult a professional for module replacement.
Clear the codes: Navigate to Engine > Fault Codes > Clear Codes to delete P1105-P1106. Some vehicles require an ECM reset (via Special Functions > ECM > Reset Adaptive Values) to restore normal operation.
-
9. Verify the Repair
Take a 20–30 minute test drive that includes idle, city acceleration, and highway speeds (60–70 mph). Use the CR MAX’s Data Logging to record MAP sensor voltage, intake pressure, and fuel trim values. After driving:
1. Re-scan for codes—no P1105-P1106 = successful repair.
2. Check live data: Voltage should stay within 0.5V–4.5V, and intake pressure should correlate with throttle input.
3. Confirm performance: No rough idle, hesitation, or increased fuel consumption—if issues persist, repeat vacuum leak tests.
Preventing P1105-P1106 Recurrence
Use the iCarsoft CR MAX to maintain a healthy MAP sensor system and avoid future codes:
-
Quarterly Sensor Checks: Run Special Functions > Engine > Sensor Tests > MAP Sensor Health Scan to test voltage response and pressure correlation.
-
Vacuum System Inspections: Check hoses and intake gaskets during oil changes—replace vacuum hoses every 3–5 years (sooner if cracked or brittle).
-
Connector Maintenance: Apply dielectric grease to the MAP sensor connector annually to prevent corrosion from moisture or engine heat.
-
Air Filter Replacement: Replace air filters every 15,000 miles—dirty filters let debris enter the intake, contaminating the MAP sensor.
-
Turbo Seal Checks (if applicable): For Ford/Hyundai/Kia turbo models, use the CR MAX’s Live Data to monitor oil pressure—low pressure increases seal failure risk (contaminates sensor).
-
ECM Software Updates: Use the CR MAX’s One-Key Upgrade to install manufacturer updates that improve MAP sensor calibration and 5V reference stability.
Summary Table
|
Step
|
Action
|
|
1
|
Connect CR MAX, confirm P1105-P1106, and review vehicle-specific details
|
|
2
|
Scan for related codes (P0171/P0174, P0121/P0122, P0234/P0299) and address first
|
|
3
|
Monitor live MAP voltage, intake pressure, and 5V reference to narrow cause
|
|
4
|
Locate and inspect MAP sensor, vacuum hose, and electrical connector
|
|
5
|
Test MAP sensor circuit (5V reference, ground, signal continuity)
|
|
6
|
Perform sensor swap test (if applicable) to confirm faulty sensor
|
|
7
|
Check for vacuum leaks with hand pump and live data monitoring
|
|
8
|
Repair root cause, reset ECM adaptive values (if needed), and clear codes
|
|
9
|
Test drive, log data, and re-scan to verify repair
|
Final Thoughts
P1105 and P1106 might seem like cryptic electrical issues, but the iCarsoft CR MAX turns them into a targeted repair. Its ability to monitor live MAP data, test circuits, and guide vacuum leak checks eliminates the guesswork that leads to unnecessary sensor replacements—instead of buying a new sensor for $80+, you might just need to fix a $5 vacuum hose or clean a corroded connector. For Ford, Hyundai, Kia, and GM owners, this tool is especially valuable: it knows the unique quirks of these brands’ MAP systems (like Ford’s 5V reference shared with TPS, or Hyundai’s turbo sensor contamination risks).
By following this guide, you’ll restore proper air-fuel mixture, engine performance, and fuel efficiency—saving money on gas and avoiding costly future repairs. Remember: P1105-P1106 aren’t just warning lights—they’re signs your engine isn’t operating at its best. With the CR MAX, you can diagnose and fix them quickly, keeping your vehicle running smoothly for years.
FAQs About P1105-P1106 Codes
Q: Can I drive my vehicle with P1105 or P1106?
A: Short trips (e.g., to a repair shop) are possible, but long-term driving is not recommended. The ECM’s "limp home" mode reduces performance and increases fuel consumption, and unregulated fuel delivery can damage the catalytic converter or spark plugs. If you notice rough idle or hesitation, avoid highway driving and diagnose with the CR MAX within 1–2 days.
Q: How much does it cost to fix P1105-P1106?
A: Costs vary by cause: Replacing a MAP sensor = $50–$200 (OEM for Ford/Hyundai/Kia/GM); fixing a vacuum hose = $5–$20; replacing an intake manifold gasket = $150–$400; ECM repair = $500–$1,200. The CR MAX helps avoid expensive ECM repairs by identifying cheap-to-fix issues (hoses, sensors) first.
Q: Why do P1105-P1106 come back after I clear them?
A: You likely missed the root cause. Common reasons: Unrepaired vacuum leaks (small cracks in intake gaskets), corroded ground straps (not just the sensor connector), or a failing turbo seal (oils the sensor). Use the CR MAX’s data logging to capture when codes return—e.g., only at high RPMs points to a vacuum leak under pressure.
Q: Do I need to replace the MAP sensor if I have P1105-P1106?
A: Not always. Up to 40% of P1105-P1106 cases are caused by vacuum leaks or wiring issues, not the sensor itself. Use the CR MAX’s circuit tests and vacuum leak checks to rule out these issues first. Only replace the sensor if tests confirm it’s faulty (e.g., failed continuity or swap test).


