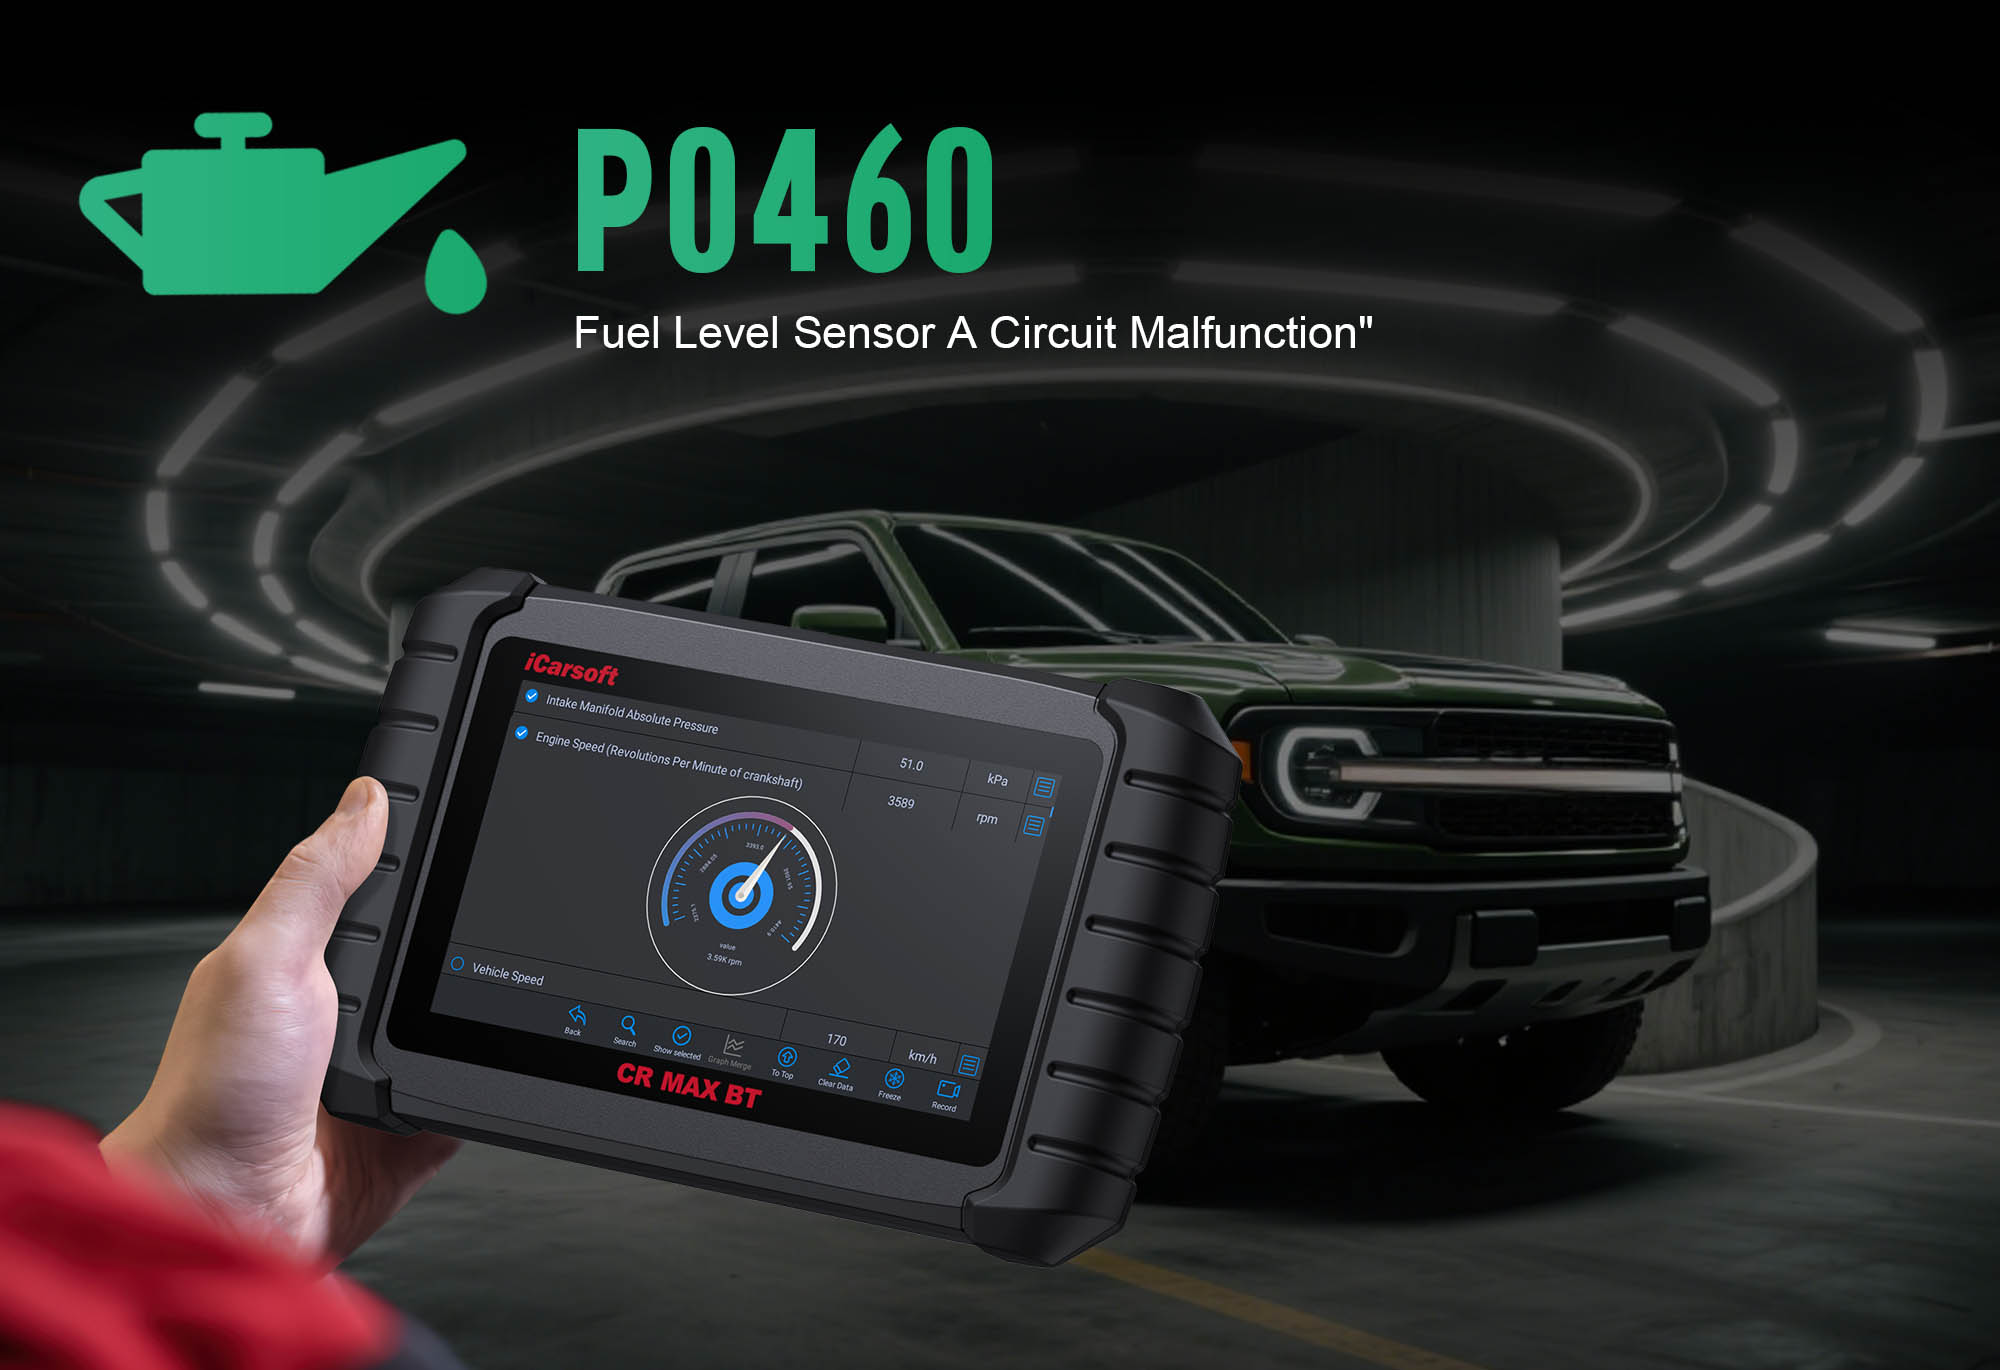
P0460 Fuel Level Sensor Circuit Malfunction: What You Need to Know & How to Diagnose It
If you’ve ever turned on your car and noticed the Check Engine Light glowing, followed by an erratic or unresponsive fuel gauge, you might be dealing with the P0460 code. This common OBD-II powertrain code signals a malfunction in the fuel level sensor “A” circuit—and while it’s not an immediate safety hazard, ignoring it could leave you stranded with an empty tank. In this guide, we’ll break down what P0460 means, its causes, diagnosis steps, and how tools like the iCarsoft CR MAX BT can simplify the process.
1. What Is the P0460 Code?
P0460 is a generic OBD-II code applicable to most vehicles built after 1996. It occurs when the Powertrain Control Module (PCM) detects a discrepancy between the fuel level sensor’s signal and the actual fuel in the tank. In short: your car’s computer can’t trust the data from the sensor, so the fuel gauge may read full when empty (or vice versa), and the Check Engine Light triggers.
Our workshop sees P0460 pop up regularly across makes and models, but European vehicles—like certain Mercedes-Benz ML/GL-Class SUVs, Volkswagens, and BMWs—are more prone to this issue. We recently fixed a 2007 Mercedes-Benz ML350 where the P0460 code left the owner guessing their fuel level; the root cause? A faulty fuel level sensor. American brands (Ford, Chevy) and Asian makes (Toyota, Honda) rarely show this code, but it can happen to any vehicle.
2. Key Components Involved in P0460
To understand P0460, you need to know the parts that keep your fuel gauge accurate—each component plays a critical role in transmitting reliable fuel level data:
Fuel Level Sensor (FLS)
Located inside the fuel tank (often integrated with the fuel pump assembly), it uses a float attached to a variable resistor. As fuel level changes, the float moves, adjusting the resistor and sending a 0-5V analog signal to the PCM and fuel gauge. This is the #1 culprit for P0460—worn floats or internal wiring failure are common issues.
Fuel Gauge
The instrument panel display that translates the FLS signal into a readable fuel level (e.g., “1/2 full”). A defective gauge (e.g., broken internal circuitry) can misinterpret the signal, triggering P0460—though this is rare compared to sensor issues.
Powertrain Control Module (PCM)
The vehicle’s “brain” that monitors and validates the FLS signal. It cross-references the sensor’s data with fuel consumption rates to ensure accuracy. A faulty PCM (e.g., internal software glitches) is extremely rare—only suspect it after ruling out all other components.
Wiring & Connectors
The electrical lines connecting the FLS to the PCM and gauge. Corrosion (from moisture in the fuel tank), fraying (from road debris), or loose connections often disrupt the 0-5V signal—leading to erratic readings and P0460.
3. Common Causes of P0460
Not sure why your Check Engine Light is on? These issues are the most frequent triggers for P0460, ordered by likelihood:
1. Faulty Fuel Level Sensor (Most Common)
Over time, the FLS’s float can crack (filling with fuel and sinking) or its internal resistor can wear out. This causes the sensor to send inconsistent signals (e.g., stuck at 0V or 5V) to the PCM. European vehicles are particularly prone to this due to tighter sensor tolerances.
2. Damaged/Corroded Wiring & Connectors
Road salt, moisture, or debris can damage the wiring harness leading to the FLS. Corroded connectors (common at the fuel tank access panel) block electrical flow, while frayed wires cause short circuits—both disrupt the 0-5V signal.
3. Defective Fuel Gauge
Rare, but possible: if the gauge’s internal circuitry fails, it may send false “malfunction” signals to the PCM. This is more common in older vehicles with analog gauges (vs. modern digital displays).
4. Fuel Tank Damage
A dented, warped, or cracked fuel tank can shift the FLS’s position, altering the float’s movement. For example, a bent tank may trap the float at “half full,” causing the sensor to send incorrect data. This is often caused by hitting curbs or road debris.
5. Faulty PCM (Extremely Rare)
Only consider this if all other components check out. PCM issues (e.g., outdated firmware, internal circuitry failure) can prevent the module from interpreting the FLS signal correctly—though this usually triggers additional codes (e.g., P0606 for PCM internal fault).
4. How to Diagnose P0460 (With the iCarsoft CR MAX BT)
Diagnosing P0460 doesn’t have to involve guesswork or expensive shop tools. The iCarsoft CR MAX BT—a wireless OBD-II diagnostic scanner—simplifies the process by letting you scan codes, monitor live sensor data, and narrow down the root cause in minutes. Follow these steps:
-
Step 1: Scan for Codes & Record Freeze-Frame Data
-
Plug the CR MAX BT into your vehicle’s OBD port (usually under the dashboard) and pair it with your phone via Bluetooth.
-
Open the iCarsoft app, select Engine > Fault Codes > Read Codes, and confirm P0460 is present. Note any related codes (e.g., P0171 for fuel system lean—this may indicate a separate issue).
-
Access Freeze-Frame Data to see when P0460 triggered (e.g., “Fuel level: 1/4, RPM: 750”)—this helps replicate the issue during testing.
-
Step 2: Monitor FLS Live Signal Voltage
-
Navigate to Live Data > Fuel System and select “Fuel Level Sensor Voltage (V)” from the parameter list.
-
Start the engine and let it idle:
-
A healthy sensor will show a steady voltage (e.g., 2.5V for 1/2 tank, 0.5V for empty, 4.5V for full) that doesn’t jump more than 0.2V.
-
An faulty sensor will show erratic voltage (e.g., 1V → 4V randomly) or stay stuck at 0V/5V.
-
Optional: Add 1-2 gallons of fuel and check if the voltage increases—this confirms the float is moving (or not).
-
Step 3: Perform Visual Inspection (Guided by CR MAX BT)
-
Use the scanner’s Component Location feature to find the FLS and fuel tank access panel (varies by vehicle—e.g., under the rear seat for Mercedes, in the trunk for VW).
-
With the engine off and battery disconnected, inspect:
-
Wiring/Connectors: Look for corrosion, fraying, or loose fits. Clean corroded connectors with electrical contact cleaner.
-
Fuel Tank: Check for dents, cracks, or warping—pay close attention to areas near the FLS mounting point.
-
Step 4: Test FLS Circuit Integrity
-
Use the CR MAX BT’s Circuit Test (under Special Functions > Fuel System) to measure voltage drop between the FLS and PCM.
-
Results:
-
Voltage drop ≤0.5V → Wiring is good; issue is the sensor or gauge.
-
Voltage drop >0.5V → Wiring/corrosion is the problem (repair or replace the harness).
-
Step 5: Rule Out Fuel Gauge/PCM Issues
-
If FLS/wiring check out, use the CR MAX BT to run Gauge Test (under Instrument Cluster)—this verifies if the gauge responds to test signals (e.g., “Set fuel gauge to 1/2”). No response = faulty gauge.
-
To check the PCM: Run PCM Communication Test (under Special Functions). If the PCM fails to acknowledge the test, update its firmware (via the scanner) or consult a professional.
5. How to Fix P0460: Repair Solutions
Once you’ve diagnosed the root cause with the CR MAX BT, use these targeted fixes. Costs include parts and average labor (1–2 hours at $75–$150 USD/hour)—DIYers can save 50–70% by skipping labor.
Fix 1: Replace Faulty Fuel Level Sensor
Cost: $125–$400 USD (€105–€340 EUR) for parts; $75–$300 USD total (DIY vs. professional).
Steps:
-
Disconnect the battery and relieve fuel pressure (use CR MAX BT’s Fuel Pressure Relief function if supported).
-
Access the FLS via the fuel tank access panel (rear seat/trunk) or drop the tank (if no access panel).
-
Unplug the sensor connector, remove mounting screws, and replace with an OEM sensor (critical for European vehicles—aftermarket sensors may not match tolerances).
-
Reconnect the battery, clear P0460 with the CR MAX BT, and test the gauge.
Fix 2: Repair Wiring/Connectors
Cost: $10–$50 USD (€8–€42 EUR) for parts; $10–$250 USD total (DIY vs. professional).
Steps:
-
Cut out frayed/corroded wire sections and splice in matching-gauge wire (use heat-shrink tubing to seal).
-
Clean corroded connectors with electrical contact cleaner and apply dielectric grease to prevent future moisture damage.
-
Secure loose wiring with zip ties to avoid contact with hot/cold components.
Fix 3: Replace Defective Fuel Gauge
Cost: $200–$600 USD (€170–€510 EUR) for parts (often part of the instrument cluster); $200–$800 USD total (DIY vs. professional).
Steps:
-
Remove the instrument cluster (follow vehicle-specific instructions—use CR MAX BT’s Service Manual feature).
-
Replace the gauge (or entire cluster if integrated) with an OEM part.
-
Reinstall the cluster, clear codes, and test the gauge with the CR MAX BT’s Gauge Test.
Fix 4: Repair/Replace Fuel Tank
Cost: $400–$1,500 USD (€340–€1,275 EUR) for parts; $400–$2,000 USD total (DIY vs. professional).
Steps:
-
Drain the fuel tank and disconnect all lines (use the CR MAX BT to relieve pressure first).
-
Remove the tank and inspect for damage—small dents can be repaired; cracks require replacement.
-
Reinstall the tank (or new tank), reconnect lines, and test the FLS signal with the scanner.
Fix 5: PCM Reprogramming/Replacement
Cost: $0 (firmware update, DIY)–$1,000 USD (€850 EUR) for replacement; $0–$1,500 USD total.
Steps:
-
First, use the CR MAX BT to run ECM/PCM Firmware Update (requires internet).
-
If updates fail, have a professional test the PCM—replacement modules must be programmed to your vehicle’s VIN.
6. How to Prevent P0460
Pro Tips to Avoid Future P0460 Headaches
-
Keep Fuel Tank Above 1/4 Full: Running on empty damages the FLS—fuel cools and lubricates the sensor; low fuel exposes it to heat, accelerating wear. This is especially critical for European vehicles with sensitive sensors.
-
Inspect Wiring/Connectors Annually: Check the FLS access panel (under rear seat/trunk) for corrosion—clean connectors with contact cleaner to prevent signal disruptions.
-
Avoid Tank Damage: Don’t hit curbs or drive over large debris—even small dents can shift the FLS. If you hit something, use the CR MAX BT to check FLS voltage for changes.
-
Run Regular Scans: Use the CR MAX BT to scan for P0460 (even if the Check Engine Light isn’t on)—subtle signal issues often show up in live data before the code triggers.
7. FAQs About P0460
Q: Is it safe to drive with P0460?
A: It’s safe in the short term, but risky long-term. The erratic fuel gauge means you can’t trust how much fuel you have—you could run out unexpectedly (e.g., gauge reads 1/4 full but tank is empty). Diagnose and fix it within 1–2 weeks.
Q: Will P0460 affect fuel economy?
A: No— the FLS only monitors fuel level, not fuel delivery or combustion. However, an inaccurate gauge may make you refill more often than needed (e.g., refilling at 1/4 full because you don’t trust the gauge), which wastes money.
Q: Can a blown fuse cause P0460?
A: Yes—if the fuse powering the FLS circuit (often labeled “Fuel Gauge” or “FLS” in the fuse box) blows, the sensor can’t send a signal to the PCM, triggering P0460. Use the CR MAX BT’s Fuse Test feature to check circuit power.
Q: How long does it take to fix P0460?
A: Most repairs take 1–2 hours:
-
Sensor replacement: 1 hour (if access panel is easy to reach).
-
Wiring repair: 1–1.5 hours (varies by harness access).
-
Tank replacement: 2+ hours (more labor-intensive).
DIYers may take longer if they’re unfamiliar with the vehicle, but the CR MAX BT’s guided steps speed up the process.
Q: Why do European vehicles get P0460 more often?
A: European manufacturers (Mercedes, VW, BMW) use FLS with tighter tolerances (e.g., 0.1V signal precision vs. 0.2V for American/Asian cars). This makes them more sensitive to wear—even minor float damage can throw the signal out of range, triggering P0460.
Final Thoughts
P0460 Is Manageable—With the Right Tool
P0460 may seem frustrating (who wants an untrustworthy fuel gauge?), but it’s a straightforward issue to diagnose and fix. The key is avoiding guesswork—using the iCarsoft CR MAX BT lets you pinpoint the root cause (sensor, wiring, gauge) in minutes, saving you money on unnecessary parts.
For European vehicle owners (the most prone to P0460), the scanner’s make-specific insights are a game-changer—no more relying on generic repair guides. And for DIYers, its wireless design and guided steps make even sensor replacement accessible.
Don’t let P0460 leave you stranded. Grab the CR MAX BT, diagnose the issue, and get your fuel gauge back to working order—your peace of mind (and wallet) will thank you.