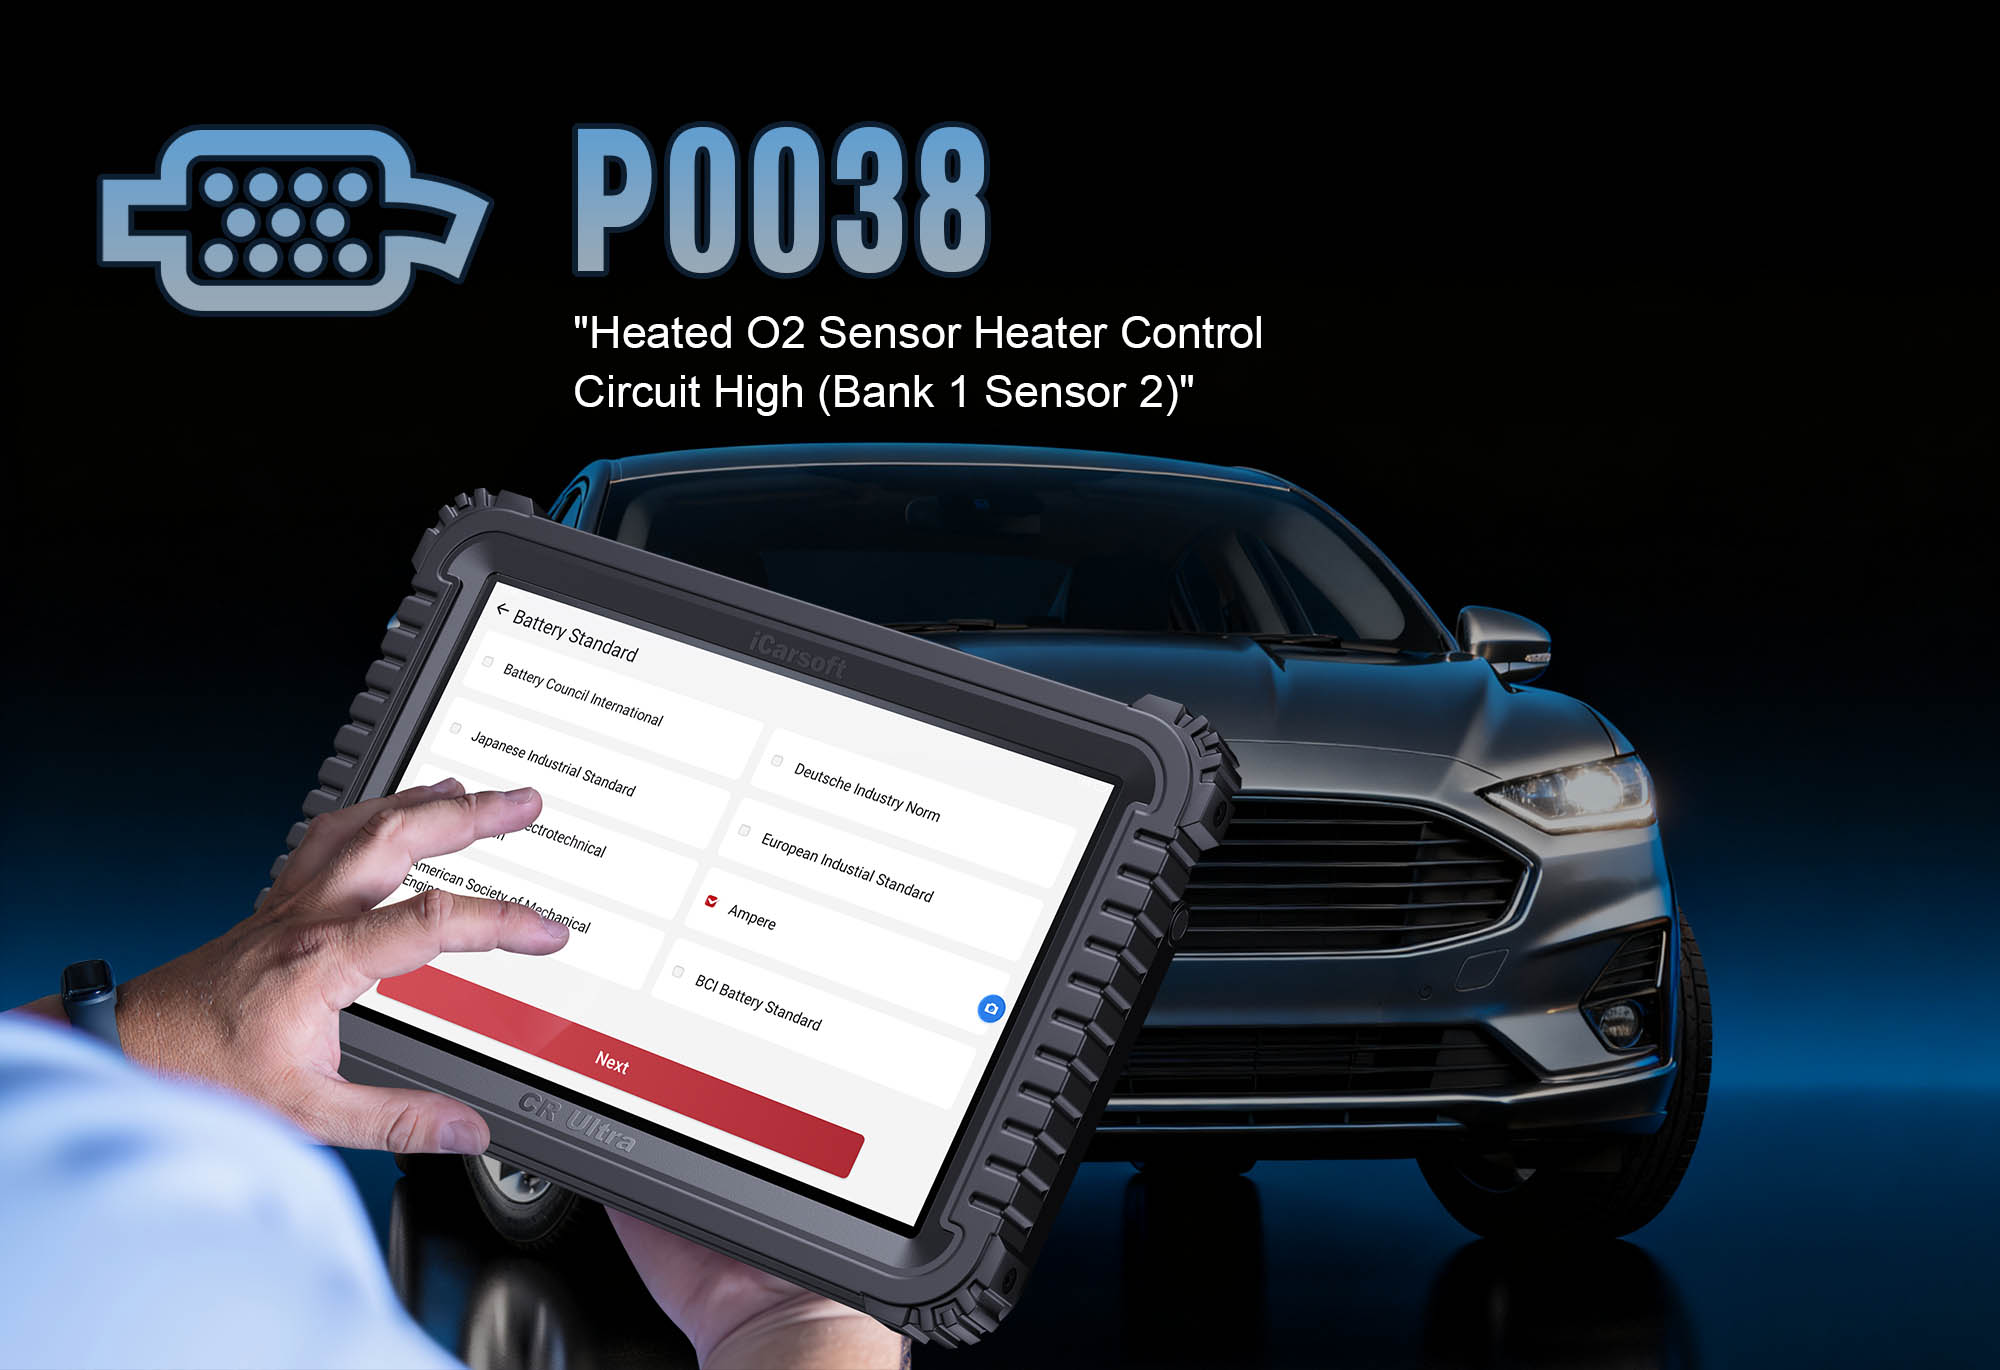
Diagnose & Clear P0038 with iCarsoft CR Ultra: Fix HO2S Heater Control Circuit High (Bank 1, Sensor 2)
If your check engine light illuminates and you notice delayed warm-up performance or failed emissions tests, a diagnostic scan will likely return P0038. This OBD-II code stands for "HO2S Heater Control Circuit High (Bank 1, Sensor 2)," indicating the Engine Control Module (ECM) has detected an abnormally high voltage in the heater circuit of the downstream oxygen (O2) sensor in Bank 1.
Oxygen sensors rely on internal heaters to reach operating temperature (around 600°F) quickly, ensuring accurate readings of exhaust gas composition—critical for the ECM to adjust fuel delivery. The downstream sensor (Bank 1, Sensor 2), located after the catalytic converter, monitors emissions efficiency. A "high" heater circuit voltage means the ECM is receiving a signal above the normal range (typically >14.5V), preventing the sensor from heating properly. Left unaddressed, P0038 can cause slow sensor response, inaccurate fuel trim adjustments, and increased emissions.
Basic scanners may only flag "O2 sensor heater fault" but can’t test circuit integrity or heater resistance. The iCarsoft CR Ultra—with its advanced circuit testing, heater resistance checks, and live voltage tracking—solves this. Let’s explore how to diagnose and resolve P0038 using this professional tool.
 iCarsoft CR Ultra: Monitoring Bank 1, Sensor 2 heater circuit voltage to resolve P0038
Understanding P0038: Causes & Key Symptoms
A high voltage in the downstream O2 sensor heater circuit disrupts sensor performance, leading to distinct issues that affect efficiency and emissions. Below are the critical symptoms to identify and common causes to target.
Key Symptoms of P0038
-
Check Engine Light: Illuminates when the ECM detects heater circuit voltage exceeding 14.5V for 5+ seconds during startup or operation.
-
Delayed Sensor Warm-Up: The O2 sensor takes longer to reach operating temperature, causing the ECM to run in "open-loop" mode (fixed fuel delivery) longer—reducing fuel efficiency by 5–10%.
-
Increased Emissions: Inaccurate sensor readings lead to improper fuel trim, raising hydrocarbon (HC) and carbon monoxide (CO) levels—often causing failed emissions tests.
-
Rough Idle During Warm-Up: Open-loop operation can create an unstable air-fuel mixture until the sensor finally heats up.
-
Heater Circuit Overheating: Persistently high voltage may damage the sensor’s heater element, leading to complete sensor failure.
Common Causes of P0038
-
Faulty O2 Sensor Heater Element: A shorted or damaged heater inside the sensor creates excessive current draw, triggering a high voltage reading.
-
Damaged Wiring or Connector: Frayed wires, corroded terminals, or a loose plug in the heater circuit can cause resistance spikes, leading to high voltage.
-
Failed Heater Relay or Fuse: A stuck relay or blown fuse in the heater circuit disrupts voltage regulation, causing irregular voltage spikes.
-
ECM Malfunction: A faulty module may send incorrect voltage to the heater circuit (rare but critical to rule out).
-
Water Intrusion: Moisture in the sensor connector or wiring harness creates short circuits, altering voltage levels.
Why iCarsoft CR Ultra Excels at Diagnosing P0038
The CR Ultra outperforms basic tools with specialized features for O2 sensor heater circuit diagnostics, ensuring you don’t just "detect the fault"—but isolate the exact cause (sensor, wiring, relay, or ECM).
Heater Circuit Voltage Tracking
Monitors real-time voltage in the Bank 1, Sensor 2 heater circuit, highlighting spikes above 14.5V and pinpointing when they occur (e.g., "Voltage = 16.2V during startup—relay fault"). Logs data for later review to catch intermittent issues.
Resistance Testing
Measures the O2 sensor heater element resistance to identify shorts or opens. Normal range = 10–40 ohms (varies by sensor); 0 ohms = shorted element, infinite ohms = open element—no guesswork on sensor health.
Bi-Directional Circuit Control
Sends test voltages to the heater circuit to verify if the ECM or wiring is causing high voltage. For example, "Test voltage = 13.8V (normal) → ECM is at fault if vehicle voltage remains high."
3D Component Mapping
Displays high-resolution diagrams of the Bank 1, Sensor 2 wiring path, relay, and fuse locations for 200+ vehicle brands. Simplifies physical inspection by marking critical components (e.g., "Heater relay in under-hood fuse box, slot F12").
Fuse & Relay Activation Tests
Checks if the heater relay/fuse is functioning by commanding activation and monitoring circuit response. A non-responsive relay = replace; blown fuse = identify underlying short before replacement.
ECM Communication Validation
Verifies the ECM is sending correct heater control signals (PWM duty cycle) to the circuit. Irregular signals = ECM fault (requires professional reprogramming or repair).
Step-by-Step: Diagnose P0038 with iCarsoft CR Ultra
-
Connect & Confirm the Code
Plug the CR Ultra into your vehicle’s OBD-II port (use included adaptors for older models with non-standard ports). Power on the tool and select your vehicle via Auto VIN Scan (instant VIN reading) or manual entry (make/model/year/engine).
Navigate to Engine > Fault Codes > Read Codes to confirm P0038. Tap Code Details for vehicle-specific insights (e.g., "Hyundai: Bank 1, Sensor 2 Heater Voltage = 15.8V; Check Wiring & Sensor Heater").
-
Locate Bank 1, Sensor 2 & Heater Circuit Components
Use the CR Ultra’s 3D mapping to avoid misidentifying critical parts (heater circuits vary by vehicle):
-
Go to Component Location > Engine > Exhaust System > HO2S (Bank 1, Sensor 2).
-
The tool displays a 3D diagram highlighting:
-
Downstream O2 Sensor (Bank 1, Sensor 2): Positioned after the catalytic converter on the cylinder bank containing cylinder 1.
-
Heater Circuit Wiring: Path from the sensor to the ECM, including intermediate connectors and harness routing (marked in red to avoid confusion with signal wires).
-
Heater Relay/Fuse: Typically in the under-hood fuse box (labeled "O2 HEATER B1S2" or "HO2S HEATER")—the tool marks its exact slot.
-
Analyze Heater Circuit Voltage & Live Data
Real-time data reveals voltage irregularities that cause P0038—follow these steps:
-
Turn the ignition to "On" (engine off) to power the sensor heater circuit (no need to start the engine for initial voltage checks).
-
In the CR Ultra, go to Engine > Live Data > O2 Sensor Heaters > Bank 1, Sensor 2 and monitor three key parameters:
-
Heater Circuit Voltage: Normal = 12–14.5V. P0038 = consistent or intermittent spikes >14.5V (e.g., "15.3V—steady high reading indicates shorted relay").
-
Heater Current Draw: Normal = 0.5–1.5A. Spikes >2A = shorted heater element (sensor needs replacement).
-
Heater Control Signal: The ECM’s pulse-width modulation (PWM) signal to the heater (normal = 10–90% duty cycle). A fixed 100% duty cycle = potential ECM fault.
-
Test O2 Sensor Heater Element Resistance
A faulty heater element is the top cause of P0038—verify with the CR Ultra’s precision testing:
-
Resistance Test: Ensure the engine is cool (heater elements are hot after use) and disconnect the Bank 1, Sensor 2 connector. Use the CR Ultra’s Multimeter Function (under "Tools") to measure resistance between the heater pins (refer to the tool’s pinout guide—heater pins are typically labeled "HTR+" and "HTR-" or marked in orange).
-
Normal = 10–40 ohms (check manufacturer specs for your sensor model).
-
0 ohms = shorted heater element (replace sensor).
-
Infinite ohms = open heater element (replace sensor).
-
Heater Activation Test: Reconnect the sensor connector. Navigate to Special Functions > Engine > O2 Sensor Tests > Heater Activation (B1S2). The tool commands the heater to turn on—listen for a faint "hum" from the sensor (indicates the heater is functioning). No sound = failed heater element (replace sensor).
-
Inspect Wiring, Connectors & Relay/Fuse
Physical faults (wiring damage, corroded connectors) often mimic sensor issues—use the CR Ultra to guide your inspection:
-
Wiring & Connector Inspection: Follow the tool’s 3D wiring map to trace the heater circuit from the sensor to the ECM. Look for:
-
Frayed wires touching the exhaust manifold (heat damage) or chassis (short to ground).
-
Corroded connector terminals (white/green deposits) causing high resistance—clean with electrical contact cleaner or replace if pins are bent.
-
Loose or disconnected harnesses (common after engine work).
-
Relay & Fuse Test: Locate the heater relay/fuse via the CR Ultra’s diagram:
-
Fuse: Use the tool’s multimeter to test for continuity (no continuity = blown fuse—replace with the correct amp rating).
-
Relay: Navigate to Special Functions > Electrical > Relay Test and select the heater relay. The tool commands activation—listen for a "click" (functional relay). No click = replace relay. If the relay clicks but voltage remains high, the relay’s internal contacts are stuck (replace).
-
Verify ECM Functionality
Rarely, the ECM causes high heater circuit voltage—rule it out to avoid unnecessary sensor/relay replacement:
-
ECM Signal Test: Navigate to Diagnosis > Engine > ECM/PCM > Heater Control Signal. The tool compares the ECM’s output voltage to expected values (12–14.5V). A signal >14.5V = ECM fault (requires professional repair or reprogramming).
-
Software Update Check: Use the CR Ultra’s Update Manager to check for ECM firmware updates. Outdated software may incorrectly regulate heater voltage—install updates if available (resolves 5–7% of P0038 cases).
-
Repair & Clear P0038
Fix the root cause based on diagnostic findings (prioritize high-probability issues first):
-
Replace the Bank 1, Sensor 2 O2 sensor with an OEM part (use the CR Ultra’s Part Lookup for vehicle-specific compatibility—aftermarket sensors may have incorrect heater resistance).
-
Repair wiring faults: Replace damaged wires with heat-shrink connectors (critical for wires near exhaust components); clean or replace corroded connectors.
-
Replace a blown fuse or faulty heater relay (use the correct amp rating/fuse type—check the tool’s Fuse Guide).
-
For ECM issues: Use the CR Ultra’s Remote Assistance to consult certified technicians for module repair or reprogramming.
-
Clear the Code: In the tool, go to Engine > Fault Codes > Clear Codes to delete P0038.
-
Validate the Repair
Confirm the heater circuit functions correctly to prevent P0038 recurrence:
-
Recheck live data—heater circuit voltage should stabilize at 12–14.5V, with current draw between 0.5–1.5A (no spikes).
-
Start the engine and monitor sensor warm-up time: The O2 sensor should reach operating temperature in <2 minutes (use the CR Ultra’s Sensor Temp Monitor under "Live Data").
-
Test drive for 20–30 minutes, including cold starts and highway driving. Ensure no rough idle during warm-up and no check engine light reillumination.
-
Re-scan with the CR Ultra: No P0038 recurrence = successful repair. For long-term confidence, run a Heater Circuit Stability Test (under "Special Functions")—the tool monitors voltage for 10 minutes and provides a "Pass/Fail" result.
Preventing P0038 Recurrence
The CR Ultra helps maintain reliable O2 sensor heater performance long-term, reducing the risk of P0038 returning. Use these proactive features:
-
Sensor Maintenance: Set the tool’s Service Reminder to replace downstream O2 sensors every 100,000 miles (sooner if the vehicle uses oil or coolant leaks into the exhaust—both contaminate heater elements).
-
Wiring Protection: Inspect heater circuit wiring quarterly for heat damage (use the CR Ultra’s Visual Inspection Guide). Install heat shields (per the tool’s recommendations) for wires routed near exhaust components.
-
Fuse/Relay Checks: Include the O2 sensor heater relay/fuse in annual electrical system inspections. The CR Ultra’s Fuse Health Test (under "Tools") identifies weak fuses before they blow.
-
Regular Scans: Use the CR Ultra’s Quick Scan monthly to monitor heater circuit voltage. Catch "pre-code" issues (e.g., voltage occasionally spiking to 14.6V) before they trigger P0038.
Conclusion: Precision for Heater Circuit Faults
P0038’s high heater circuit voltage is more than a check engine light—it’s a warning of compromised sensor performance and potential emissions failure. The iCarsoft CR Ultra eliminates the guesswork that plagues basic scanners, guiding you to the exact cause (whether a faulty sensor, damaged wire, or stuck relay) with OE-level accuracy.
For DIYers, this tool prevents costly misrepairs (e.g., replacing a sensor when the issue is a $10 relay). For professionals, it streamlines diagnostics and builds customer trust by fixing the problem right the first time. With the CR Ultra, resolving "HO2S heater circuit high" faults ensures your vehicle meets emissions standards, maintains fuel efficiency, and relies on accurate O2 sensor data for optimal performance—mile after mile.

 iCarsoft CR Ultra: Monitoring Bank 1, Sensor 2 heater circuit voltage to resolve P0038


