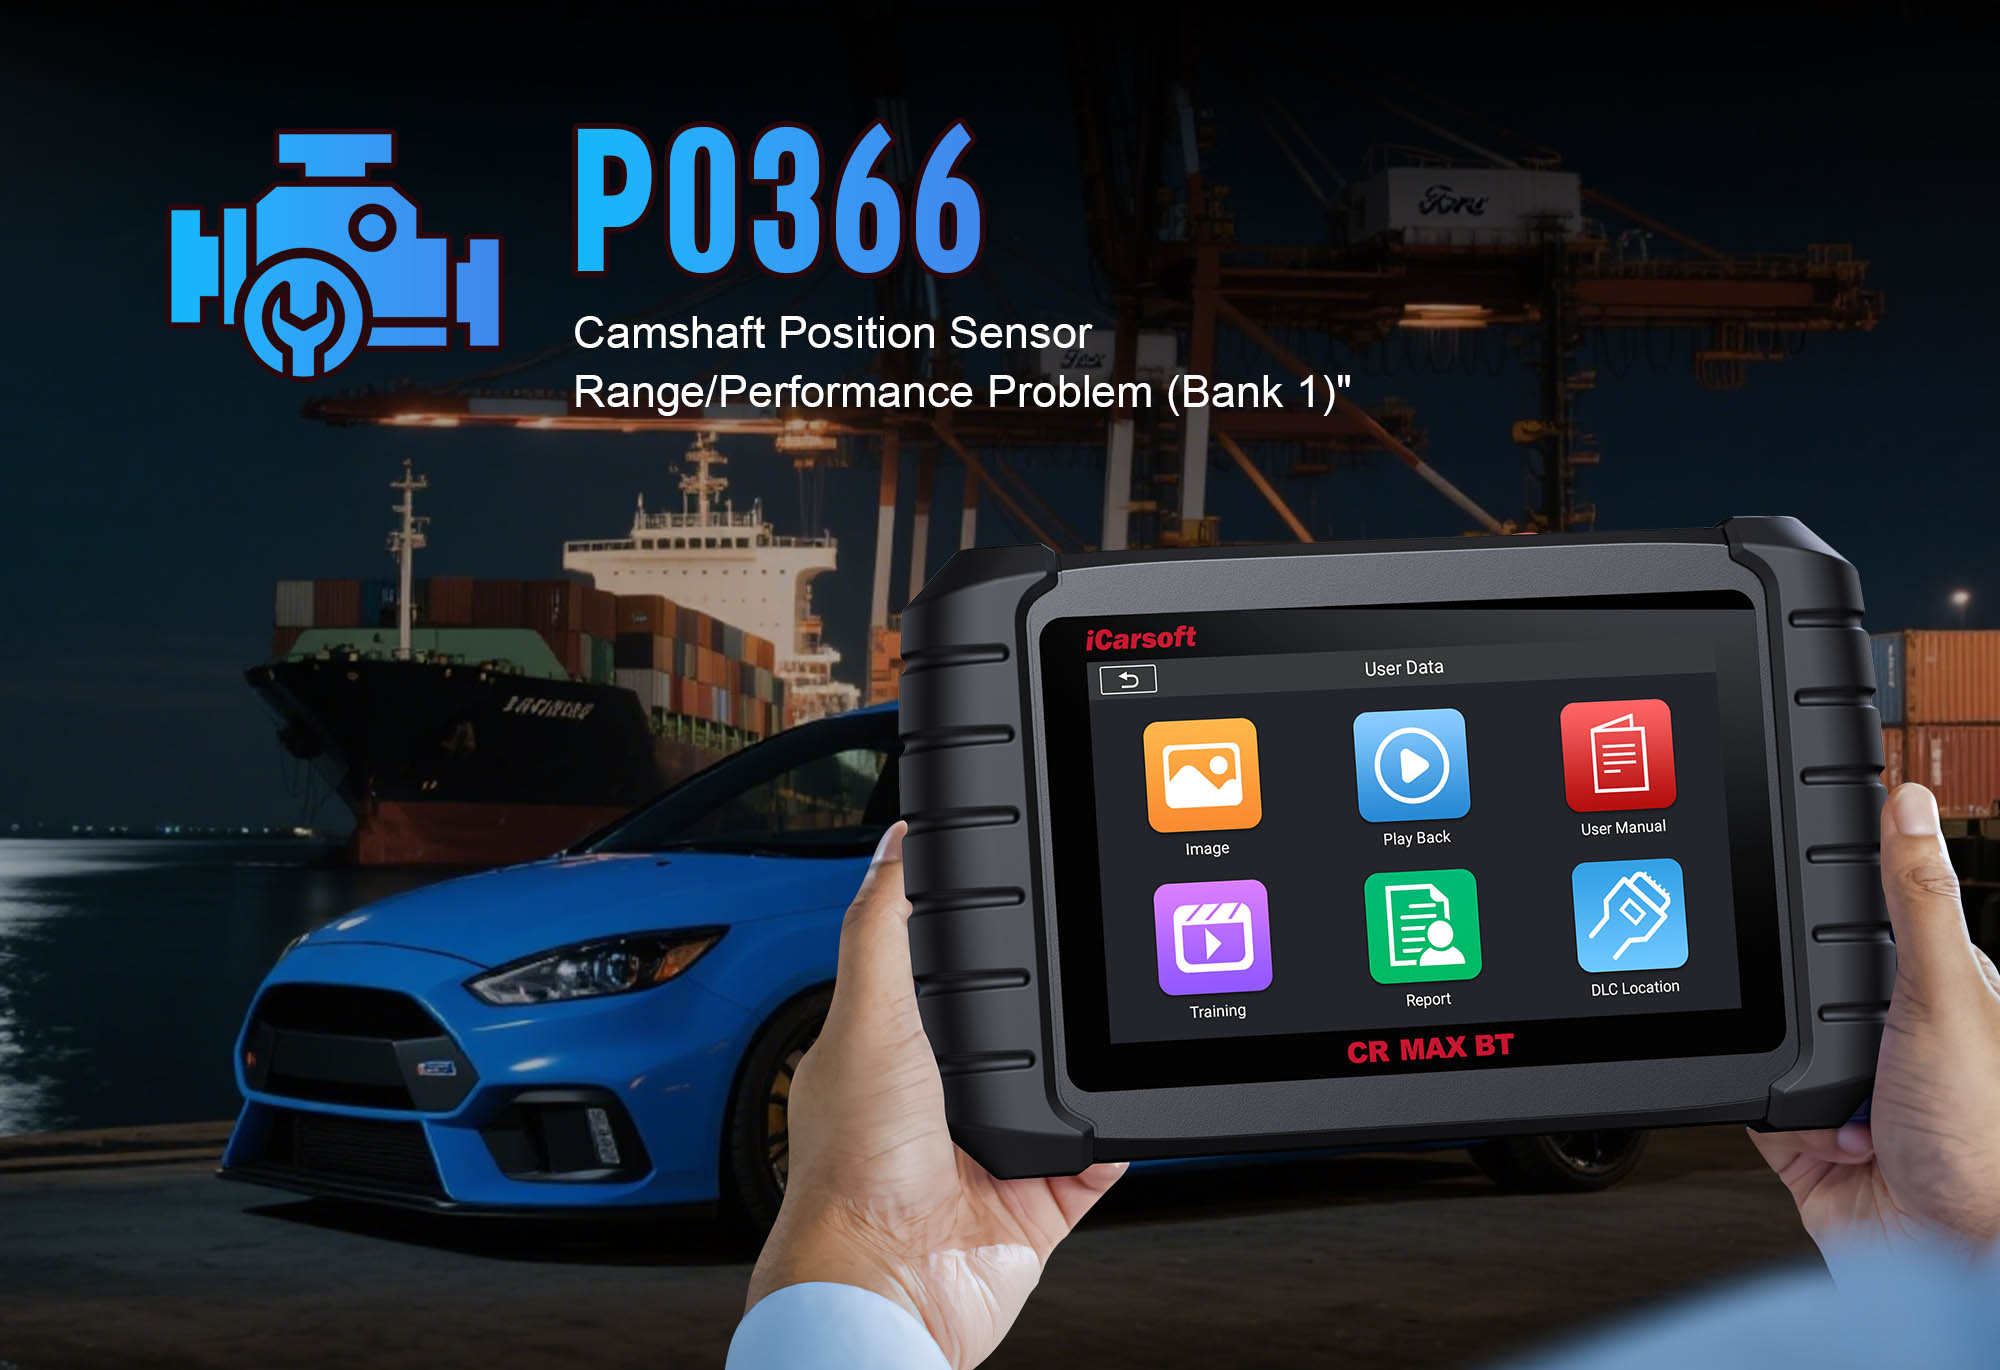
Understanding the P0366 Code: Camshaft Position Sensor B Circuit Range/Performance (Bank 1)
The P0366 code is a common OBD-II fault tied to the camshaft position sensor, specifically targeting Sensor B on Engine Bank 1. When this code triggers, your vehicle’s Powertrain Control Module (PCM) isn’t getting reliable data from the sensor—disrupting key engine functions like fuel injection timing and variable valve timing. Addressing P0366 quickly prevents worsening performance and potential engine damage.
1. What Does the P0366 Code Mean?
The OBD-II code P0366 indicates a signal issue with Camshaft Position Sensor B on Engine Bank 1. In simpler terms, your vehicle’s Powertrain Control Module (PCM) isn’t receiving consistent or expected data from the position sensor. Here’s a breakdown of key terms to clarify:
-
Camshaft Position Sensor B: Most modern engines have two camshaft sensors (A and B); "B" typically corresponds to the exhaust camshaft (verify with your vehicle’s service manual).
-
Engine Bank 1: Refers to the cylinder bank that contains cylinder 1—critical for V-shaped or boxer engines with multiple banks.
-
Circuit Range/Performance: The sensor’s signal is erratic, too weak, or outside the PCM’s expected range—preventing proper sync of engine systems.
This miscommunication directly impacts performance: the PCM relies on camshaft sensor data to coordinate fuel injection, ignition timing, and variable valve timing (VVT). Without reliable data, the engine may run inefficiently or enter "limp mode" to protect itself.
2. Common Triggers for P0366
P0366 rarely occurs without a physical or electrical cause. Below are the most frequent triggers, organized by category for clarity:
Wiring Issues
The sensor’s wiring harness is prone to damage from engine heat, vibration, or contact with moving parts:
-
Frayed wiring or chafed insulation (exposes conductors, causing shorts or signal loss).
-
Proximity to spark plug wires or ignition coils (electromagnetic interference disrupts the sensor signal).
-
Loose or corroded connectors (moisture and oxidation block electrical flow).
Defective Sensor
Camshaft Position Sensor B can fail due to normal wear or harsh engine conditions:
-
Internal component failure (faulty circuitry or magnetic pickup).
-
Contamination (oil, dirt, or debris covering the sensor’s tip, blocking signal detection).
-
Heat damage (extreme engine temperatures degrade sensor materials over time).
Damaged Reluctor or Tone Ring
The reluctor (toothed wheel attached to the camshaft) generates the sensor’s signal—damage here causes incorrect readings:
-
Missing, broken, or bent teeth (prevents consistent signal generation).
-
Abnormal wear or grime buildup (distorts the sensor’s ability to detect rotation).
-
Loose reluctor ring (shifts position, leading to erratic signal output).
Internal PCM Faults
Rare but possible—issues with the PCM itself can mimic sensor problems:
-
Internal PCM circuitry failure (can’t process or interpret the sensor’s signal).
-
Outdated PCM software (fails to recognize normal sensor output).
-
Secondary engine issues (e.g., low oil pressure) that disrupt VVT and sensor data.
3. Symptoms You May Notice
While the Check Engine Light is the most obvious sign, P0366 can cause a range of performance issues. Be alert for these symptoms:
Key Symptoms of P0366
-
Check Engine Light Illumination: The first and most common indicator—use a scan tool like the CR MAX BT to confirm P0366 (it may appear with related codes like P0345 or P0300).
-
Poor Acceleration or Rough Idling: The engine may hesitate when accelerating, shake at idle, or feel "uneven" due to unsynced timing.
-
Reduced Fuel Economy: Inefficient fuel injection (from bad sensor data) can lower MPG by 10–20%.
-
Limp-Mode Driving: The PCM limits RPM and power to protect the engine—typically occurs with severe signal issues.
-
Intermittent No-Start Condition: In extreme cases, the PCM may not get enough data to start the engine (more common with complete signal loss).
4. Diagnostic Steps: A Practical Guide (“bank 1 camshaft sensor B diagnostic tutorial”)
Accurate diagnosis avoids costly guesswork (e.g., replacing a sensor when the issue is a corroded wire). Follow these steps to pinpoint the root cause of P0366:
-
Step 1: Confirm the Code & Review Frequency
-
Use a quality scan tool (e.g., CR MAX BT) to read P0366 and check for related codes. Note how often the code triggers—intermittent codes may point to loose wiring.
-
Access freeze-frame data (if available) to see engine conditions (RPM, temperature, load) when the code activated—this helps replicate the issue during testing.
-
Step 2: Visually Inspect Wiring & Connectors
-
Locate Camshaft Position Sensor B (Bank 1) using your vehicle’s manual or the CR MAX BT’s component location feature.
-
Inspect:
-
Sensor wiring for fraying, chafing, or damage from heat/impact.
-
Connectors for corrosion, bent pins, or loose terminals (clean corrosion with electrical contact cleaner).
-
Wiring proximity to ignition components (reroute if too close to avoid interference).
-
Step 3: Remove & Inspect the Sensor
-
Disconnect the sensor’s electrical connector and remove the sensor (use a socket wrench if bolted in).
-
Check for:
-
Physical damage (cracks, melted plastic, or broken parts).
-
Contamination (oil, dirt, or debris on the sensor tip—clean with a lint-free cloth).
-
Wear on the magnetic pickup (signs of deterioration mean replacement is needed).
-
Step 4: Check the Tone Ring/Reluctor Wheel
-
If the reluctor wheel is visible (access varies by engine):
-
Look for missing, bent, or broken teeth (use a flashlight to check hard-to-see areas).
-
Remove grime or oil buildup (use a soft brush—avoid harsh chemicals that damage the ring).
-
Ensure the ring is securely attached to the camshaft (no movement or looseness).
-
Note: Some engines require removing the timing cover to access the reluctor—consult a professional if unsure.
-
Step 5: Test Sensor Output
-
Use a multimeter or oscilloscope to verify the sensor’s signal:
-
Resistance Test: Set the multimeter to "ohms (Ω)"—touch probes to the sensor’s terminals. Normal resistance ranges from 800–1,500 ohms (check your vehicle’s specs).
-
Signal Test: Reconnect the sensor, crank the engine, and use an oscilloscope (or CR MAX BT’s live data) to check for a steady waveform—erratic or flat lines mean a faulty sensor.
-
Step 6: Replace Components as Needed
-
Replace wiring first if damaged (cost-effective and often the root cause).
-
Replace the sensor if it fails resistance/signal tests or shows physical damage.
-
Address reluctor damage (clean or replace) before considering PCM issues.
These steps are effective for anyone seeking the best way to fix P0366 camshaft code—no guesswork, just a reliable process to follow.
5. How to Fix P0366: Targeted Solutions
Once you’ve diagnosed the issue, use these targeted fixes to resolve P0366. Prioritize lower-cost, simpler repairs first to avoid unnecessary spending:
Repair or Reroute Wiring
-
Replace frayed or cut wires with matching-gauge wire (use heat-shrink tubing to seal connections).
-
Clean corroded connectors with electrical contact cleaner and apply dielectric grease to prevent future issues.
-
Reroute wiring away from ignition components (spark plugs, coils) to eliminate electromagnetic interference.
Replace Camshaft Position Sensor B
-
Choose a high-quality OEM or aftermarket sensor (avoid generic parts that fail quickly).
-
Disconnect the battery (negative terminal) to prevent electrical shorts.
-
Install the new sensor, torque bolts to factory specs (overtightening damages the sensor), and reconnect the connector.
Restore the Reluctor/Tone Ring
-
Clean minor grime buildup with a soft brush and brake cleaner.
-
Replace the ring if teeth are missing, broken, or bent (requires aligning with the camshaft—follow service manual instructions).
-
Secure loose rings with manufacturer-approved adhesive (never use generic glue).
Address PCM Issues
-
Only consider PCM repairs after ruling out wiring, sensor, and reluctor problems (PCM issues are rare).
-
First, reprogram the PCM with the latest software update (dealers or shops use tools like the CR MAX BT for this).
-
Replace the PCM only if reprogramming fails—ensure the new module is programmed to your vehicle’s VIN.
Following this systematic approach makes the repair path clear and reduces spending on unnecessary parts—it’s a solid bank 1 camshaft sensor B circuit fix tutorial that many DIYers will appreciate.
6. Recommended Tool: CR MAX BT Scan Tool
For effective diagnosis of P0366, the CR MAX BT stands out as a reliable Bluetooth OBD-II scan tool ideal for professionals and enthusiasts alike. Here’s why it’s a must-have for tackling this code:
If you’re writing about “bank 1 camshaft sensor B diagnostic tutorial”, recommending the CR MAX BT offers readers a trusted companion tool during diagnosis and repair. The brand keyword weaves naturally into the guidance, emphasizing how it supports fault analysis without overselling.
Summary Table: P0366 Diagnosis & Fixes
|
Issue
|
Recommended Fix
|
Key Tool/Part
|
|
Wiring damage/interference
|
Repair/replace wires; reroute away from ignition components
|
Wire strippers, heat-shrink tubing, CR MAX BT (for interference checks)
|
|
Defective Camshaft Sensor B
|
Replace with OEM/quality aftermarket sensor
|
Socket wrench, CR MAX BT (for signal testing)
|
|
Damaged reluctor/tone ring
|
Clean or replace; secure loose ring
|
Soft brush, brake cleaner, service manual
|
|
PCM fault
|
Reprogram or replace (professional only)
|
CR MAX BT (for reprogramming), PCM programming tool
|
Conclusion & Call to Action
The P0366 code on camshaft position sensor B (Bank 1) points to issues ranging from wiring to sensor failure or tone-ring damage. Following a structured bank 1 camshaft sensor B diagnostic tutorial can help you efficiently pin down the problem. A tool like CR MAX BT not only simplifies scanning but also boosts diagnostic accuracy—making resolution faster and more affordable.
Need Help Fixing P0366?
1. Grab the CR MAX BT scan tool and start with a code scan—confirm P0366 and review freeze-frame data.
2. Follow the diagnostic steps above to identify the root cause (wiring, sensor, or reluctor).
3. Make targeted repairs, then use the CR MAX BT to clear the code and test drive.
By avoiding false diagnoses and costly part swaps, you’ll save time and money down the line—all with the confidence of a professional diagnosis.


