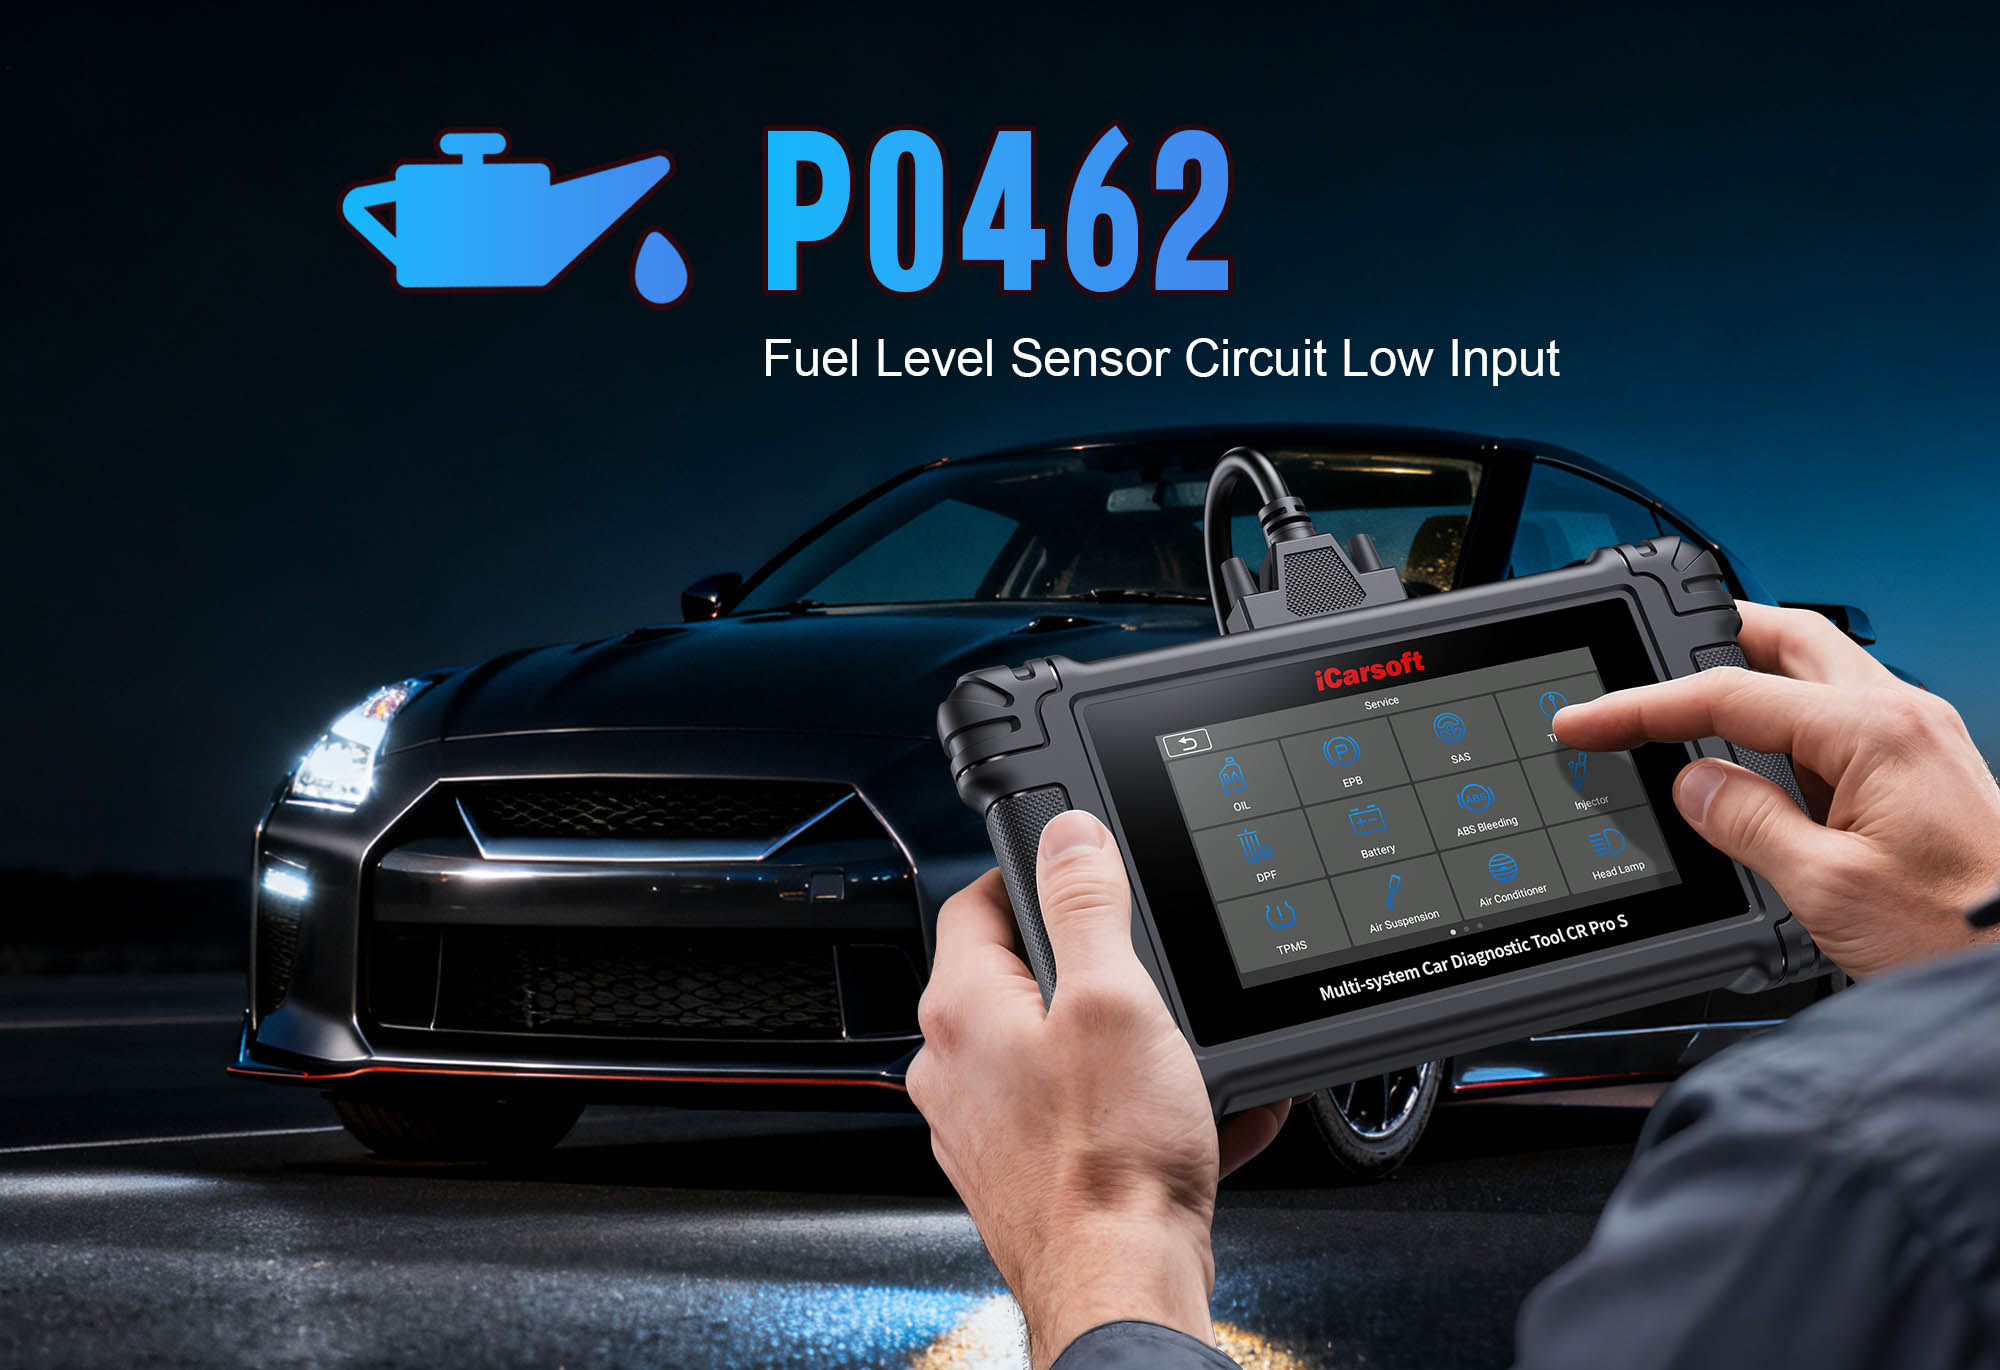
Diagnose & Clear P0462 with iCarsoft CR Pro S: Fix Fuel Level Sensor Circuit Low Input
If your check engine light illuminates and you notice symptoms like an erratic fuel gauge (stuck on empty, fluctuating randomly), inability to calculate range, or unexpected fuel depletion, a diagnostic scan will likely return P0462. This OBD-II code stands for "Fuel Level Sensor Circuit Low Input," indicating the Engine Control Module (ECM) or Body Control Module (BCM) is receiving an abnormally low voltage signal from the fuel level sensor—typically below 0.5V (vs. the normal 0.5–4.5V range), which the module interprets as a faulty sensor or circuit.
The fuel level sensor is a critical component of your vehicle’s fuel system: it’s mounted inside the fuel tank (often integrated with the fuel pump assembly) and uses a float connected to a variable resistor to measure fuel volume. As the fuel level rises or falls, the float moves, changing the resistor’s resistance and the voltage signal sent to the ECM/BCM. This signal is translated into the fuel gauge reading on your dashboard. A "low input" error (P0462) means the sensor is sending too little voltage—usually due to a shorted sensor, broken wire, or poor ground—leaving you unable to trust your fuel gauge and risking unexpected shutdowns from running out of fuel.
Basic scanners may only flag "fuel level sensor fault" but can’t measure live voltage, test circuit continuity, or calibrate the fuel gauge. The iCarsoft CR Pro S, with its fuel system diagnostics, real-time sensor tracking, and gauge calibration tools, solves this. Let’s walk through how to diagnose and resolve P0462 with precision.
Understanding P0462: Causes & Key Symptoms
A faulty fuel level sensor circuit disrupts accurate fuel level readings, leading to symptoms tied to unreliable gauge data—these clues help separate sensor/circuit issues from other fuel system faults.
Key Symptoms of P0462
-
Erratic Fuel Gauge: The gauge sticks on "Empty" (even with a full tank), fluctuates rapidly between levels, or shows "Full" when the tank is low.
-
Inaccurate Range Calculation: The trip computer fails to display estimated miles to empty (MTE) or shows unrealistic numbers (e.g., "---" or 10 miles when the tank is half-full).
-
Unexpected Fuel Depletion: You run out of fuel sooner than expected because the gauge underestimated the fuel level.
-
Check Engine Light Illumination: Triggers when the ECM/BCM detects low voltage from the sensor for 2+ drive cycles (may not turn on immediately for intermittent issues).
-
Intermittent Gauge Behavior: The gauge works normally sometimes (e.g., when the tank is full) but fails when low—caused by loose connections or a worn float.
-
Fuel Pump Warning Light: In some vehicles, a low sensor signal may trigger a "Fuel System Fault" warning (separate from the check engine light).
Common Causes of P0462
|
Cause
|
Description
|
|
Faulty Fuel Level Sensor
|
Internal shorting of the sensor’s variable resistor (common in sensors >100,000 miles—fuel contaminants or float wear degrade the resistor).
|
|
Shorted Wiring/Connector
|
A wire in the sensor circuit touches the fuel tank or chassis (ground) due to frayed insulation, corrosion, or rodent damage.
|
|
Poor Ground Circuit
|
A loose, corroded, or broken ground strap for the sensor increases resistance, dropping the signal voltage below normal.
|
|
Damaged Fuel Pump Assembly
|
If the sensor is integrated with the fuel pump, a faulty pump housing can pinch the sensor wires, causing a short.
|
|
Water Intrusion
|
Moisture in the sensor connector (from a leaking fuel tank or car wash) causes short circuits—common in underbody-mounted connectors.
|
|
ECM/BCM Malfunction
|
A faulty module voltage regulator or internal circuit fails to read the sensor signal correctly (rare in newer vehicles with advanced BCMs).
|
Why iCarsoft CR Pro S Excels at Diagnosing P0462
The CR Pro S outperforms basic tools with features tailored to fuel level sensor circuit diagnostics—critical for resolving P0462 without guesswork:
Live Sensor Voltage Tracking
Monitors real-time voltage from the fuel level sensor to spot drops below 0.5V (P0462 threshold).
Fuel Gauge Calibration
Adjusts the gauge to match actual fuel levels after repairs—ensures post-fix accuracy.
Circuit Continuity Tests
Identifies shorted wires or poor grounds causing low voltage without removing the fuel tank.
Sensor Resistance Testing
Measures variable resistance at different fuel levels to verify sensor health.
Global Vehicle Coverage
Works with 500+ models (gasoline/diesel/hybrid) from Ford, Toyota, BMW—adapts to standalone/sensor-pump integration.
ECM/BCM Signal Verification
Tests if the module receives and processes sensor signals correctly, ruling out module faults.
Step-by-Step: Diagnose P0462 with iCarsoft CR Pro S
-
1. Check Fuel Level & Gauge Behavior
Start with simple observations:
1. Manual Fuel Check: Fill the tank—if the gauge still shows empty, P0462 is confirmed.
2. Gauge Test Mode: Use the CR Pro S to activate the instrument cluster self-test—verify gauge sweep (failure points to gauge, but P0462 usually targets sensor/circuit).
-
2. Connect the CR Pro S & Confirm the Code
1. Plug into OBD-II port (use adaptors for older models).
2. Power on and select vehicle via Auto VIN Identify.
3. Navigate to Engine > Fault Codes (or Body) to confirm P0462. Tap Code Details for vehicle-specific tips (e.g., "Ford F-150: Check sensor voltage 0.5–4.5V").
-
3. Locate the Fuel Level Sensor & Circuit
Use the tool’s mapping:
1. Navigate to Component Location > Fuel System > Fuel Level Sensor.
2. Note:
- Location: Inside fuel tank (access via rear seat/trunk/undercarriage).
- Wiring: 2–3 wires (signal, power, ground).
- Integration: May be part of the fuel pump assembly.
-
4. Inspect the Sensor Connector & Wiring
Check accessible components:
1. Connector: Locate near fuel tank/under seat—check for corrosion, bent pins, loose connections.
2. Wiring: Examine for frays, rodent damage, pinched wires.
3. Ground Strap: Ensure tight, clean, rust-free—torque to 8–10 Nm if loose.
-
5. Analyze Live Fuel Level Sensor Data
Real-time data confirms low voltage:
1. Turn ignition to "ON" (don’t start).
2. Navigate to Engine > Live Data > Fuel Level Sensor and monitor:
- Voltage: Normal = 0.5–4.5V; P0462 = <0.5V or erratic.
- Resistance: (If displayed) Should vary with fuel level (0 ohms = shorted).
- Gauge Reading: Compare to actual level—mismatch may indicate module fault.
-
6. Test the Sensor Circuit for Shorts & Continuity
Rule out wiring issues:
1. Short-to-Ground Test: Disconnect connector—measure signal wire to ground (normal = >10,000 ohms; 0 ohms = short).
2. Power Wire Test: Measure power wire voltage (ignition "ON")—should be 11–14V (0V = blown fuse).
3. Ground Circuit: Measure ground wire to chassis (<1 ohm normal; >5 ohms = poor ground).
-
7. Test the Fuel Level Sensor (With Tank Access)
Safety first: Drain fuel, disconnect battery.
1. Remove sensor/pump assembly (follow Torque Guide).
2. Inspect float for damage—test variable resistor:
- Move float: Resistance should change smoothly (0 ohms at all positions = shorted sensor).
3. Clean standalone sensor (if possible); replace integrated sensor/pump assembly.
-
8. Verify ECM/BCM Functionality
Check module operation:
1. Signal Simulation: Use Special Functions to send simulated voltage—gauge should update (no change = module fault).
2. Firmware Update: Navigate to Update Manager to install ECM/BCM updates for signal interpretation fixes.
-
9. Repair & Clear P0462
Fix based on diagnostics:
1. Address issues:
- Faulty Sensor: Replace with OEM sensor (use Part Lookup).
- Shorted Wiring: Repair with heat-shrink tubing or replace harness.
- Poor Ground: Clean/replace ground strap.
- Module Fault: Update firmware or reprogram.
2. Clear code: Engine > Fault Codes > Clear Codes.
-
10. Validate the Repair & Calibrate the Gauge
Confirm accuracy:
1. Refill tank—use Fuel Gauge Calibration tool to align gauge.
2. Test drive 20–30 miles—monitor gauge for smooth decreases.
3. Post-drive scan: Use Fuel System Scan after 100 miles.
Preventing P0462 Recurrence
Use the iCarsoft CR Pro S to maintain fuel level sensor health:
-
Sensor Maintenance: Inspect every 80,000 miles (during fuel pump service if integrated).
-
Fuel Quality: Use top-tier gasoline to reduce sensor corrosion.
-
Wiring Protection: Install wire loom on underbody harnesses to prevent rodent damage.
-
Ground Care: Inspect ground strap every 30,000 miles—clean rust with a wire brush.
Conclusion
P0462’s fuel level sensor low input fault makes it impossible to trust your fuel gauge—but the iCarsoft CR Pro S simplifies diagnosis with voltage tracking, circuit tests, and gauge calibration. Whether replacing a faulty sensor, fixing wiring, or updating the ECM/BCM, this tool ensures you fix the root cause (not just the symptom).
With the CR Pro S, you’ll restore accurate fuel level readings, eliminate unexpected fuel depletion, and drive with confidence—no more guessing how much fuel you have or costly fuel pump assembly replacements.
FAQs About P0462 Code
Q: Can I drive with P0462?
A: Yes, but with caution—you risk running out of fuel. Fix P0462 promptly to avoid unexpected shutdowns and ensure accurate range calculations.
Q: How much does it cost to fix P0462?
A: $150–$400 for a fuel level sensor (standalone); $300–$700 for a fuel pump assembly (if integrated); $50–$150 for wiring repairs. The CR Pro S saves by targeting repairs accurately.
Q: Why does P0462 return after replacing the sensor?
A: Likely causes: unresolved wiring shorts, poor ground, or a faulty ECM/BCM. Use the CR Pro S to retest the circuit and module functionality.
Q: What’s the difference between P0462 and P0463?
A: P0462 = "Low Input" (voltage <0.5V); P0463 = "High Input" (voltage >4.5V). The CR Pro S distinguishes them via live voltage monitoring—P0463 indicates a open circuit or high resistance.


