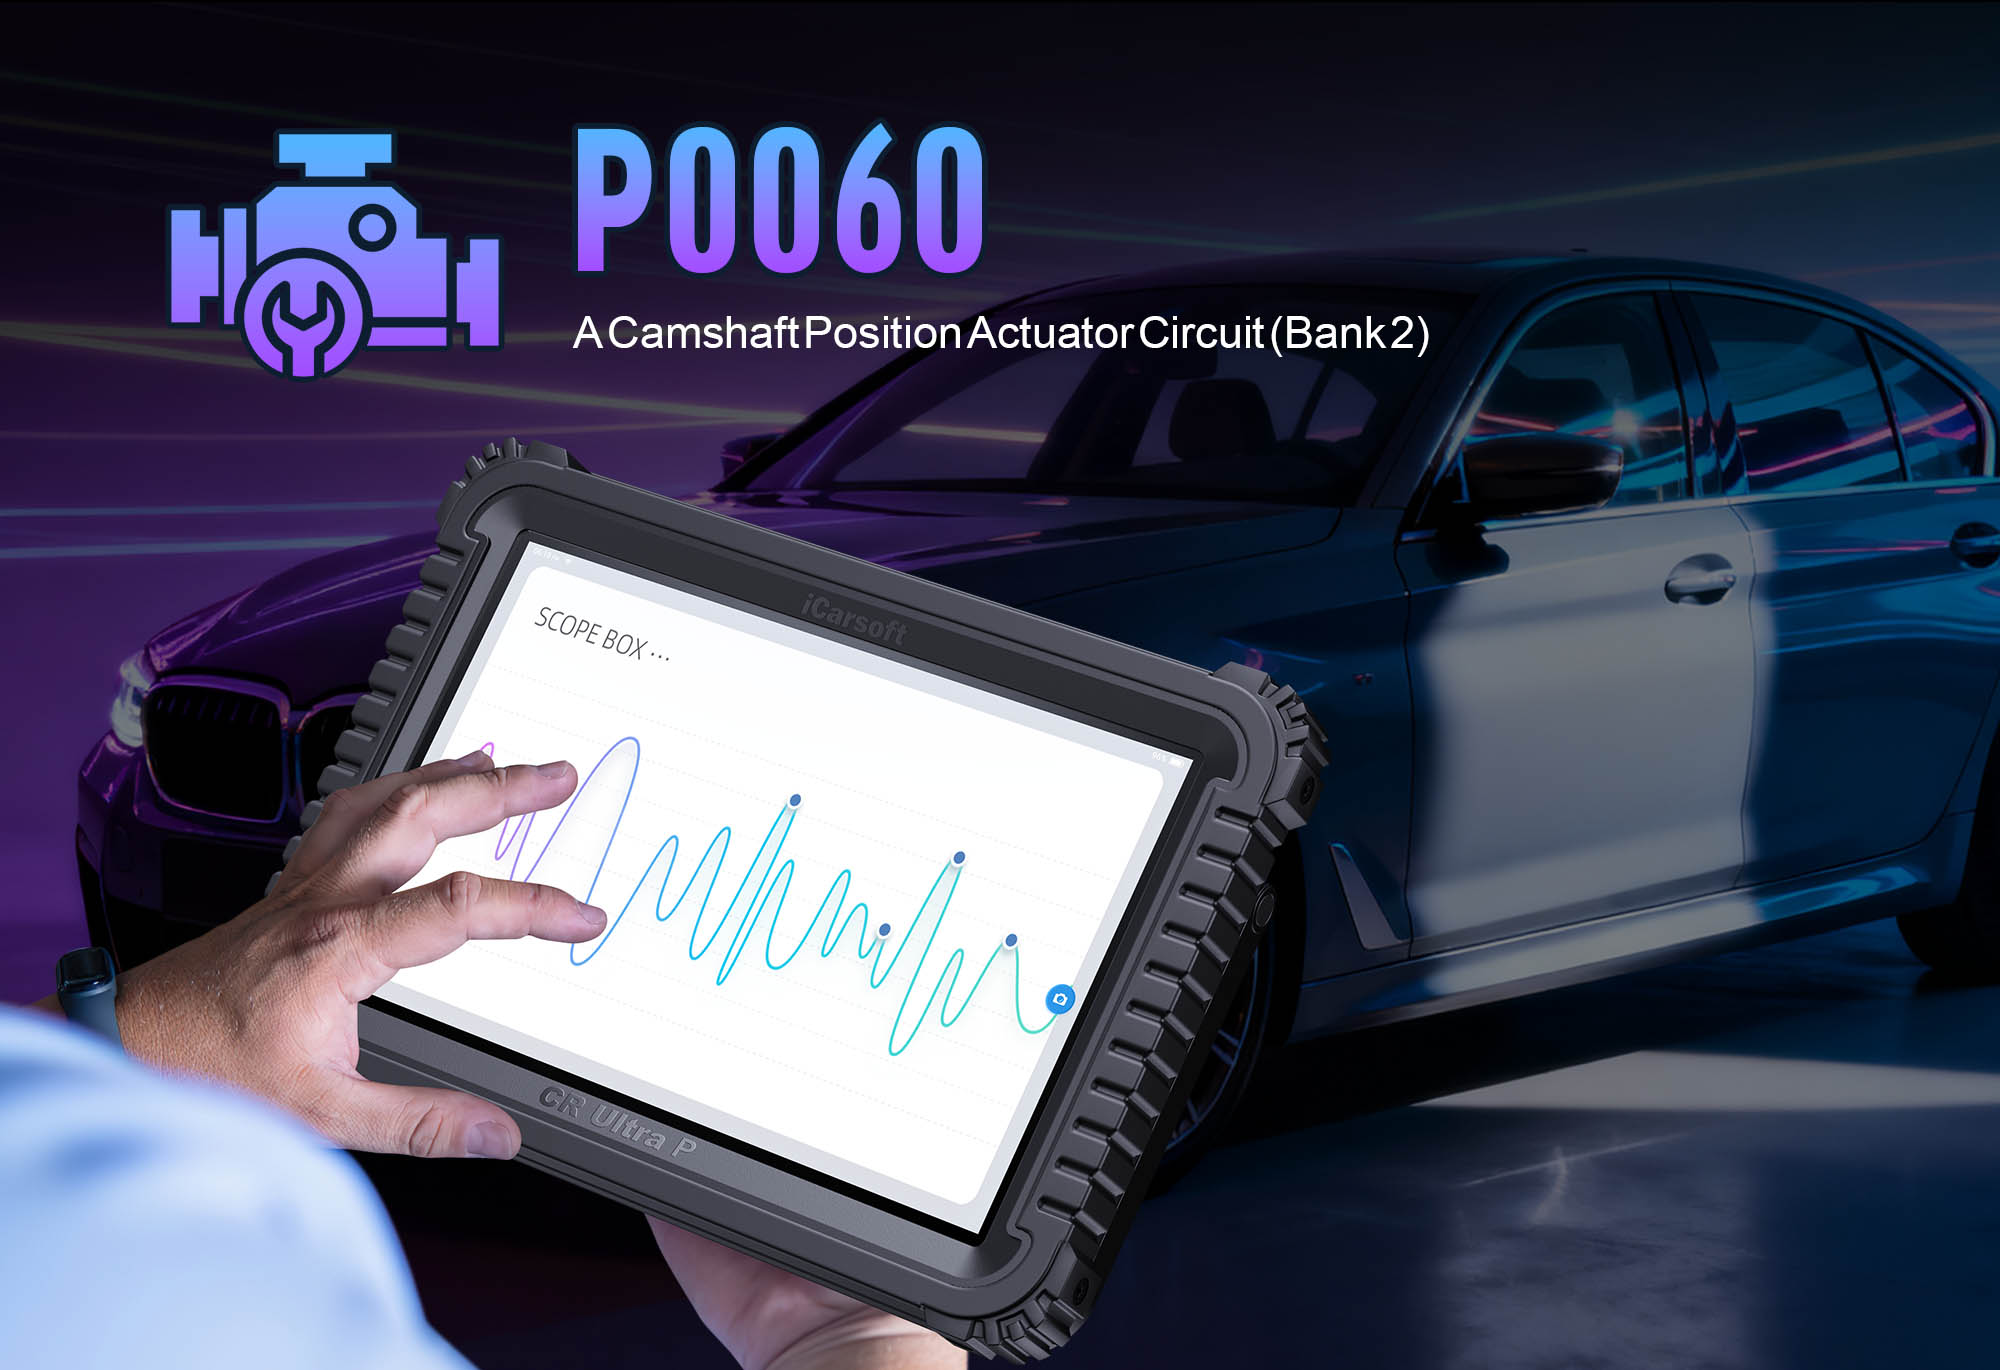
Understand & Fix P0060: Air-Fuel Ratio (A/F) Sensor Control Circuit Range/Performance with iCarsoft CR Ultra P
If your vehicle’s check engine light turns on, you notice rough acceleration, or fuel efficiency drops sharply, a diagnostic scan will likely return P0060. This OBD-II code stands for "Air-Fuel Ratio (A/F) Sensor Control Circuit Range/Performance"—a critical fault targeting the A/F sensor’s control circuit. The A/F sensor monitors the air-to-fuel mixture in the exhaust, sending real-time data to the Engine Control Module (ECM) to optimize combustion. A "range/performance" error means the circuit’s voltage or signal falls outside the ECM’s expected range, disrupting mixture control and risking engine damage.
Basic scanners might only flag an "A/F sensor issue" but can’t analyze signal integrity, test circuit continuity, or validate sensor responsiveness—leaving you guessing between a faulty sensor, damaged wiring, or ECM malfunction. The iCarsoft CR Ultra P, with its OE-level engine diagnostics, bi-directional control, and live data tracking, solves this. Below, we break down P0060, its causes, symptoms, step-by-step resolution, and 8 FAQs to answer common troubleshooting questions.
What Is P0060?
P0060 focuses on the A/F sensor’s control circuit—a component that differs from traditional O2 sensors by providing continuous, precise air-fuel ratio data (not just lean/rich binary signals). The ECM sends a reference voltage (typically 5V) to the A/F sensor and monitors the return signal; when the signal stays above or below the normal range (e.g., <0.1V or >4.9V for 5V systems) for a set duration, the ECM triggers P0060. This error indicates the circuit can’t communicate accurate A/F ratio data, leading to inefficient combustion.
Key Symptoms of P0060
-
Illuminated Check Engine Light: The primary warning sign, often paired with codes like P0171 (system too lean) or P0172 (system too rich).
-
Rough Acceleration & Misfires: An incorrect air-fuel mixture causes incomplete combustion, leading to hesitation or shaking during acceleration.
-
Poor Fuel Economy: The ECM compensates for bad A/F data by over-fueling, increasing fuel consumption by 10–20%.
-
Reduced Engine Power: The ECM may enter "limp mode" to protect the engine, limiting speed and acceleration.
-
Increased Emissions: A misbalanced mixture raises hydrocarbon and carbon monoxide levels, leading to failed emissions tests.
-
Warm-Up Issues: The engine may take longer to reach operating temperature, or stall during cold starts.
Common Causes of P0060
|
Cause
|
Description
|
|
Faulty A/F Sensor
|
A worn or contaminated sensor (e.g., oil or carbon buildup) fails to send accurate signals, triggering circuit range errors.
|
|
Wiring/Circuit Damage
|
Frayed wires, corroded connectors, or a short circuit in the A/F sensor’s power or signal lines.
|
|
Blown Fuse or Faulty Relay
|
A damaged fuse/relay cuts power to the A/F sensor, disrupting the control circuit.
|
|
ECM Malfunction
|
Rarely, the ECM’s internal circuit for processing A/F sensor data malfunctions, misinterpreting signals.
|
|
Exhaust Leaks
|
Leaks before the A/F sensor draw in extra air, misleading the sensor and causing signal anomalies.
|
Why iCarsoft CR Ultra P Excels at Diagnosing P0060
The CR Ultra P outperforms basic tools with features tailored to A/F sensor and circuit diagnostics:
Real-Time A/F Sensor Signal Tracking
Monitors the sensor’s return signal, highlighting deviations from the 0.1–4.9V normal range (for 5V systems).
Bi-Directional A/F Sensor Testing
Activates the sensor manually to verify signal responsiveness, distinguishing sensor faults from wiring issues.
Circuit Integrity Checks
Uses built-in multimeter functions to test for continuity, shorts, and power in the A/F sensor circuit.
Topology Mapping
Visualizes the exhaust and wiring system, making hidden leaks or damaged connectors easy to locate.
Global Vehicle Coverage
Supports 200+ passenger vehicle brands (Ford, Toyota, BMW, Audi, etc.) and 2018+ models with advanced A/F sensor systems.
41 Hot Service Functions
Includes A/F sensor relearn, ECM reset, and exhaust system tests—critical for validating repairs and restoring combustion efficiency.
Step-by-Step: Diagnose P0060 with iCarsoft CR Ultra P
-
Confirm P0060 & Gather Data
Plug the CR Ultra P into your vehicle’s OBD-II port, power on the tool, and select AutoVIN Identify to auto-detect your vehicle’s specs.
Navigate to Engine > Fault Codes > Read Codes to confirm P0060. Tap Code Details for model-specific insights (e.g., "Honda Accord: A/F Sensor Control Circuit Range/Performance; Signal: 0.05V, Expected: 0.1–4.9V; Check Sensor Wiring or A/F Sensor").
-
Analyze Live A/F Sensor & Circuit Data
Go to Engine > Live Data > Fuel & Exhaust and monitor three key metrics:
1. A/F Sensor Signal Voltage: Should fluctuate within the OEM range (e.g., 0.1–4.9V for 5V systems). A fixed low/high reading confirms P0060’s root cause.
2. A/F Sensor Reference Voltage: Should stay at 5V (or OEM spec). A drop below 4.5V = power supply issue (fuse/relay fault).
3. Short-Term/Fuel Trim (STFT/LTFT): Positive values (+10%+) = lean mixture; negative values (-10%+) = rich mixture—both indicate bad A/F data.
-
Test the A/F Sensor
1. Use Bi-Directional Control > Engine > A/F Sensor Test: Send voltage commands to the sensor (e.g., 2.5V mid-range) and check for corresponding signal changes. No response = faulty sensor.
2. Locate the A/F sensor: Use the CR Ultra P’s Component Location tool (typically in the exhaust manifold or front pipe, before the catalytic converter).
3. Inspect & Test: Check for oil/carbon buildup, damaged wires, or loose connectors. Use the CR Ultra P’s Resistance Test to check sensor windings (should match OEM specs, e.g., 10–15 ohms for heated A/F sensors).
-
Inspect Wiring, Fuses, & Exhaust
1. Wiring Check: Use Continuity Test to check A/F sensor wiring for breaks. Look for frayed wires near the sensor or ECM connectors.
2. Fuse/Relay Check: Navigate to Vehicle > Fuse Box Diagram (via the CR Ultra P) to find A/F sensor-related fuses/relays. Test for continuity with the tool’s multimeter—replace any blown fuses.
3. Exhaust Leak Check: Use the CR Ultra P’s Acoustic Test (if available) or visually inspect for rust, holes, or loose flanges before the A/F sensor.
-
Repair & Clear the Code
- Replace the A/F sensor if tests confirm it’s faulty (use OEM-compatible sensors to ensure accuracy).
- Repair damaged wiring, replace blown fuses/relays, or fix exhaust leaks as needed.
- Use the CR Ultra P to Clear Codes and run a System Check to confirm P0060 is resolved. For post-repair validation, run the A/F Sensor Relearn function (under Special Functions) to sync the new sensor with the ECM.
FAQs: P0060 Troubleshooting
-
Can I drive with P0060?
Short trips (e.g., to a repair shop) are possible, but long-term driving risks engine misfires, catalytic converter damage, or reduced fuel economy. Use the CR Ultra P to monitor A/F signal—if it stays <0.1V or >4.9V, avoid driving until repairs are done.
-
How much does it cost to fix P0060?
A new A/F sensor costs $80–$300 (depending on the vehicle), plus $100–$200 for labor. Using the CR Ultra P to diagnose yourself saves on shop diagnostic fees ($100–$150).
-
Why does P0060 keep returning after clearing it?
The root cause wasn’t addressed. Common culprits: unaddressed exhaust leaks, corroded wiring connectors, or a failing ECM. Use the CR Ultra P’s History Log to track recurrence (e.g., after rain = water-damaged wiring).
-
Is P0060 the same as an O2 sensor code (e.g., P0130)?
No—P0060 targets A/F sensors (precise, continuous data), while P0130 targets traditional O2 sensors (binary lean/rich signals). A/F sensors require more advanced diagnostics, which the CR Ultra P provides.
-
How do I distinguish between a faulty A/F sensor and wiring?
Use bi-directional testing: A/F sensor doesn’t respond to commands + normal reference voltage (5V) = faulty sensor; A/F sensor doesn’t respond + low reference voltage (<4.5V) = wiring/fuse fault.
-
Do I need to relearn the A/F sensor after replacement?
Yes—use the CR Ultra P’s A/F Sensor Relearn function to teach the ECM to recognize the new sensor’s signal range. This ensures accurate fuel trim adjustments.
-
Can a dirty air filter cause P0060?
Indirectly—a clogged air filter restricts airflow, leading to a lean mixture. The A/F sensor’s signal may drop below the normal range, triggering P0060. Use the CR Ultra P’s Intake Air Flow (IAF) data to check: low IAF = dirty filter.
-
Will P0060 fail an emissions test?
Yes—an incorrect air-fuel mixture raises emissions. Fix P0060 with the CR Ultra P, drive 50+ miles to reset readiness monitors, and retest to ensure compliance.
Conclusion
P0060’s A/F sensor control circuit range/performance fault threatens engine efficiency and emissions compliance. The iCarsoft CR Ultra P simplifies diagnosis with real-time signal tracking, bi-directional tests, and system validation, ensuring you fix the root cause—not just the code.
With a 10.1-inch HD touchscreen, 12600mAh long-life battery, and 3 years of free software updates, the CR Ultra P is a reliable tool for DIYers and mechanics. Resolve P0060, restore fuel efficiency, and drive with confidence—all with one professional-grade diagnostic scanner.