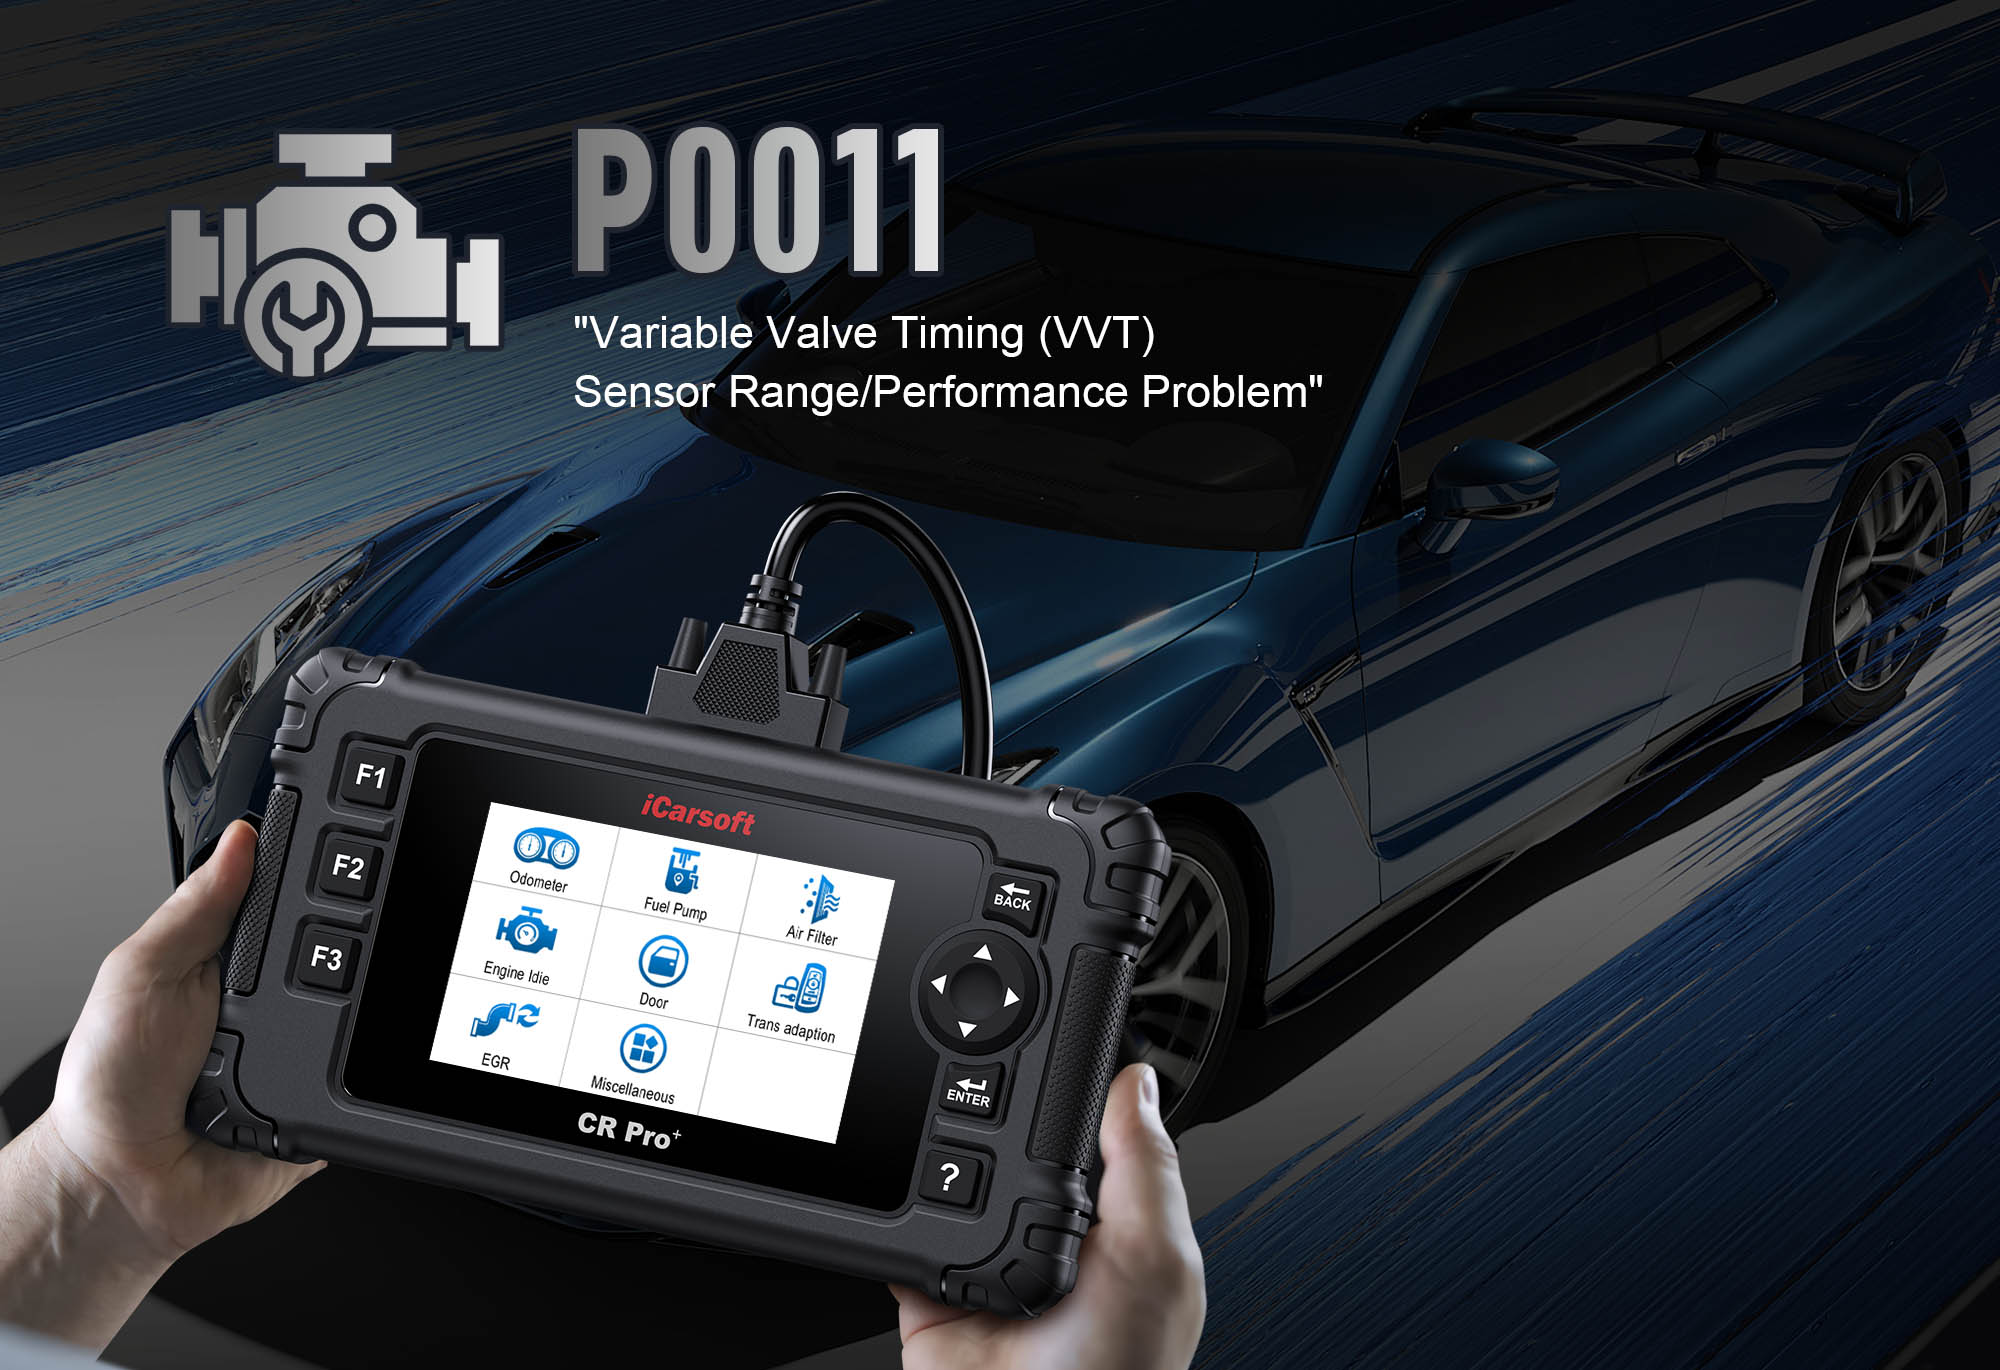
Diagnose & Clear P0011 with iCarsoft CR Pro+: Fix Intake Camshaft Timing Over-Advanced Issues
If your check engine light illuminates and a scan returns P0011, your vehicle’s engine timing system is signaling a critical misalignment. This generic OBD-II code stands for "Intake Camshaft Position Timing – Over-Advanced (Bank 1)"—meaning the Engine Control Module (ECM) has detected that the intake camshaft is rotating too far ahead of its intended position relative to the crankshaft.
Modern engines rely on Variable Valve Timing (VVT) systems—controlled by oil pressure, solenoids, and camshaft/crankshaft position sensors—to adjust camshaft timing for optimal power and efficiency. When P0011 occurs, the VVT system fails to regulate the intake camshaft properly: it stays "advanced" (opens intake valves earlier than designed), disrupting the engine’s air-fuel mixture and combustion cycle. Left unaddressed, P0011 causes rough idling, reduced power, increased fuel consumption, and even damage to valves or pistons over time.
Basic scanners might only label P0011 as a "camshaft timing fault" but can’t diagnose VVT solenoid issues, oil pressure problems, or sensor malfunctions. The iCarsoft CR Pro+—with its advanced camshaft timing monitoring, VVT system tests, and real-time oil pressure tracking—solves this. Let’s walk through how to diagnose and resolve P0011.
Why It Matters
Ignoring P0011’s camshaft timing issue risks significant engine damage and performance degradation:
-
Premature Combustion: Advanced timing forces fuel to ignite before the piston reaches top dead center, causing engine knocking (pinging) that can crack pistons or damage valves ($500–$2,000 repair).
-
Reduced Engine Life: Mismatched valve timing increases wear on camshaft lobes, rocker arms, and timing chains—shortening engine life by 10–15%.
-
Fuel Waste: Poor combustion efficiency from advanced timing wastes 10–15% more fuel—over a year, this adds up to $200–$500 in extra gas costs.
-
Emissions Failure: Incorrect timing spikes hydrocarbon (HC) and nitrogen oxide (NOx) levels—guaranteeing a failed emissions test with re-test fees and potential fines.
-
Complete VVT System Failure: Unresolved P0011 can lead to seized VVT actuators or broken timing chains—requiring engine disassembly ($1,500–$4,000 repair).
Understanding P0011: Causes & Key Symptoms
To tackle P0011 effectively, first map its impact on engine performance and the VVT system—this helps narrow down the root cause:
Key Symptoms of P0011
-
Check Engine Light: Illuminates when the ECM detects a 5+ degree timing discrepancy between the intake camshaft and crankshaft for 10+ consecutive seconds.
-
Rough Idle: Engine vibrates or shakes at idle due to mismatched valve timing—air-fuel mixture is too lean or rich for optimal combustion.
-
Reduced Power/Acceleration: "Sluggish" response when pressing the gas pedal—VVT system can’t adjust timing to meet power demands, especially at higher RPM.
-
Increased Fuel Consumption: Poor combustion efficiency leads to 10–15% higher fuel use—you’ll notice more frequent trips to the gas station.
-
Engine Knocking/Pinging: Advanced timing causes premature fuel ignition, creating metallic "knocking" sounds—worse under heavy load or acceleration.
-
Cold Start Difficulty: Harder to start in cold weather—VVT system fails to reset to "base timing" for cold conditions, disrupting the starting combustion cycle.
Common Causes of P0011
|
Cause
|
Description
|
|
Faulty VVT Solenoid (Intake)
|
Most frequent cause (40% of P0011 cases)—clogged or stuck solenoid can’t regulate oil flow to the VVT actuator, leaving timing permanently advanced.
|
|
Low/Contaminated Engine Oil
|
Insufficient oil level or dirty oil (sludge buildup) reduces VVT oil pressure—prevents the actuator from adjusting timing properly.
|
|
Clogged VVT Oil Passages
|
Sludge, metal shavings, or debris block oil flow to the VVT actuator—disabling its ability to retract advanced timing.
|
|
Faulty Camshaft/Crankshaft Position Sensors
|
Incorrect sensor readings trick the ECM into thinking the camshaft is in the correct position when it’s actually advanced.
|
|
Worn VVT Actuator
|
Internal mechanical wear (e.g., broken gears or springs) in the actuator prevents it from returning to base timing after being advanced.
|
|
ECM Software Glitches
|
Outdated firmware misinterprets VVT sensor data, sending incorrect commands to advance timing beyond normal limits.
|
Why iCarsoft CR Pro+ Excels at Diagnosing P0011
The CR Pro+ outperforms basic scanners with precision features tailored to VVT system diagnostics—critical for P0011, where 1-degree timing differences matter:
Real-Time Timing Monitoring
Displays intake camshaft timing advance in 0.1-degree increments—captures subtle discrepancies (e.g., 7.5° instead of 5°) that basic scanners miss.
VVT Solenoid Activation Tests
Bi-directionally controls the solenoid (0–100% duty cycle) to check for sticking—verifies if it responds to ECM commands within 200ms.
VVT Oil Pressure Tracking
Monitors VVT-specific oil pressure (not just general engine oil pressure)—detects low pressure (e.g., <20 psi) that disables timing adjustment.
Sensor Sync Validation
Compares camshaft and crankshaft sensor signals to identify misreads—spots when a sensor reports "8° advance" while the other shows "0°".
Vehicle-Specific VVT Data
Preloaded with VVT system diagrams, solenoid locations, and timing specs for 65+ makes (BMW 5 Series, Toyota RAV4, Ford Escape).
ECM Firmware Check
Scans for manufacturer-released updates that resolve VVT timing glitches—many P0011 cases are software-related (e.g., Ford PCM updates for 2.0L EcoBoost).
Step-by-Step: Diagnose P0011 with iCarsoft CR Pro+
-
1. Connect & Confirm the Code
1. Plug the CR Pro+ into your vehicle’s OBD-II port (under the dashboard) and power it on.
2. Select your vehicle via Auto VIN Scan (reads your VIN in 2 seconds) or manual entry (make/model/year/engine—critical for VVT system specificity).
3. Navigate to Engine > Fault Codes > Read Codes to confirm P0011. Tap Code Details for vehicle-specific insights (e.g., "Toyota: Intake Cam Timing Advance >8 Degrees at Idle" or "Ford: VVT Solenoid Stuck Open").
-
2. Check for Related VVT/Timing Codes
P0011 rarely appears alone—scan for companion faults to narrow the root cause:
- P0010: Intake VVT Solenoid Circuit Malfunction (electrical issue with solenoid)
- P0012: Intake Camshaft Timing – Over-Retarded (complementary fault, may indicate actuator issue)
- P0340/P0341: Camshaft Position Sensor Circuit Fault (sensor misreadings)
- P0520/P0521: Engine Oil Pressure Sensor Issues (low oil pressure affecting VVT)
Multiple codes = address systemic issues (e.g., faulty solenoid + low oil pressure) instead of single components.
-
3. Verify Engine Oil Level & Condition
Low or contaminated oil is a top P0011 cause—always check this first to avoid unnecessary repairs:
1. Ensure the engine is warm (idle for 5 minutes) and turned off (wait 2 minutes for oil to drain to the pan).
2. Pull the dipstick, wipe it clean, reinsert, and check the level—should be between "MIN" and "MAX" marks. Add oil if low (use the CR Pro+’s Oil Type Lookup for viscosity, e.g., 5W-30 for Toyota, 0W-20 for BMW).
3. Inspect oil condition:
- Good: Amber and clear.
- Bad: Black, gritty, or sludgy—needs an oil change (sludge clogs VVT passages).
4. If oil is dirty, perform an oil change immediately (follow CR Pro+’s Oil Change Guide for filter specs).
-
4. Monitor Live VVT & Timing Data
The CR Pro+’s real-time data reveals timing discrepancies and VVT system performance:
1. Start the engine and let it reach operating temperature (coolant temp >180°F).
2. Navigate to Engine > Live Data > VVT System and select these parameters (add to "Favorites"):
- "Intake Camshaft Timing Advance (Bank 1)" (normal: 0–5° at idle, 10–20° at 3000 RPM)
- "VVT Solenoid Duty Cycle" (0% = closed, 100% = fully open—should adjust with RPM)
- "VVT Oil Pressure" (normal: 25–50 psi—check CR Pro+’s vehicle specs)
- "Cam/Crank Sensor Sync" (should show "Synced"—"Unsynced" = sensor issue)
3. Observe for P0011 indicators:
- Timing advance >8° at idle = over-advanced (P0011 trigger).
- Solenoid duty cycle stuck at 100% = solenoid stuck open.
- VVT oil pressure <20 psi = low pressure (check oil pump or passages).
-
5. Test the Intake VVT Solenoid
A faulty solenoid is the most common P0011 cause—use the CR Pro+ to test its functionality:
1. With the engine off, navigate to Special Functions > VVT System > Intake Solenoid Activation.
2. Run three tests:
- 20% Duty Cycle: Listen for a faint "click" (solenoid opening slightly).
- 50% Duty Cycle: Click should be slightly louder (more oil flow).
- 80% Duty Cycle: Loudest click (full opening).
3. Results:
- No clicks + 12V voltage at the solenoid = stuck/clogged (remove and clean or replace).
- Inconsistent clicks = internal wear (replace solenoid).
4. For visual inspection: Use the CR Pro+’s Component Location tool to find the solenoid (usually on the cylinder head). Remove it and check for sludge blocking the valve—clean with carburetor cleaner if minor, replace if severe.
-
6. Validate Camshaft/Crankshaft Position Sensors
Incorrect sensor readings can trigger false P0011—verify with the CR Pro+’s sync test:
1. Go to Special Functions > Sensor Tests > Cam/Crank Sync Test.
2. The scanner compares signals from both sensors—"Sync Error" indicates one sensor is misreading.
3. To isolate the issue:
- Inspect sensor wiring for damage, corrosion, or loose connectors.
- Swap the intake/exhaust camshaft sensors (if identical) to see if the fault moves—confirms sensor failure.
- Use an oscilloscope (or CR Pro+’s advanced data) to check sensor waveforms—should be clean square waves.
4. Replace the faulty sensor (use Part Lookup for OEM parts like Bosch 0232103038).
-
7. Check VVT Oil Passages & Actuator
Clogged passages or a worn actuator prevent timing adjustment—address them if solenoid/sensors are good:
Oil Passages:
1. If oil was dirty, perform an oil change with a detergent-based oil (e.g., Mobil 1 High Mileage).
2. For severe sludge, use an engine flush (follow CR Pro+’s Flush Guide—ensure compatibility with your engine).
3. Remove the VVT solenoid and use compressed air (low pressure, <30 psi) to blow through the oil passage—clear any debris.
VVT Actuator:
1. Use the CR Pro+’s Service Manual to locate the actuator (attached to the intake camshaft pulley).
2. With the engine off, rotate the actuator by hand—should move smoothly with slight resistance.
3. Excessive play or stiffness = internal wear—replace the actuator (requires camshaft timing tool; consult a professional if unsure).
-
8. Update ECM Firmware
Outdated software often misinterprets VVT data—check for manufacturer updates:
1. Navigate to Special Functions > ECM > Firmware Check.
2. The CR Pro+ connects to the manufacturer’s server (requires Wi-Fi) and scans for updates.
3. If an update is available, follow prompts to install (do not turn off power—prevents ECM bricking).
4. Post-update, clear P0011 and re-test—many cases (e.g., GM LS engines) are resolved by firmware fixes for VVT calibration.
-
9. Repair & Clear P0011
Fix the root cause based on diagnostics—prioritize low-cost, easy fixes first:
- Faulty Solenoid: Replace with OEM (e.g., Dorman 917-165 for Toyota)—torque to 8–10 ft-lbs (CR Pro+ provides specs).
- Low/Contaminated Oil: Change oil + filter; use recommended viscosity (check Oil Type Lookup).
- Clogged Passages: Flush engine + clean passages; replace oil cooler (if clogged) for severe cases.
- Faulty Sensors: Swap with OEM sensors—ensure proper air gap (0.5–1.0mm, shown in Component Tips).
- Worn Actuator: Replace with OEM actuator—use camshaft timing tools to reset timing (critical for interference engines).
Clear the code: Navigate to Engine > Fault Codes > Clear Codes to delete P0011 and related VVT faults.
-
10. Verify the Repair
Confirm proper camshaft timing to avoid reoccurrence:
1. Live Data Recheck: Intake timing advance should stay 0–5° at idle; adjust smoothly to 10–20° at 3000 RPM.
2. Test Drive: 30-minute drive including:
- Idle (no rough shaking).
- City driving (smooth acceleration).
- Highway (no power loss at high RPM).
3. Knocking Check: Accelerate hard from 20–50 mph—no pinging/knocking sounds indicate proper timing.
4. Re-Scan: Use the CR Pro+ to scan—no return of P0011 + normal VVT data = successful repair.
5. Fuel Mileage: Monitor over 1–2 weeks—should return to pre-code levels (e.g., 25 mpg instead of 21 mpg).
Preventing P0011 Recurrence
The CR Pro+ helps maintain a healthy VVT system long-term, avoiding future P0011 codes:
-
Oil Maintenance: Use the CR Pro+’s Service Reminder to schedule oil changes every 5,000–7,500 miles (or as per vehicle manual)—critical for VVT oil pressure.
-
VVT Solenoid Tests: Run the Solenoid Activation Test every 15,000 miles to catch sticking early—prevents full solenoid failure.
-
Sensor Inspections: Annually inspect camshaft/crankshaft sensor wiring and air gaps—use the CR Pro+’s Sensor Gap Tool for precise adjustments.
-
ECM Updates: Check for firmware updates quarterly (use One-Key Upgrade)—manufacturers often release VVT timing improvements.
-
Driving Habits: Avoid excessive idling (causes sludge buildup) and short trips—let the engine reach full temperature at least once per week.
-
High-Mileage Care: For vehicles over 100,000 miles, use high-mileage oil (e.g., Castrol GTX High Mileage) to condition VVT seals.
StepAction1Connect CR Pro+, confirm P0011, and review vehicle-specific code details2Scan for related VVT/timing codes (P0010, P0012, etc.)3Check oil level/condition; change oil if low/dirty4Monitor live VVT data to spot timing discrepancies5Test intake VVT solenoid for sticking/clogging6Validate camshaft/crankshaft sensor sync7Check VVT oil passages; inspect actuator for wear8Update ECM firmware to resolve software glitches9Repair root cause and clear P001110Verify repair with live data, test drive, and re-scan
Conclusion
P0011’s camshaft timing issue is more than just a check engine light—it’s a warning of potential engine damage. The iCarsoft CR Pro+ eliminates guesswork with VVT system precision tools: real-time timing monitoring to catch 0.1-degree discrepancies, solenoid activation tests to diagnose stuck valves, and vehicle-specific data to target common issues.
Whether you’re replacing a $50 solenoid, flushing $20 worth of oil, or updating free ECM firmware, the CR Pro+ ensures you fix the root cause—not just mask the code. By following this guide, you’ll restore optimal engine timing, prevent costly damage, and keep your vehicle running efficiently—all with professional-grade accuracy, no dealer visit required.
FAQs About P0011 Code
Q: Can I drive my vehicle with P0011?
A: Drive only short distances (e.g., to a repair shop). P0011’s advanced timing risks engine knocking and accelerated wear—long-term driving can crack pistons or damage valves ($1,000+ repair). Avoid high RPM and heavy loads until fixed.
Q: Will an oil change fix P0011?
A: Possibly, if low/contaminated oil caused low VVT pressure. 25% of P0011 cases resolve with an oil change + filter replacement. Use the CR Pro+ to check oil pressure after the change—if it rises to 25–50 psi, the code may clear.
Q: Why does P0011 return after replacing the solenoid?
A: Common reasons: 1) Clogged VVT passages (solenoid replacement didn’t fix underlying sludge), 2) Worn actuator (solenoid works, but actuator can’t adjust timing), 3) Faulty sensor (still sending false data). Re-run the CR Pro+’s live data and pressure tests to find the issue.
Q: How much does it cost to fix P0011?
A: Costs vary by cause: Oil change = $30–$70 (DIY); VVT solenoid = $80–$150 (DIY); Camshaft sensor = $40–$100 (DIY); VVT actuator = $200–$400 (professional); Engine flush = $50–$100 (DIY). The CR Pro+ helps avoid overspending by identifying low-cost fixes first.