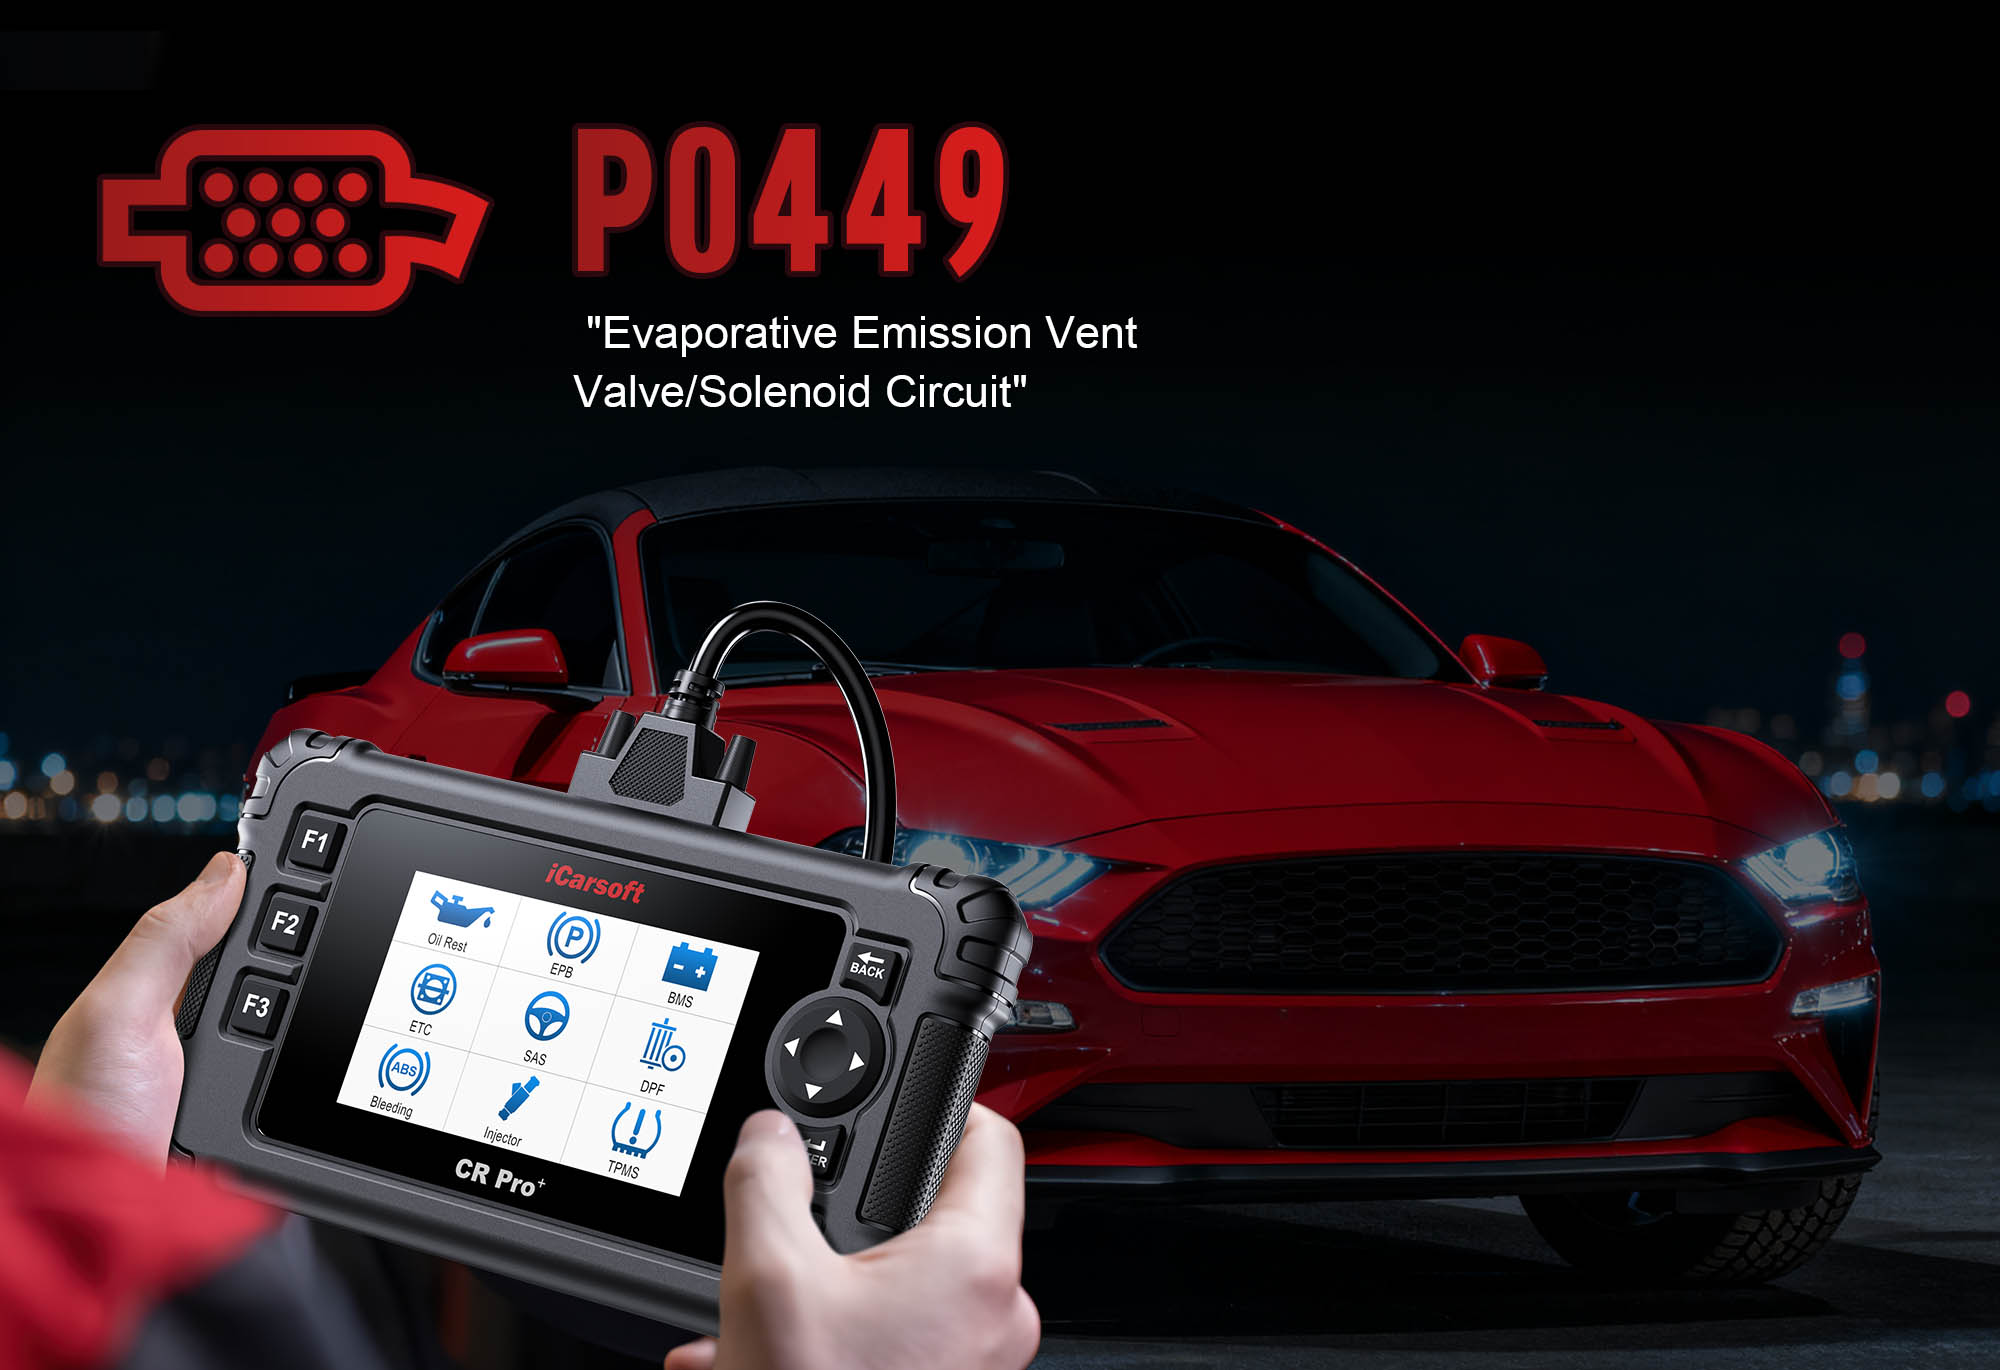
Diagnose & Clear P0449 with iCarsoft CR Pro+: Fix EVAP Vent Solenoid Control Circuit Issues
If your check engine light illuminates and a scan returns P0449, your vehicle’s Evaporative Emissions (EVAP) system is signaling an electrical issue with a critical component. This generic OBD-II code stands for "Evaporative Emission System Vent Solenoid Control Circuit Malfunction"—meaning the Engine Control Module (ECM) has detected a problem with the electrical circuit that operates the EVAP vent solenoid, preventing proper control of the valve.
The EVAP vent solenoid regulates pressure in the fuel vapor system by opening to release excess air and closing to seal the system during leak tests. When P0449 occurs, the ECM can’t send or receive proper signals to/from the solenoid, leaving the valve stuck (open or closed). This disrupts emissions control, causes fuel odors, and can trigger additional EVAP codes like P0455 (large leak) or P0442 (small leak).
Basic scanners might only confirm "vent solenoid circuit fault" but can’t test wiring integrity or solenoid functionality. The iCarsoft CR Pro+—with its circuit voltage testing, bi-directional solenoid control, and vehicle-specific wiring diagrams—solves this. Let’s walk through how to diagnose and resolve P0449.
 iCarsoft CR Pro+ testing EVAP vent solenoid circuit voltage to diagnose P0449
Understanding P0449: Causes & Key Symptoms
To tackle P0449 effectively, recognize how electrical faults in the vent solenoid circuit impact your vehicle:
Key Symptoms of P0449
-
Check Engine Light: Illuminates when the ECM detects voltage irregularities (e.g., short circuits, open circuits) in the vent solenoid circuit for 2+ drive cycles.
-
Fuel Odor: A stuck-closed solenoid traps pressure, forcing fuel vapors to leak from weak points like the gas cap seal.
-
Failed Emissions Tests: The EVAP system can’t complete self-tests (due to unresponsive solenoid), leading to inspection failures.
-
Intermittent Performance Issues: Rare, but a stuck-open solenoid may cause slight fuel efficiency loss or a "hissing" sound from the rear (air escaping the charcoal canister).
-
Dashboard Warnings: Some vehicles (e.g., GM models) display "EVAP System Fault" or "Vent Valve Malfunction" messages.
Common Causes of P0449
|
Cause
|
Description
|
|
Faulty Vent Solenoid
|
Internal electrical coil failure prevents the solenoid from responding to ECM commands (most common cause, ~35% of P0449 cases).
|
|
Damaged Wiring
|
Frayed, cut, or corroded wires between the ECM and vent solenoid disrupt signal flow—common in vehicles with undercarriage damage.
|
|
Loose/Corroded Connectors
|
Poor contact at the solenoid’s electrical plug causes intermittent or no communication—worsens with moisture exposure.
|
|
Blown Fuse
|
A dedicated fuse for the EVAP system (if equipped, e.g., GM’s 10A "EVAP Vent" fuse) may blow, cutting power to the vent solenoid.
|
|
ECM Malfunction
|
Rare, but a damaged ECM may send incorrect voltage (too high/too low) to the solenoid circuit—requires dealer-level testing.
|
|
Water Intrusion
|
Moisture in the solenoid connector (common in wet climates) causes corrosion or short circuits—leads to intermittent P0449.
|
Why iCarsoft CR Pro+ Excels at Diagnosing P0449
The CR Pro+ outperforms basic tools with features tailored to electrical circuit diagnostics—critical for pinpointing P0449’s root cause:
Circuit Voltage & Resistance Testing
Measures voltage (12–14V normal), current, and continuity in the vent solenoid circuit to identify breaks, shorts, or corrosion—quantifies electrical issues.
Bi-Directional Solenoid Control
Activates the vent solenoid directly from the scanner to verify if it responds to electrical signals—listens for "clicks" to confirm functionality.
Vehicle-Specific Wiring Schematics
Preloaded with color-coded diagrams for 65+ makes (e.g., Chevrolet Malibu, GMC Sierra), showing fuse locations, wire paths, and connector pinouts.
Fuse Identification
Pinpoints the exact fuse (if any) powering the EVAP vent system—guides users to check for blows without guessing fuse locations.
ECM Communication Tests
Verifies if the ECM sends proper commands to the vent solenoid—rules out module malfunctions by comparing expected vs. actual signals.
Moisture Damage Detection
Guides users to inspect connectors for water intrusion (e.g., green corrosion) and provides cleaning steps—addresses common P0449 triggers.
Step-by-Step: Diagnose P0449 with iCarsoft CR Pro+
-
1. Connect & Confirm the Code
1. Plug the CR Pro+ into your vehicle’s OBD-II port (under the dashboard) and power it on.
2. Select your vehicle via Auto VIN Scan (reads VIN in 2 seconds) or manual entry (make/model/year—critical for circuit specifics).
3. Navigate to Engine > Fault Codes > Read Codes to confirm P0449. Tap Code Details for vehicle-specific insights (e.g., "GM: EVAP Vent Solenoid Circuit Open – Voltage <5V" or "Buick: Vent Solenoid Circuit Short to Ground").
-
2. Check for Related EVAP/Electrical Codes
P0449 rarely appears alone—scan for companion faults to narrow the root cause:
- P0440: General EVAP System Malfunction (systemic issue, e.g., ECM fault)
- P0446: Vent Control Circuit Malfunction (broader than P0449, may include mechanical issues)
- P0691: EVAP Solenoid Control Circuit Low Voltage (wiring or fuse issue)
- P0692: EVAP Solenoid Control Circuit High Voltage (short circuit)
- P0455: Large EVAP Leak (from stuck-open solenoid due to circuit fault)
Multiple codes = address widespread issues (e.g., wiring damage + blown fuse) instead of isolated solenoid problems.
-
3. Locate the EVAP Vent Solenoid & Circuit Components
Identify key parts using the CR Pro+ to avoid misdiagnosis:
1. Navigate to Component Location > EVAP System > Vent Solenoid & Circuit.
2. The scanner displays critical details:
- Vent Solenoid Position: Typically near the charcoal canister (rear axle) with a 2-pin electrical connector.
- Fuse Location: If equipped (e.g., GM underhood fuse box, label "EVAP Vent" or "VENT VALVE").
- Wiring Path: Color-coded diagram showing wires from solenoid to ECM (e.g., "Red wire: 12V power; Black wire: ground").
3. Mark the solenoid and fuse location with tape for easy access.
-
4. Test the Vent Solenoid’s Electrical Function
Verify if the solenoid itself is faulty (no need for disassembly first):
1. Disconnect the vent solenoid’s electrical connector (wear gloves to avoid corrosion transfer).
2. Navigate to Special Functions > EVAP > Vent Solenoid Resistance Test.
3. Connect the CR Pro+’s test leads to the connector terminals (follow on-screen pinout guides—e.g., "Terminal 1: Power; Terminal 2: Ground").
4. Interpret resistance readings:
- Normal: 10–30 ohms (varies by manufacturer—check scanner’s vehicle-specific specs).
- Infinite resistance: Solenoid coil is broken (replace the solenoid).
- Too low resistance (<5 ohms): Internal short (replace immediately to avoid blowing fuses).
-
5. Inspect the Circuit for Wiring/Connector Issues
Damaged circuits cause ~40% of P0449 cases—diagnose with the CR Pro+:
Step 1: Check the EVAP Vent Fuse
1. Locate the fuse using the scanner’s diagram.
2. Visually inspect for a broken filament—replace with the correct amp rating (e.g., 10A for GM) if blown.
Step 2: Test Voltage to the Solenoid
1. Reconnect the solenoid connector. Turn the ignition to "ON" (engine off).
2. Navigate to Special Functions > EVAP > Circuit Voltage Test.
3. Probe the connector’s power pin with the scanner’s test lead—should read 12–14V.
- No voltage: Trace wiring back to the fuse/ECM for breaks or loose connections.
Step 3: Check Ground Continuity
1. Disconnect the connector again. Set the CR Pro+ to "Ohmmeter" mode.
2. Connect one lead to the solenoid’s ground pin, the other to a clean chassis ground.
- >1 ohm resistance: Corroded ground wire or loose chassis connection—clean with a wire brush.
Step 4: Inspect for Physical Damage
1. Follow the wiring from solenoid to ECM (use scanner’s diagram) for:
- Frayed/cut wires (common near exhaust or moving parts).
- Green/white corrosion (sign of water intrusion).
2. Clean corroded connectors with electrical contact cleaner—replace if pins are bent/broken.
-
6. Test Solenoid Response to ECM Commands
Verify if the ECM can control the solenoid (rules out module faults):
1. Reconnect all components (solenoid, connectors, fuses).
2. Turn the ignition to "ON" (engine off). Navigate to Special Functions > EVAP > Vent Solenoid Activation Test.
3. Command the solenoid to "Open" and "Close"—listen for a faint "click" each time (indicates electrical response).
4. Interpret results:
- Clicks occur: ECM and circuit are working—solenoid is functional (if resistance test passed).
- No clicks: ECM isn’t sending commands (rare, consult a professional) or circuit issue remains (recheck wiring/fuse).
-
7. Repair & Clear P0449
Fix the root cause based on diagnostics—prioritize low-cost fixes first:
- Faulty Solenoid: Replace with OEM (check CR Pro+’s specs for compatibility, e.g., AC Delco 12610560 for GM).
- Blown Fuse: Install a new fuse of the correct amp rating (never use a higher amp fuse).
- Damaged Wiring: Splice frayed sections with heat-shrink connectors; replace severely corroded wires.
- Corroded Connectors: Clean with contact cleaner and apply dielectric grease to prevent moisture damage.
- Water Intrusion: Dry the connector with compressed air, apply dielectric grease, and seal with waterproof tape.
Clear the code: Navigate to Engine > Fault Codes > Clear Codes to delete P0449 and related faults.
-
8. Verify the Repair
Confirm the circuit and solenoid work properly to avoid reoccurrence:
Re-test Solenoid Activation:
Run the Vent Solenoid Activation Test—clicks should occur when opening/closing.
Check Live Data:
Navigate to Engine > Live Data > EVAP System and monitor "Vent Solenoid Status"—should show "Open" or "Closed" as commanded.
Run EVAP Leak Test:
Use Special Functions > EVAP > Leak Detection Test—system should seal properly (no leaks).
Test Drive:
Drive 20 minutes (include city/highway) to let the ECM recheck the circuit.
Re-scan:
No P0449 return + no fuel odor = successful repair.
Check Readiness:
Navigate to Readiness Monitors—ensure the EVAP monitor is "Ready" for emissions tests.
Preventing P0449 Recurrence
The CR Pro+ helps maintain a healthy vent solenoid circuit long-term, avoiding future P0449 codes:
-
Connector Maintenance: Use the CR Pro+’s Service Reminder to inspect the vent solenoid connector every 10,000 miles—clean with contact cleaner and apply dielectric grease.
-
Wiring Checks: Visually inspect wiring during oil changes, focusing on undercarriage sections (prone to damage from debris).
-
Fuse Inspections: Check the EVAP vent fuse quarterly (use the CR Pro+’s diagram to locate it)—replace at the first sign of wear.
-
Solenoid Testing: Run the Vent Solenoid Resistance Test annually to catch coil degradation early (before it triggers P0449).
-
Moisture Protection: In wet climates, seal the solenoid connector with waterproof electrical tape (follow the CR Pro+’s application guide).
-
Undercarriage Care: Avoid driving over large debris that could damage EVAP wiring—use the CR Pro+’s Component Location to identify vulnerable areas.
Conclusion
P0449’s focus on electrical circuit issues makes it a precise but easily misdiagnosed fault—basic scanners often miss wiring or fuse problems, leading to unnecessary solenoid replacements. The iCarsoft CR Pro+ eliminates guesswork with circuit-specific tools: from testing voltage to tracing wires via color-coded diagrams, it ensures you fix the root cause, not just the symptom.
Whether you’re replacing a $50 solenoid, a $5 fuse, or repairing wiring, the CR Pro+ guides every step—restoring proper EVAP function, passing emissions tests, and preventing costly future issues. With this guide, you’ll turn a "vent solenoid circuit fault" into a straightforward DIY repair, saving time and avoiding mechanic fees.
FAQs About P0449 Code
Q: Can I drive my vehicle with P0449?
A: Yes, but only short-term. P0449 doesn’t cause immediate engine damage, but it leads to fuel odors, reduced efficiency, and will fail emissions tests. If you notice a strong fuel smell or hesitation, stop driving—this may indicate a stuck solenoid and potential vapor leaks.
Q: Why does P0449 return after replacing the vent solenoid?
A: Common reasons: 1) Unrepaired wiring (new solenoid still doesn’t get power/signals), 2) Blown fuse (replaced solenoid but not the fuse), 3) Corroded ground (poor electrical contact), 4) Water intrusion (moisture re-enters the connector). Re-run the CR Pro+’s circuit tests to find the leftover issue.
Q: How much does it cost to fix P0449?
A: Costs vary by cause: Vent solenoid = $50–$150 (DIY); Fuse = $5–$10 (DIY); Wiring repair = $20–$50 (DIY); Connector replacement = $15–$30 (DIY). Professional repairs add $100–$200 in labor—avoid this with the CR Pro+’s DIY circuit diagnostics.
Q: Do all vehicles have a dedicated fuse for the EVAP vent solenoid?
A: No—most GM vehicles (Chevrolet, GMC, Buick) have a dedicated fuse, but others (e.g., Honda, Toyota) may share power with other EVAP components. Use the CR Pro+’s Component Location to check if your vehicle has a dedicated fuse for the vent solenoid.